1. General configuration
![]() On the admin sidebar, navigate to Magenest > Bulletin and Notification > Configuration. Go to bulletin configuration page.
On the admin sidebar, navigate to Magenest > Bulletin and Notification > Configuration. Go to bulletin configuration page.
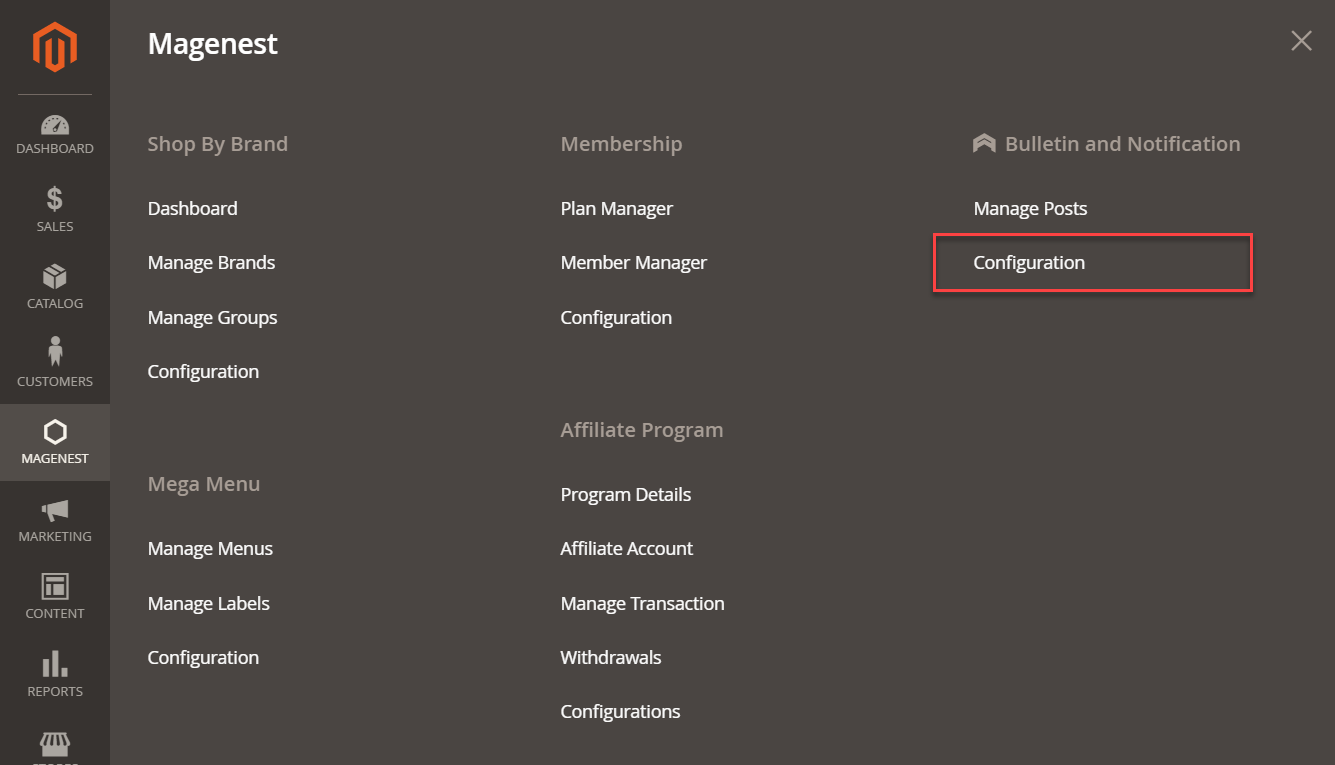
- Enable: Choose “Yes” to enable the function.
- Blog Name: Set the meta title for the bulletin page.
 Bulletin page meta title
- Date Format: Choose the date format to display at the end of each bulletin detail page.
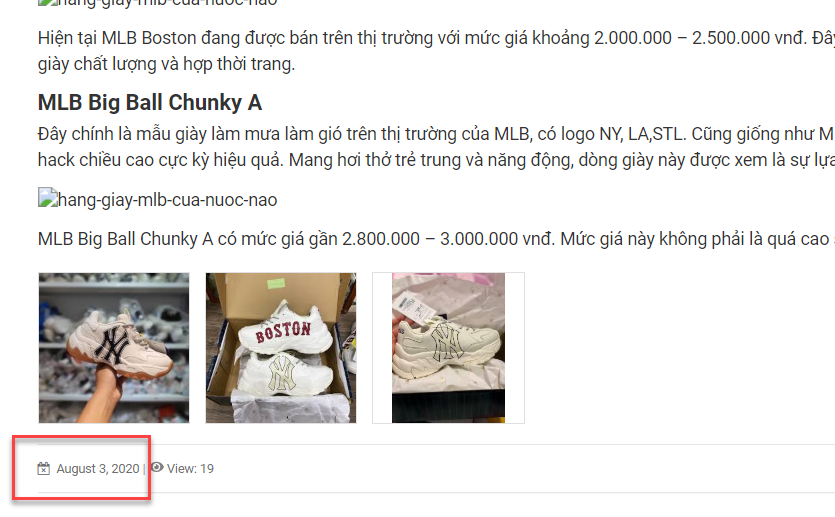 Bulletin publish date
- Blogs per Page Allowed Values: Set the number of posts to display per page. The values are separated by a comma.
 Number of posts to display per page
![]() Click on Save Config to save the configuration.
Click on Save Config to save the configuration.
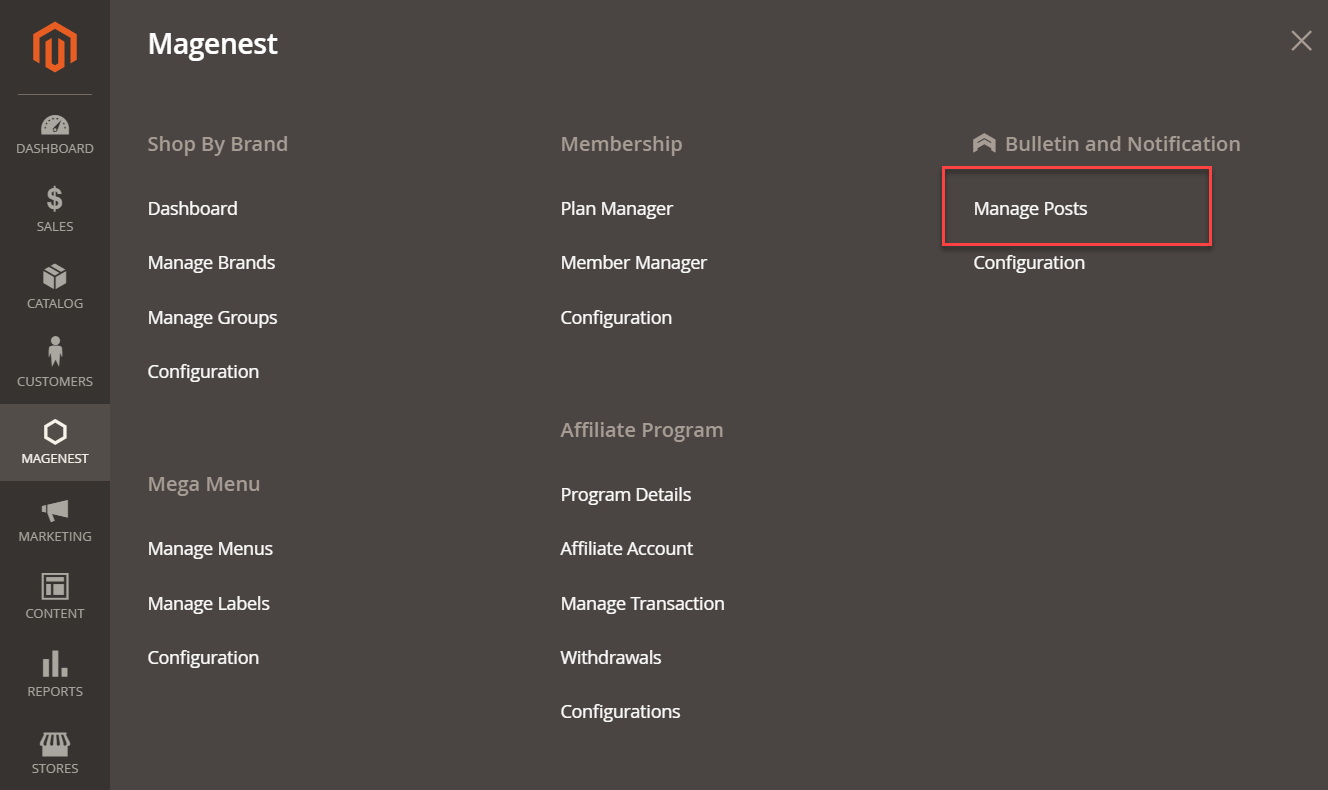
2. Create new bulletin
![]() On the admin sidebar, navigate to Magenest > Bulletin and Notification > Manage Posts. Go to Posts page.
On the admin sidebar, navigate to Magenest > Bulletin and Notification > Manage Posts. Go to Posts page.
![]() To edit the available posts, click on Edit under Action column. To create a new post, click on Add New Post.
To edit the available posts, click on Edit under Action column. To create a new post, click on Add New Post.

![]() On New Post page
On New Post page
Step 1: Complete the post information
Under Post Information tab, click on Post.
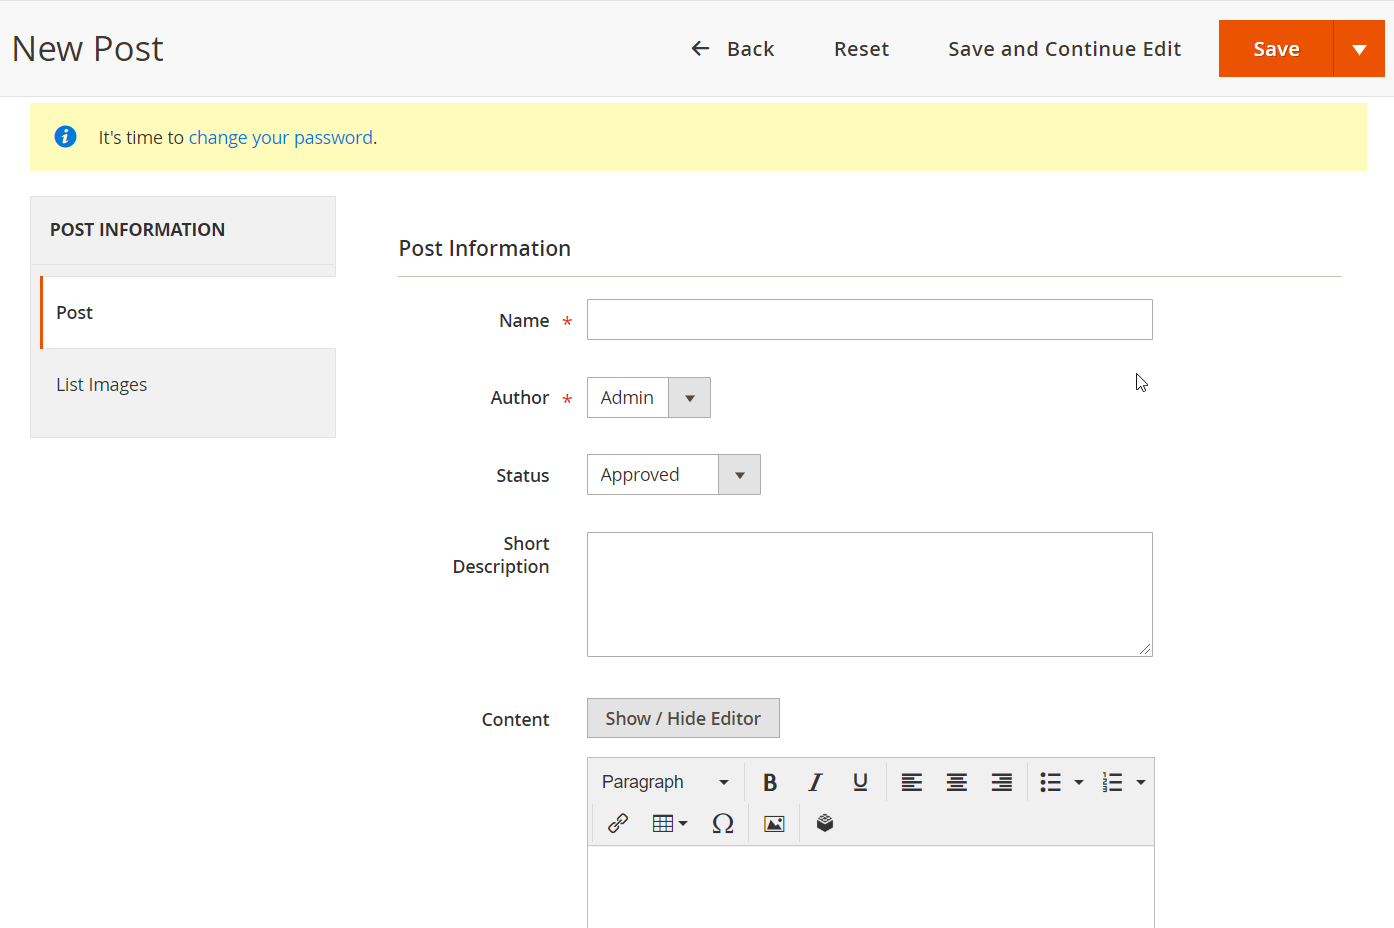
- Set Name for the new post.
- Enter Short Description for the post.
Short description
- Enter the Content for the post.
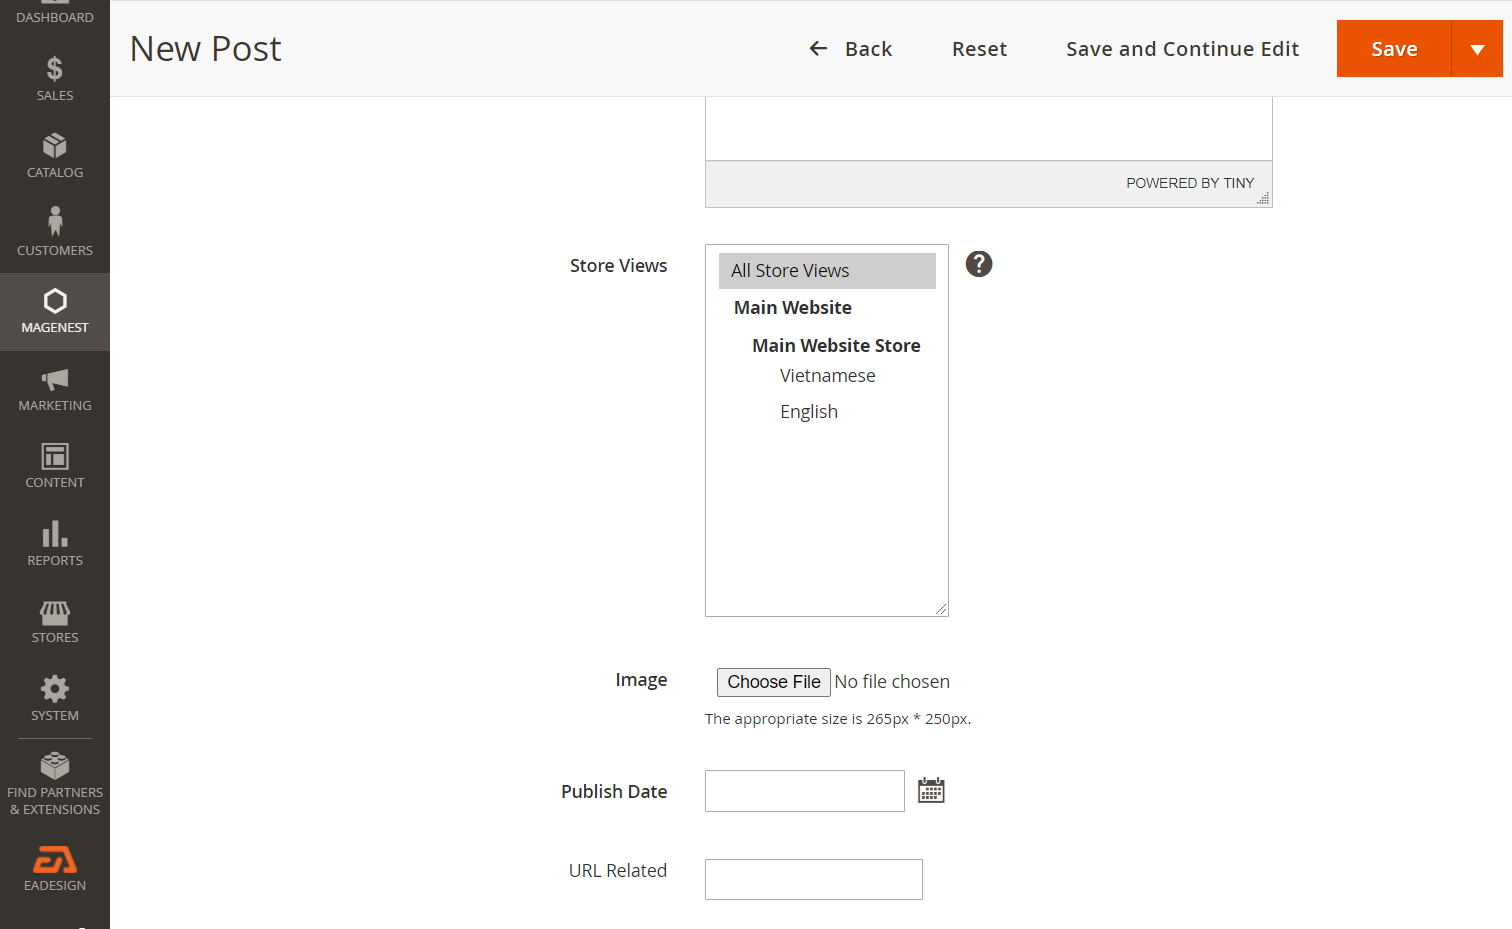
- Choose the Store View where you want to display the post.
- Image: upload a post image.
Post image
- Publish Date: select a publish date and time for the post in the date picker.
Post publish date
- URL related: Insert an URL to the arrow icon on the post title. Leave this field empty if you want the icon to redirect to the bulletin detail page.
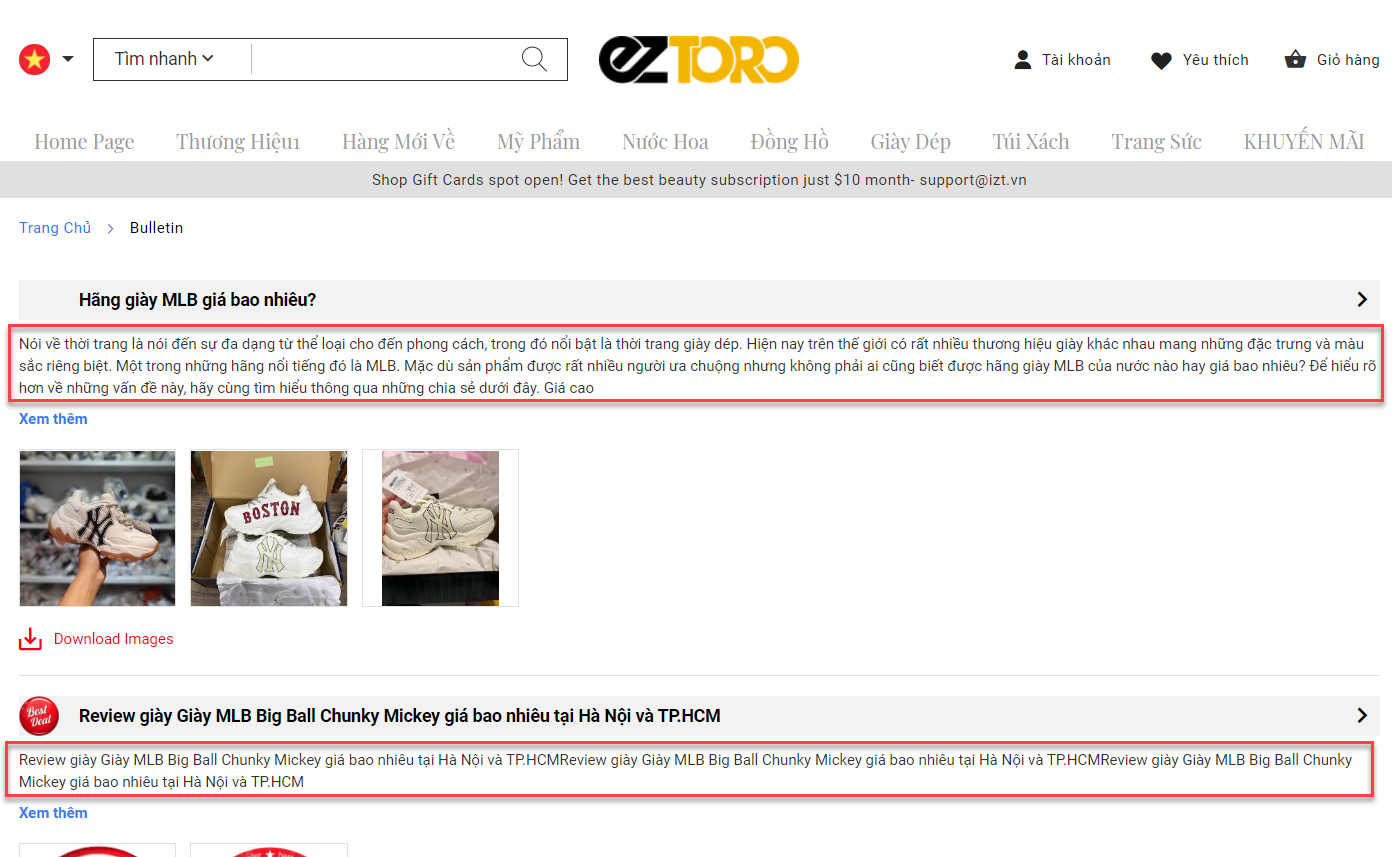
 Bulletin list - Arrow icon on the post title
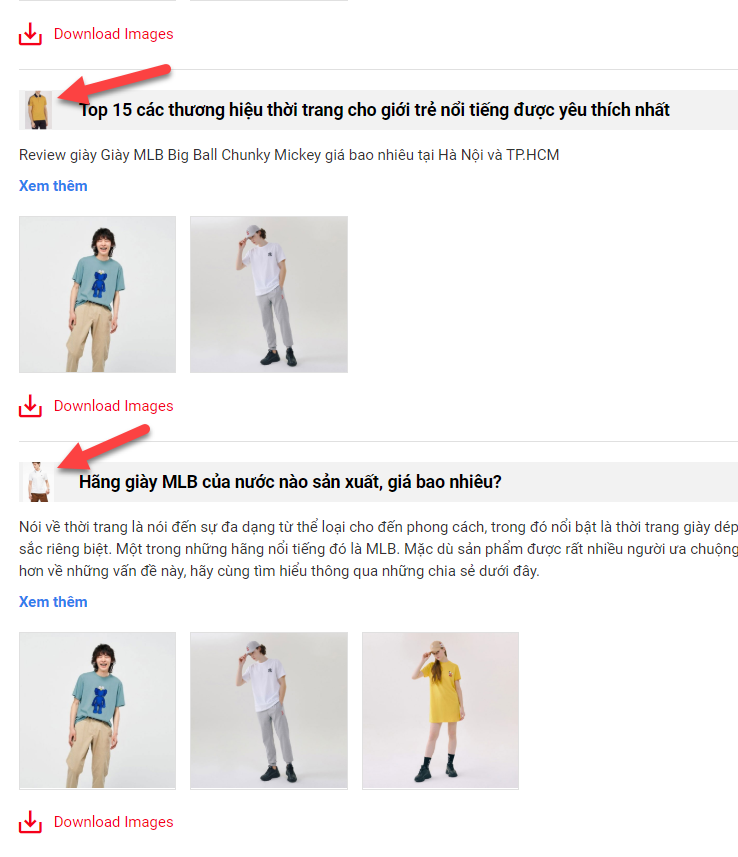
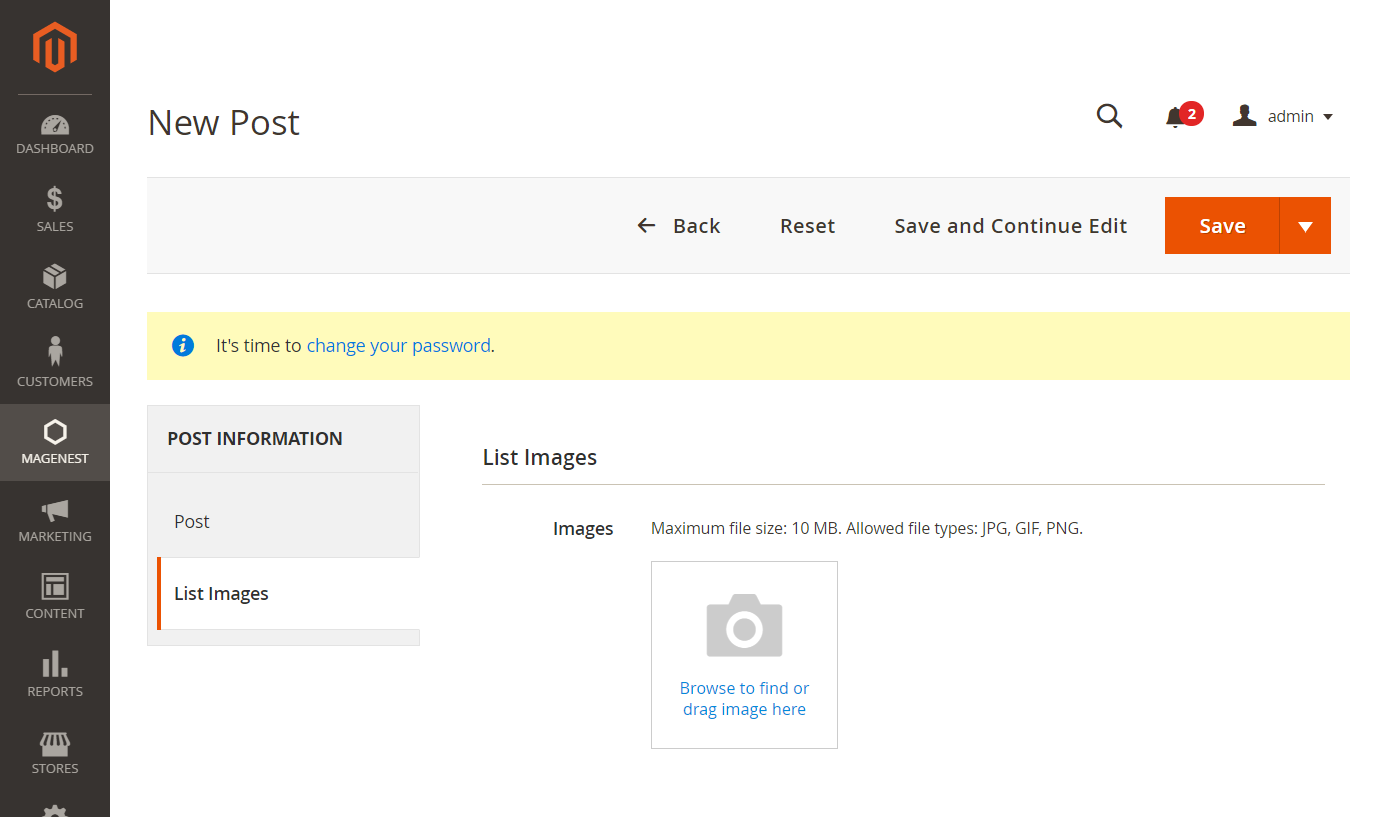
Step 2: Add images to the post
- Under Post Information tab, click on List Image. Then upload images for the bulletin.
- Note: Maximum size for each file is 10 MB. The following file types are supported: JPG, GIF, PNG.
 Bulletin images
Step 3: Save
Click on Save button on the top right to save the new post.