Thank you for purchasing our extension. If you have any questions that are beyond the scope of this document, do not hesitate to leave us an email via our email address below.
Created: 11/05/2016 | By: Magenest | Email: [email protected]
Introduction
![]()
Magento 2 Social Login is an extension developed by Magenest, which helps customers log in the Magento 2 stores in the flexible and easy way.
Extension's page: Quickbooks Online Integration
Features For Admins
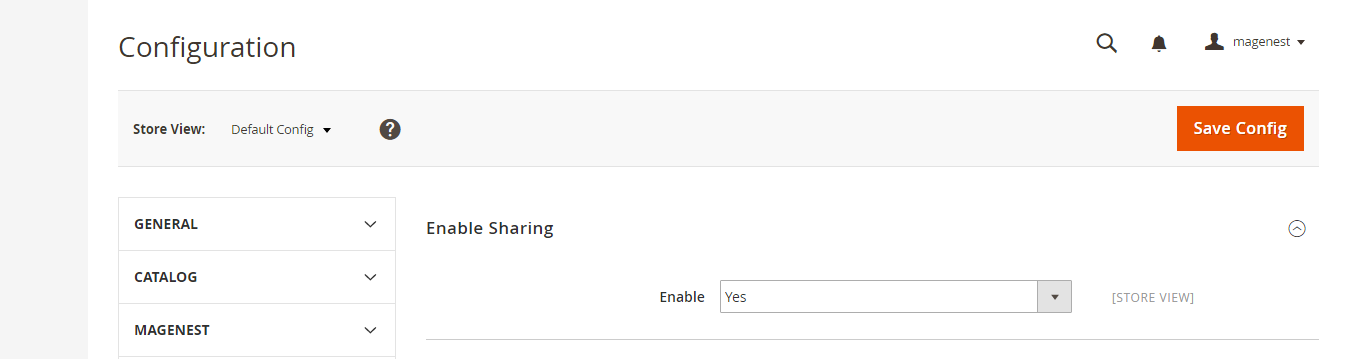
- Setting app for each social network.
Features For Customers
- Using their social networks as: Twitter, Facebook, Google, Linkedin, Pinterest, Instagram to login the Magento 2 stores.
- Sharing products on their social networks as: Twitter, Facebook, Google, Pinterest.
- Using Facebook accounts to comment on the Magento 2 stores.
System Requirements
Your store should be running on Magento 2 Community Edition version 2.0.0+.
Installation
Here we will guide you through the installation process of our extension. First off, open FileZilla, log in to your host as follows:

In the above example we switched the local site to the extension directory, and the remote site to the code directory. Now on the remote site window, inside app/code directory, create a folder named Magenest and go inside it. Now on your local site window, right click on Wrapper extension and click Upload. The extension will be uploaded onto your host in a few minutes.
The second method will require you to compress the extension into .zip or .tar.gz format, then execute the following command in your Command Line/Terminal:
scp <path to your extension> <ssh server>:<path to Magenest directory>
Then log into your ssh server, go to Magenest directory and execute the following command to decompress the module:
unzip <.zip compressed extension>
Or
tar -xzvf <.tar.gz compressed extension>
Now go to your Magento root directory, say it's named magento2, and execute the following commands:
sudo chmod -R 755 .
php bin/magento setup:upgrade
php bin/magento setup:static-content:deploy
sudo chmod -R 777 var pub
After running all these, your Command line/Terminal window might look like this:

Finally, you need to flush the cache by either type this into the Command Line/Terminal:
php bin/magento cache:flush
Or go to System > Cache Management and click Flush Magento Cache

Now you can go to your store and check if the extension is working as expected.
Configuration
General Configuration
First, navigate to Store > Configuration > Magenest > Social Login, then filling in information:
Click on Connect to QuickBooks button. New page is open. It is necessary for you to connect our extension with QuickBooks Online to authenticate users before you can exchange data with it.
Sign up to create a new one:

Or log in if you already have an account

After connecting successfully, the backend page will be displayed as follow:

Specified Configuration
- Turn on sync operations of your choice.

When done, please press Save Config, your configuration is ready to use.
Back end
- When a new account is registered in frontend of Magento 2, Quickbooks Online Integration extension and QuickBooks page will automatically add a new record of this account.


- When admins update information of products in QuickBooks page, data will be synced automatically in Magento 2 and vice versa.


- When an invoice is created in Magento 2, this invoice will be synced automatically in QuickBooks page and vice versa.


- When admin or the customer edits any data about the information account in Magento 2, this data will also be changed and updated automatically in QuickBooks page and vice versa.
Front end
Update
- When a new update is available, we will provide you with a new package containing our updated extension.
- You will have to delete the module directory and repeat the installing steps above.
- Flush the config cache. Your store and newly installed module should be working as expected.
Support
- We will reply to support requests after 3-5 business days.
- We will offer free lifetime support for all of our products. Support includes answering questions related to our products, bug/error fixing to make sure our products fit well in your site exactly like our demo.
- Support DOES NOT include other series such as customizing our products, installation and uninstallation service.
Once again, thank you for purchasing our extension. If you have any questions relating to this extension, please do not hesitate to contact us for support.