Thank you for purchasing my extension. If you have any questions that are beyond the scope of this help file, please feel free to email via my user page contact form here. Thanks so much!
Created: 20/04/2016 | By: Magenest | Email: Support
Introduction

As you know, one of the best ways to improve and increase your profit in business is giving for customers what they really want. Catching this needs, Magenest developed the Magento 2 Gift Registry extension to help you completely tackle this problem. With our extension, consumers can easily create a list of items that they wish receive in special days such as their wedding, birthday and so forth
Please view more detail here: Gift Registry
Features for admins
- View the list of created registries.
- View registry details: added items and completed orders.
- Create new registry from the backend.
Features for customers
- Create and manage gift registries.
- Set event date, name, description, add image for gift registries.
- View the list of gift buyers associated with the purchased gifts.
- Search for gift registries by name.
- Share gift registries via social network and email.
- Track item's status and quantity.
- The gift buyer can send the gift message to owner.
- Gift buyers can buy gifts for many couple and for themselves one time.
Send email to notify owner after an order which bought gift has been placed.
System Requirements
Your store should be running on Magento Community Edition version 2.0.0 and more.
Installation
Here we will guide you through the installation process of our extension. First off, open FileZilla, log in to your host as follows:
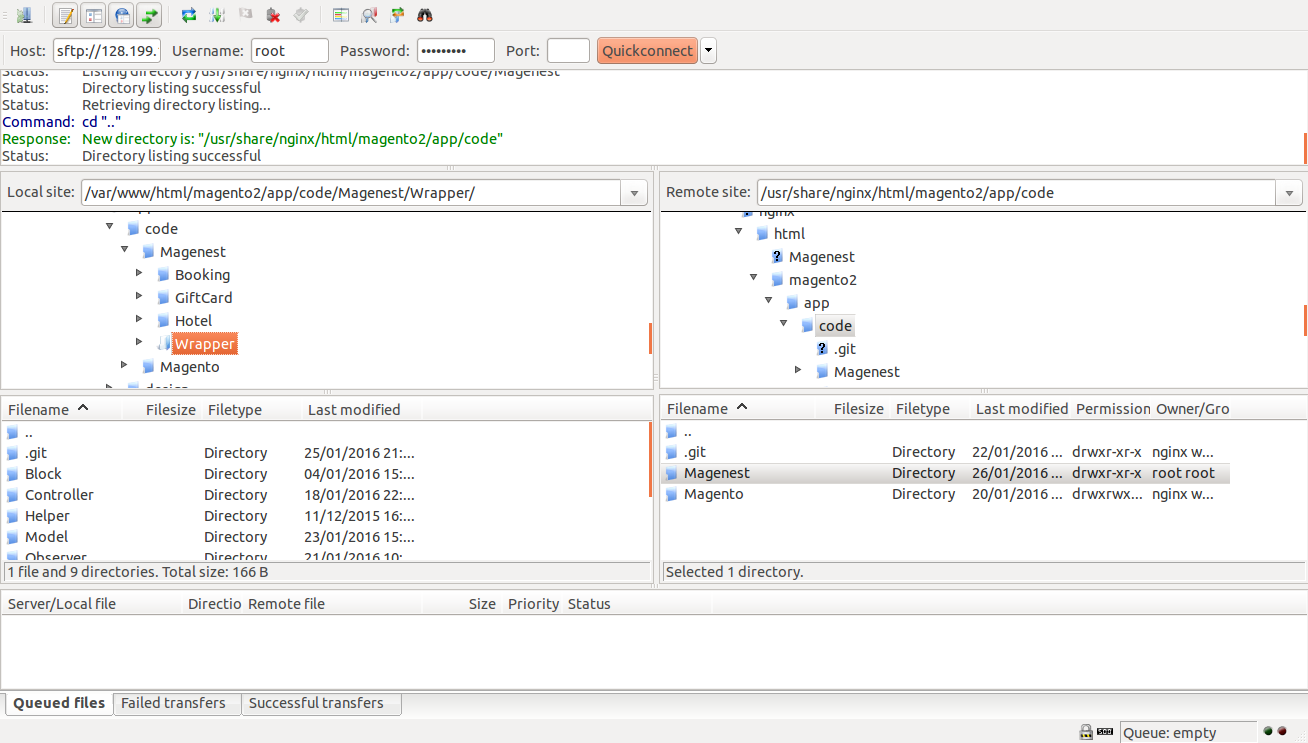
In the above example we switched the local site to the extension directory, and the remote site to the code directory. Now on the remote site window, inside app/code directory, create a folder named Magenest and go inside it. Now on your local site window, right click on Wrapper extension and click Upload. The extension will be uploaded onto your host in a few minutes.
The second method will require you to compress the extension into .zip or .tar.gz format, then execute the following command in your Command Line/Terminal:
scp <path to your extension> <ssh server>:<path to Magenest directory>
Then log into your ssh server, go to Magenest directory and execute the following command to decompress the module:
unzip <.zip compressed extension>
Or
tar -xzvf <.tar.gz compressed extension>
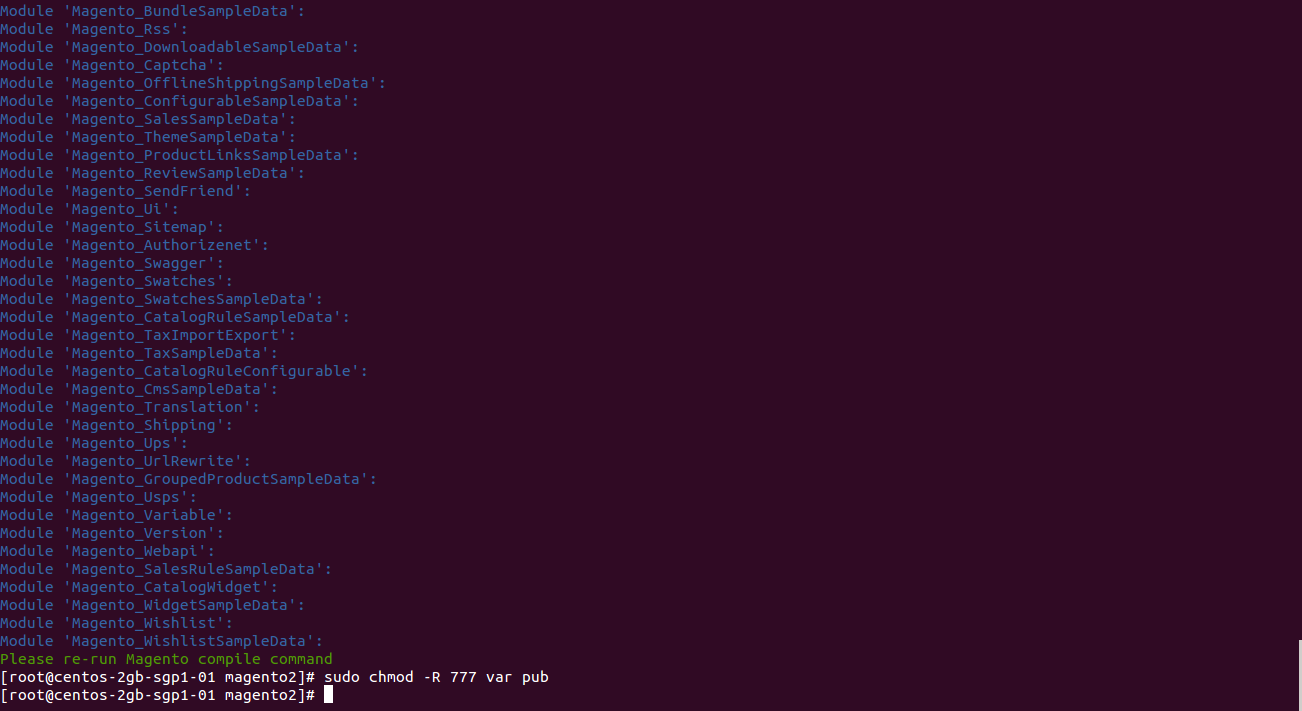
Now go to your Magento root directory, say it's named magento2, and execute the following commands:
sudo chmod -R 755 .
php bin/magento setup:upgrade
php bin/magento setup:static-content:deploy
sudo chmod -R 777 var pub
After running all these, your Command line/Terminal window might look like this:
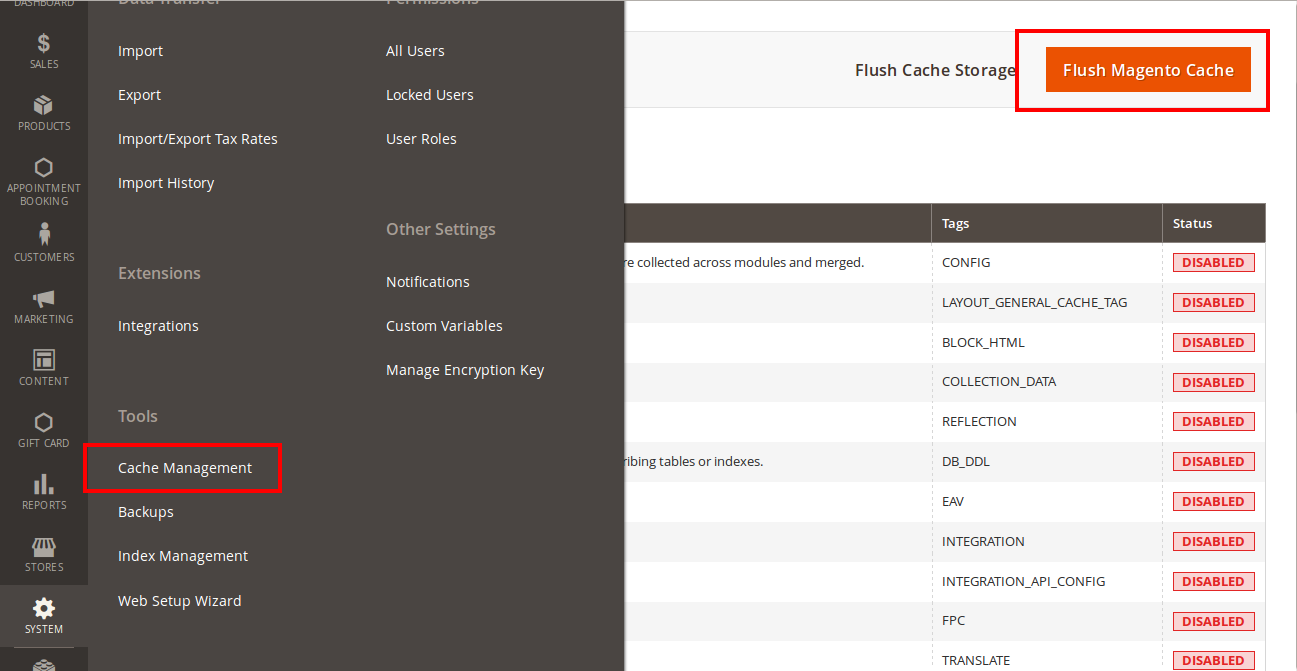
Finally, you need to flush the cache by either type this into the Command Line/Terminal:
php bin/magento cache:flush
Or go to System > Cache Management and click Flush Magento Cache
Now you can go to your store and check if the extension is working as expected.
Main Functions
For Admin
At Back End, we created a Gift Registry tab which allows admin to set and manage everything related to Gift Registry in an easy way.
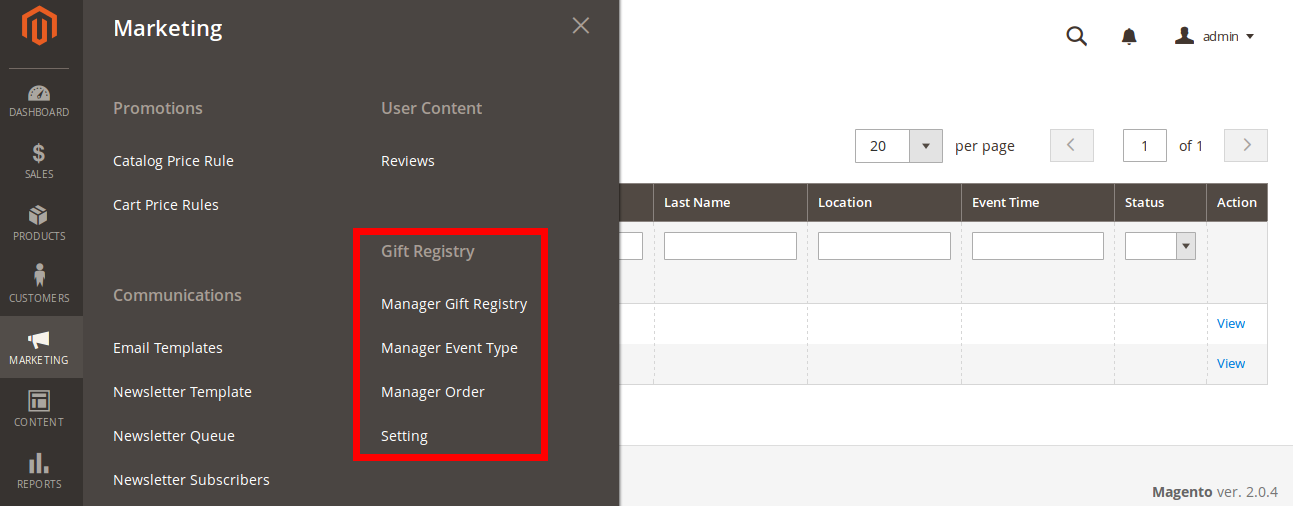
The following is great features that our gift registry extension brings for admin.
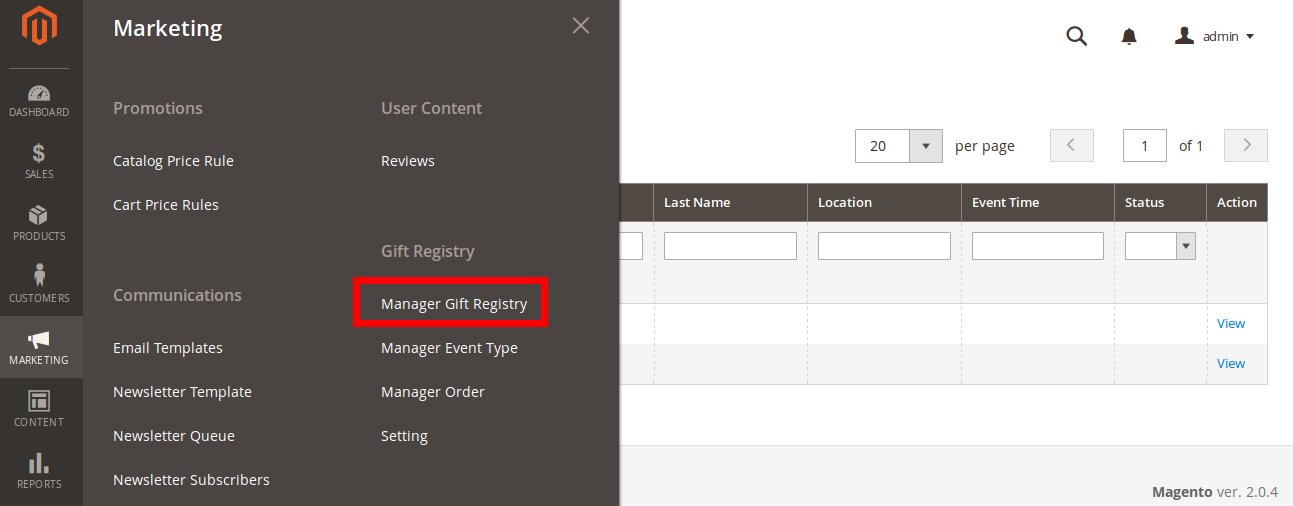
- View the list of created registries
Admin can view all lists created by customers by clicking on Manager Gift Registry. Then, the Manger Gift Registry screen will be shown.
- Create and manage event type
Admin will create the event type allowing customers to choose when they want to create a wish gift list such as wedding, birthday and so forth.
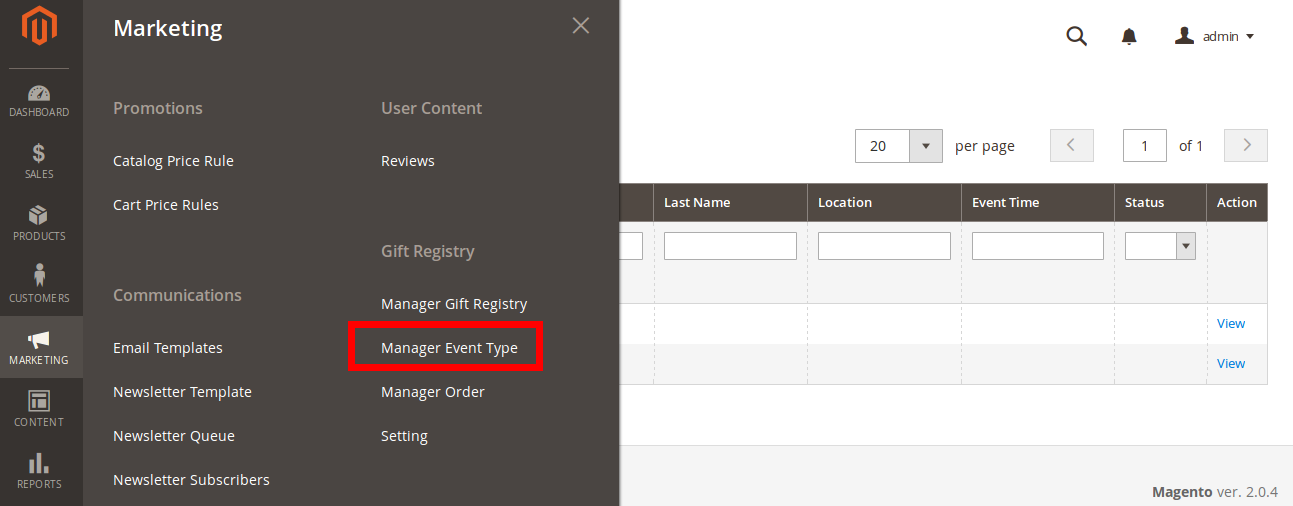
To create new event type, clicking on ....
To manage the list of created event type, clicking on ...
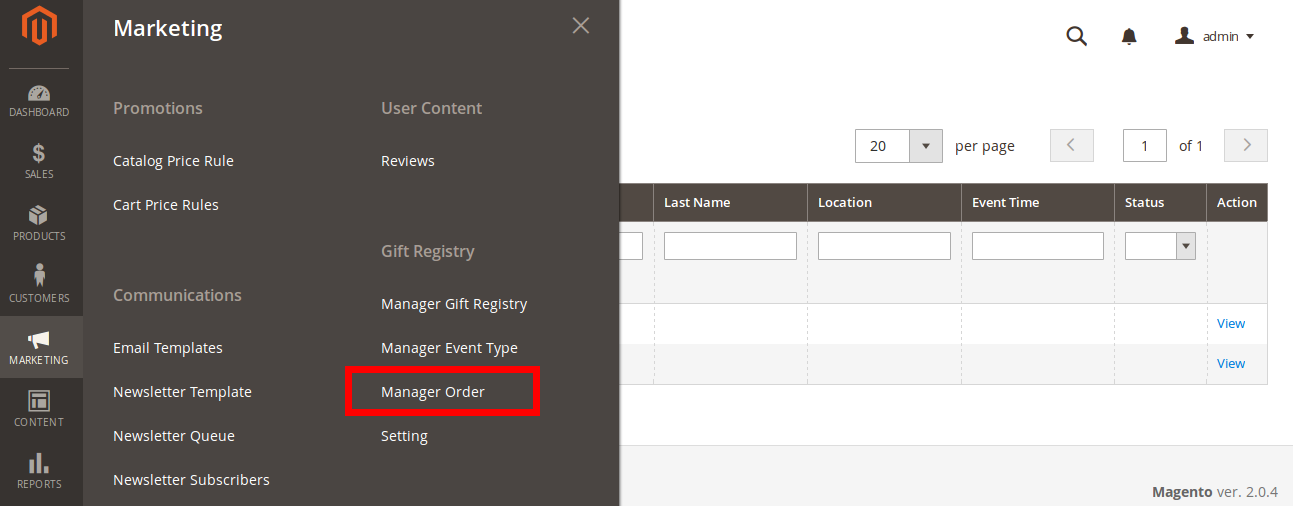
- Manage orders
Admin can be easy and convenient to manage order related to Gift Registry by clicking on Manager Oder. The Manager Order will be shown.
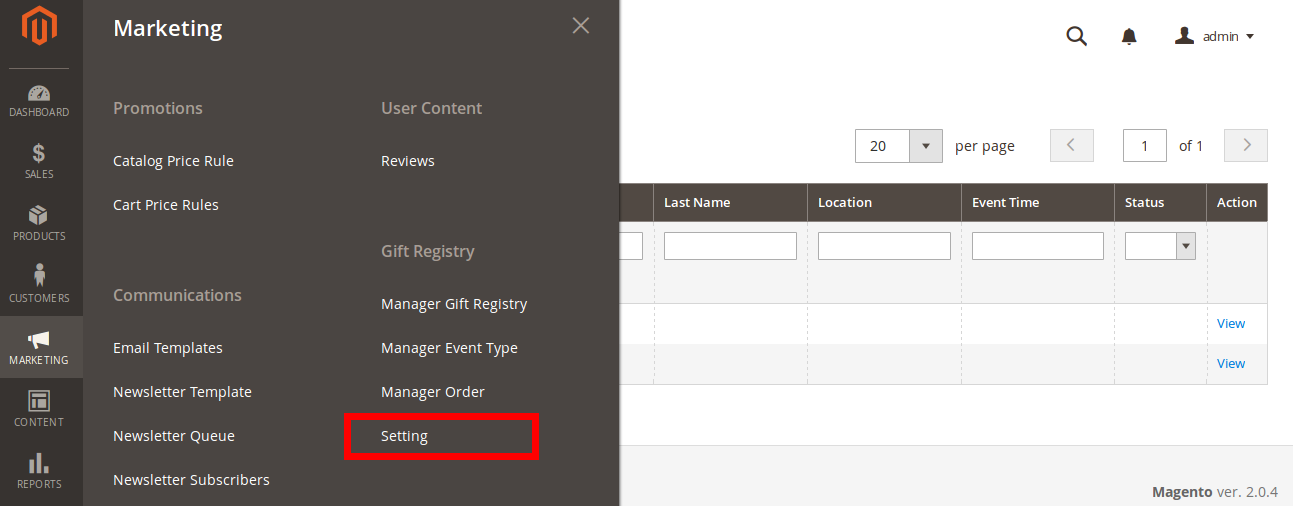
- Setting suitable options
Admin can set options to suit with and your strategy of business.
For Customer
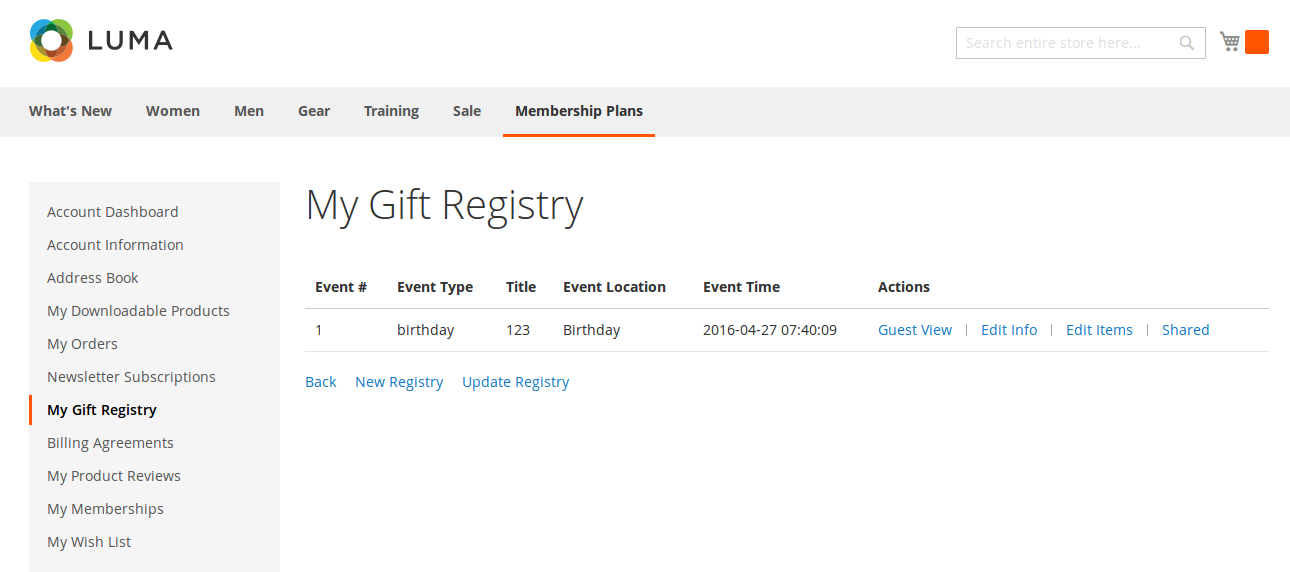
- Create and manage gift registries.
Firstly, customers need to have their account. Then, they can easily create their new gift registry by clicking on My Account > My Gift Registry > New Registry.
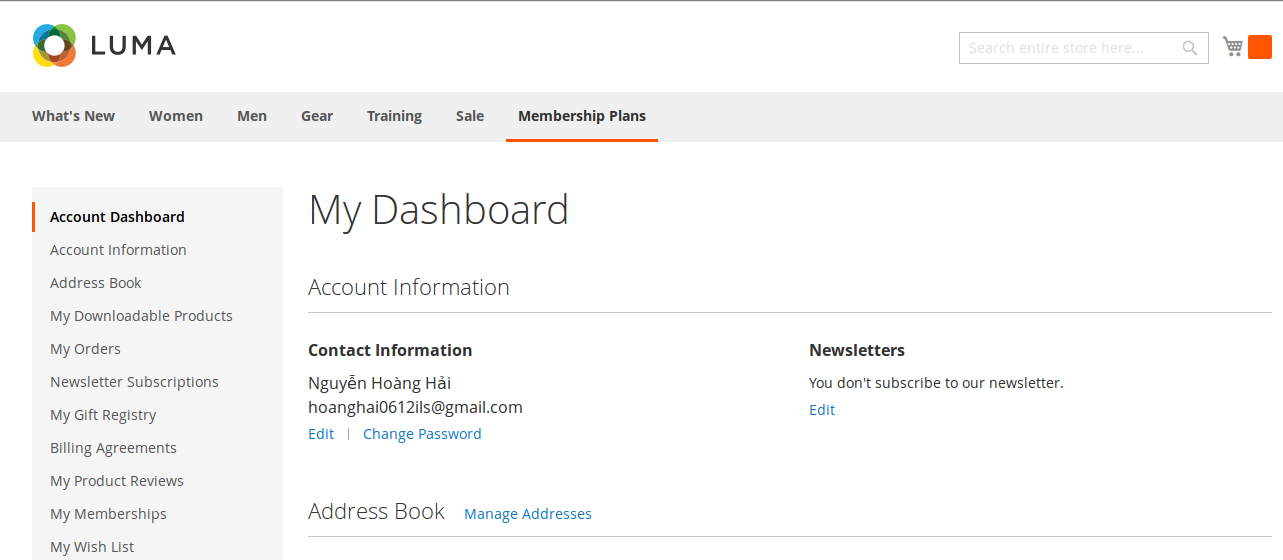
The New Registry screen will be shown
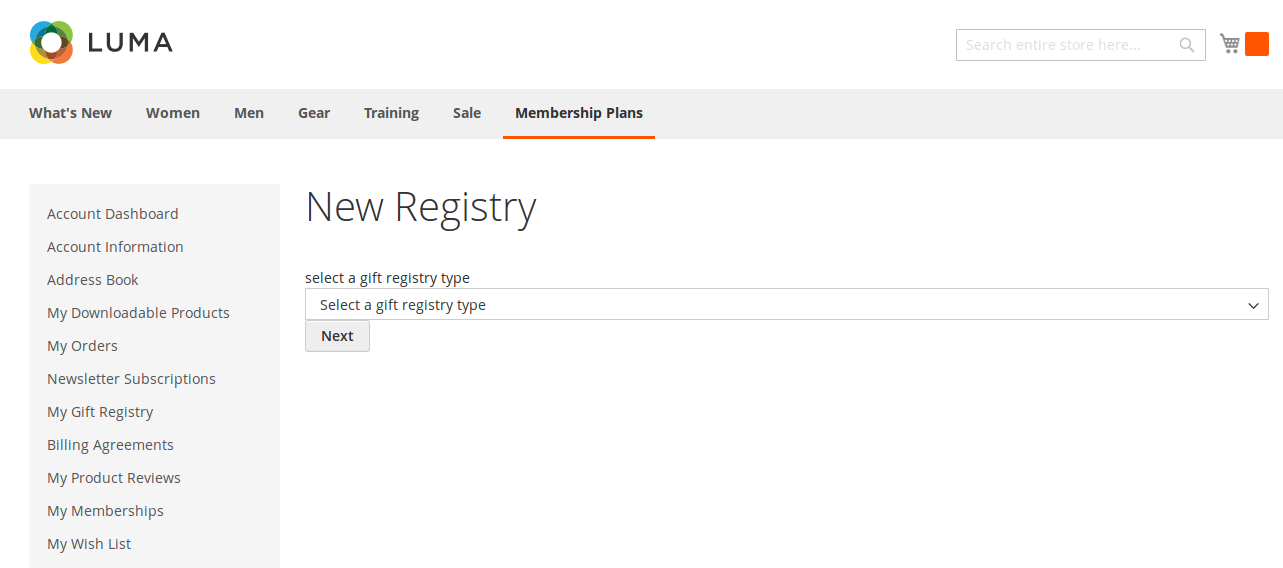
Customer will select a event type as they want. Then, click on Next button.
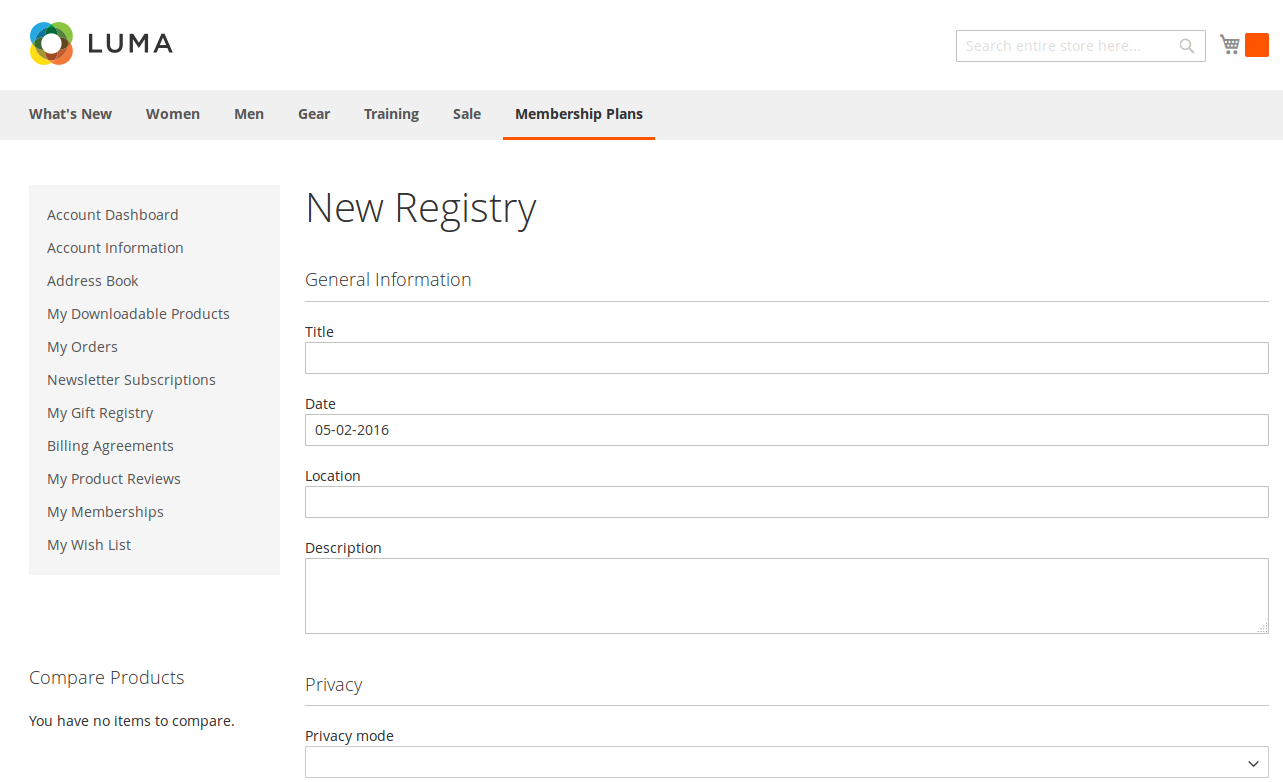
General information that customer need to enter consist of:
- Title: Customers will enter the title of their event that they wish to display.
- Date: Time to happen the event.
- Location: The location event
- Description: Customer can write some description about their event. This description will be displayed at their Gift Registry site.
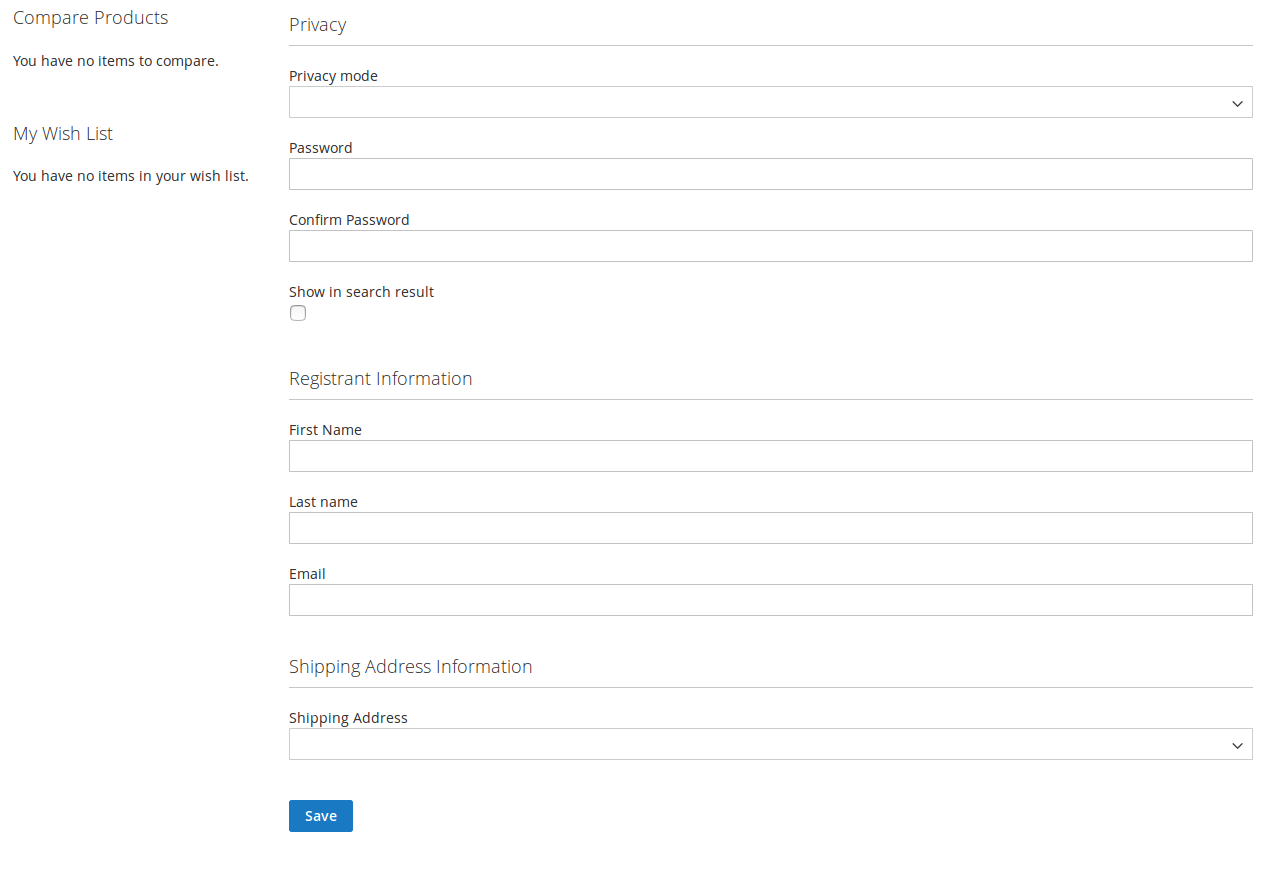
Privacy
- Privacy mode: There are 2 options to select
+ Private: When customers select this option, their friends will must enter a password created by the
+ Public: When customers select this option, their friends will can be comfortable to view without entering a password.
Show in search result: If customer click on this box, their event will be found when other customers use search gift registry function.
Registrant information
First name
Last name
Shipping address information
Shipping address
Please click on Save button to completely create a Gift Registry.
- View the interface of their Gift Registry
By clicking on Guest View, customer can be comfortable to view as a guest
Then the interface of their Gift Registry will be shown like when a guest view that.

- Set event date, name, description, add image for gift registries.
- View the list of gift buyers associated with the purchased gifts.
- Search for gift registries by name.
- Share gift registries via social network and email.
- Track item's status and quantity.
- The gift buyer can send the gift message to owner.
- Gift buyers can buy gifts for many couple and for themselves one time.
Send email to notify owner after an order which bought gift has been placed.
Update
- When a bug fix or new feature is released, we will provide you with the module's new package.
- All you need to do is repeating the above installing steps and uploading the package onto your store. The code will automatically override.
- Flush the configure cache. Your store and newly installed module should be working as expected.
Support
- Magenest offers the response time can be up to 3-5 days.
- We offers lifetime support free for all of our paid products. Support includes answering questions related to our products, bug/error fixing to make sure our products work well in your site exactly like our demo.
- Support DOES NOT include other services as customize our product to fit your own needs, installation service, uninstallation service. We ONLY support you with exist features of module.