...
2. Event Tickets User Guides | 2. Event Tickets User Guides | 2. Event Tickets User Guides | 2. Event Tickets User Guides | Summary | 2. Event Tickets User Guides
Set up
The extension's General Settings screen is located at Store > Magenest ( your store's name) At backend of Magento 2, go to Store menu > Magenest > Event Ticket backend page.
...
- Pattern to generate code: Fill the code format.
- Google API Keys: Fill your Google API key
Creating an event
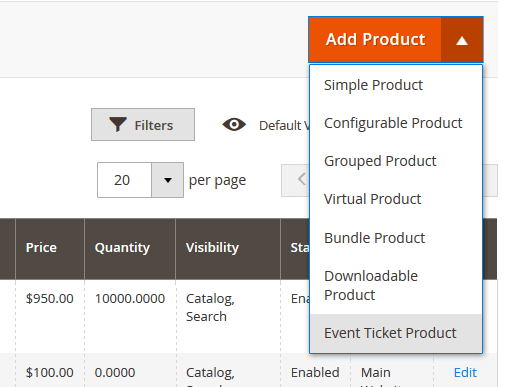
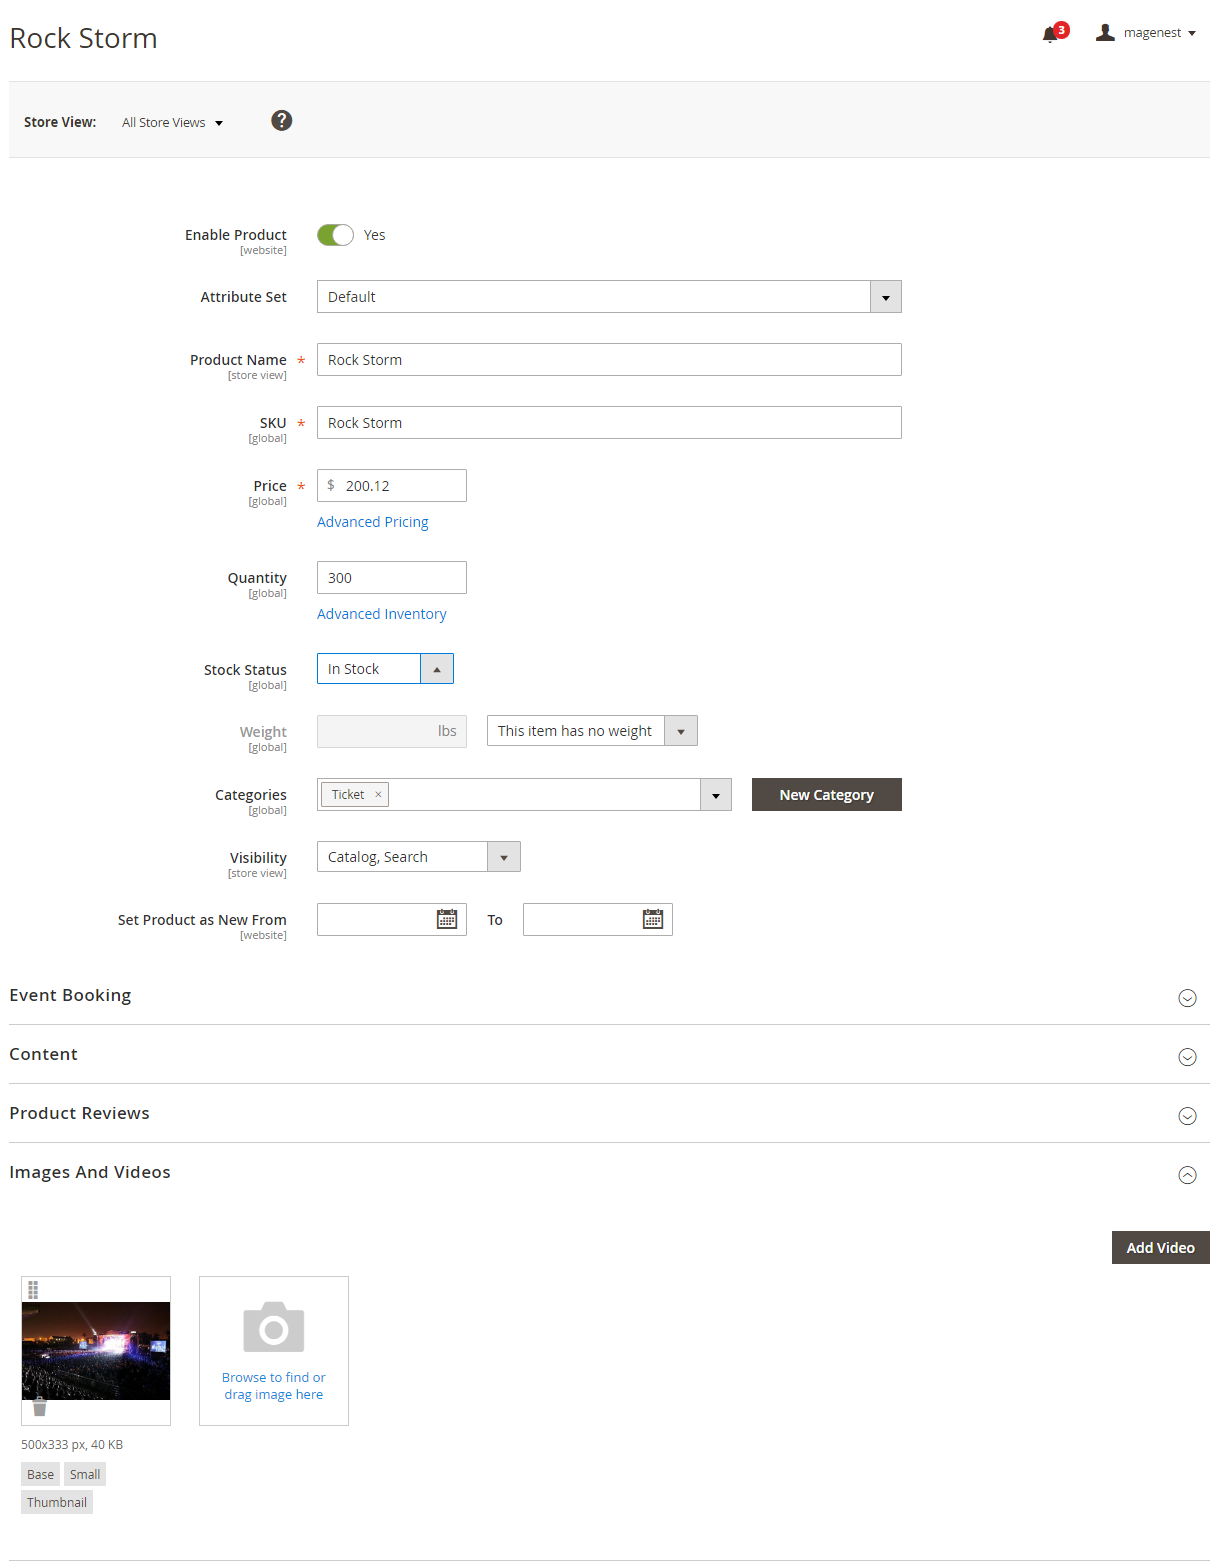
Information
Then add switch to Event Booking
TabTab >
Click on ScheduleInformation
Click on Schedule to set schedule for the event.

- Location: Specify the location details
- Date & Time of Event: specify the event date.
...
Preview: click the Preview button to preview your ticket.
| Note | ||
|---|---|---|
| ||
*please Please note that you must to upload your image background first, then click Save button. After that, you can customize your page width, height, x, y coordinates and preview your PDF ticket without click Save again. 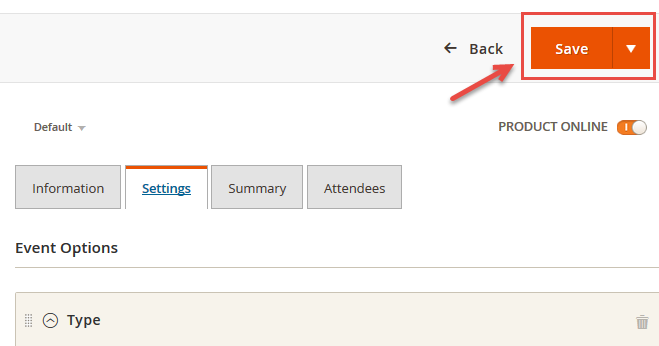 Example:
If you change your image background, you must save this setting by click Save button again before make any changes in PDF setting. |
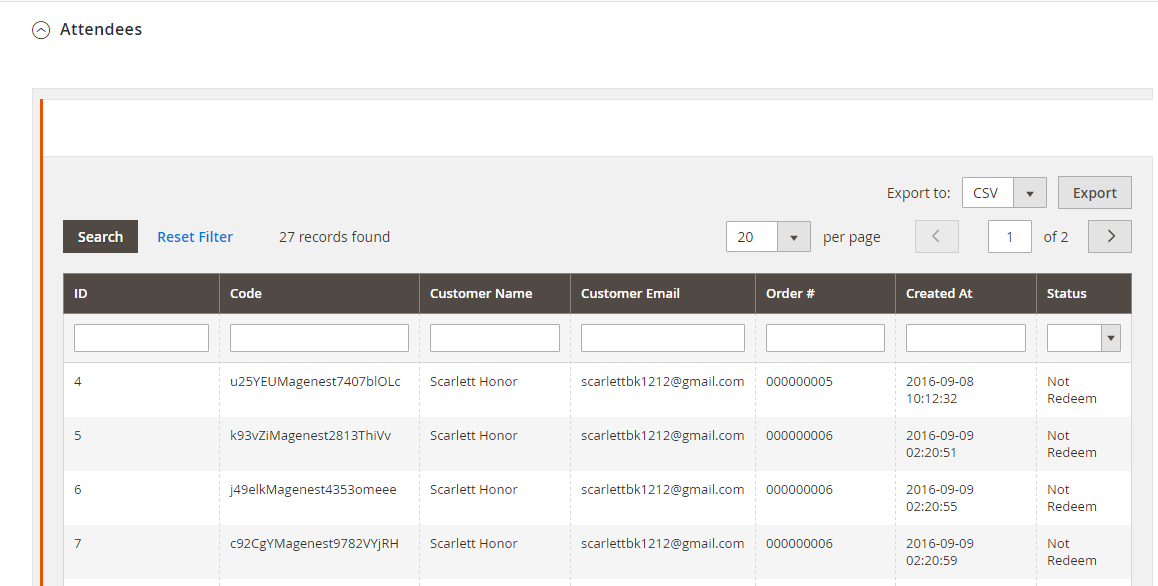
...
In the Attendees tab, the admin can easily manage the attendees of the event. In this tab, all the event attendees will be listed. Please, note that a customer will appear in this section after their order gets processed.
...
Management
The Product > Event Tickets > Manage Ticket or Manage Event grid At backend of Event Ticket, go to Product menu and select Event tab or Event Ticket tab to displays the actual event & ticket sales.
In the Manage Event tab:
This grid lists ALL the items which had ever had Event Ticket functionality enabled, include: product ID, event name, start time, end time, reminder day, status and location. You can and export to the CSV/XML file.
...
In the Manage Ticket tab:
...
You can see this grid displays the actual ticket sales and export to the CSV/XML file.
...