...
- Create unlimited customer attributes.
- Multiple attribute input types: text, text area, date, dropdown, multi-select, yes/no, single file upload, multiple select with images, single radio with image, image.
- Collect more information from the customer by the additional attributes.
- Allow admin to manage attributes: view, edit and delete attributes.
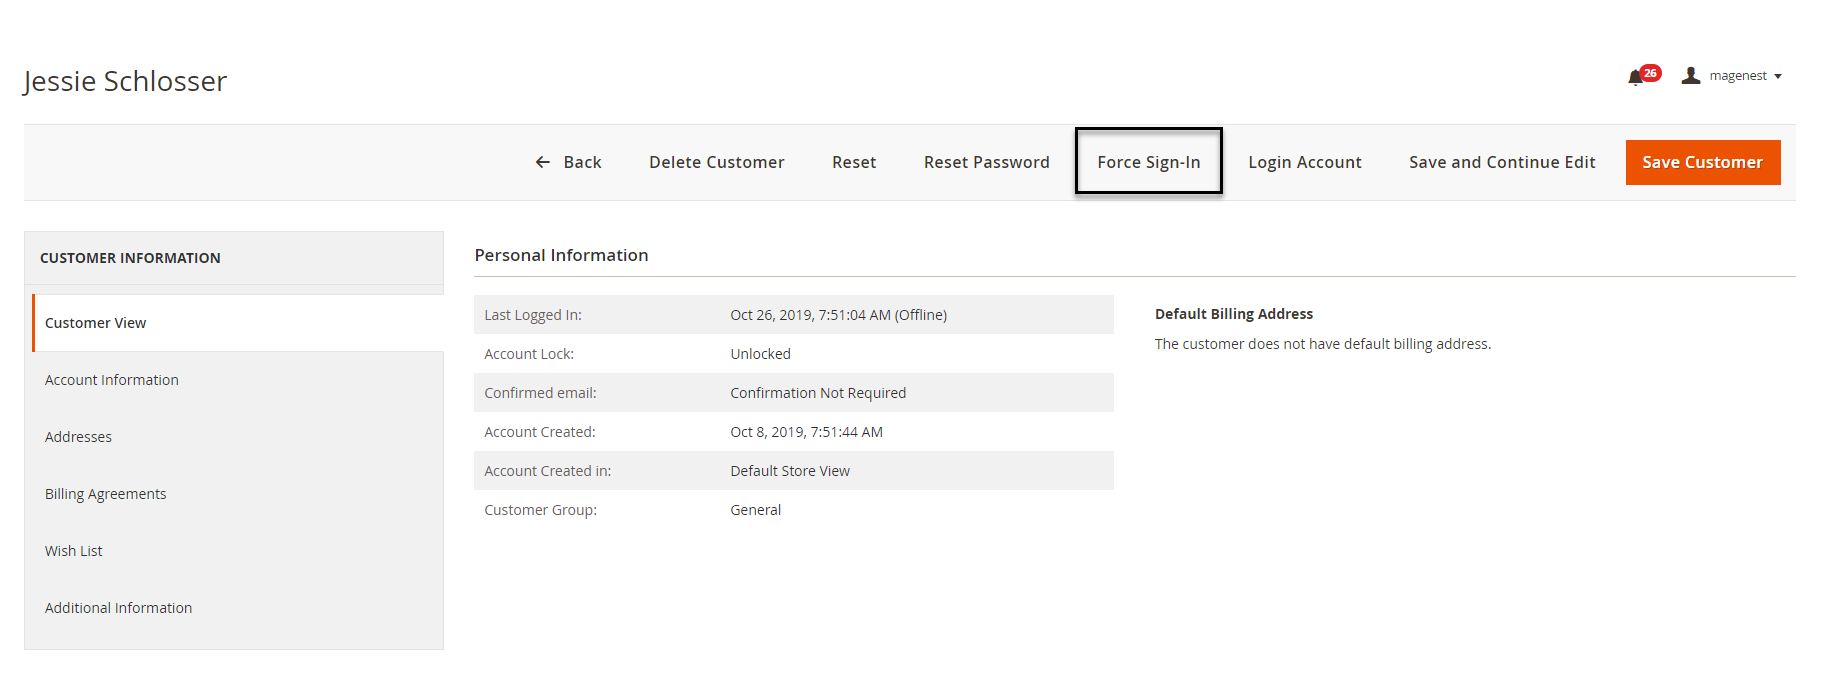
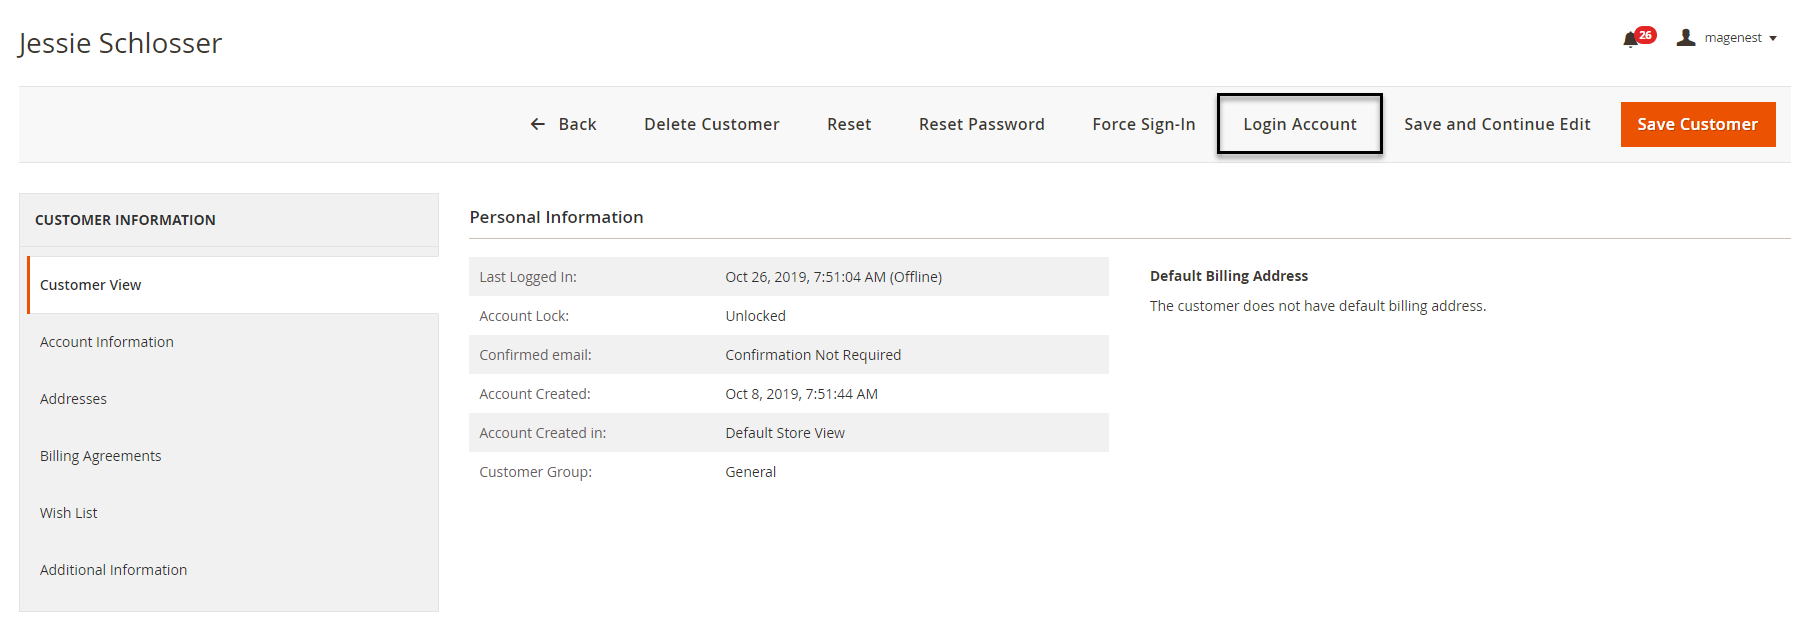
- Login as a customer from the backend.
- Add new attributes to the registration form page and account information page.
- Set the default value for the attribute.
- Set the order of the attributes to display on the frontend.
- Input validation for attributes.
- Allow customers to edit the additional information.
...
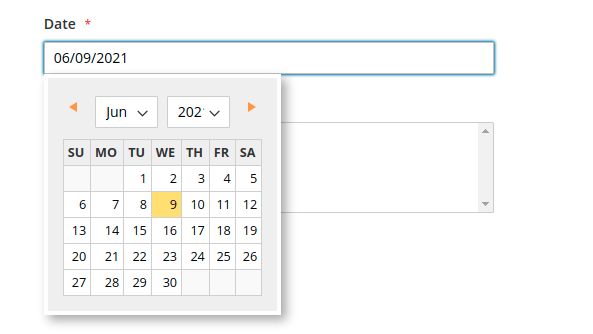
- Default Value: choose the default value which appears in the field as a suggestion. Customer can choose another date.
- Date type display:
| Status | ||||||||
|---|---|---|---|---|---|---|---|---|
|
...
There will be a list of options with images for customer's selection.
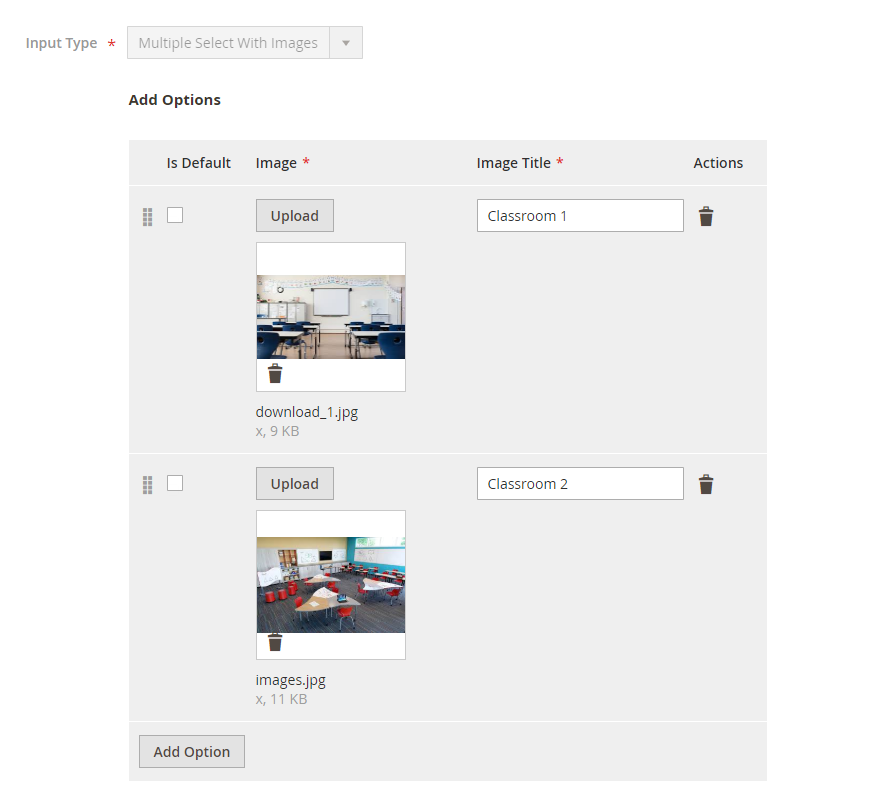
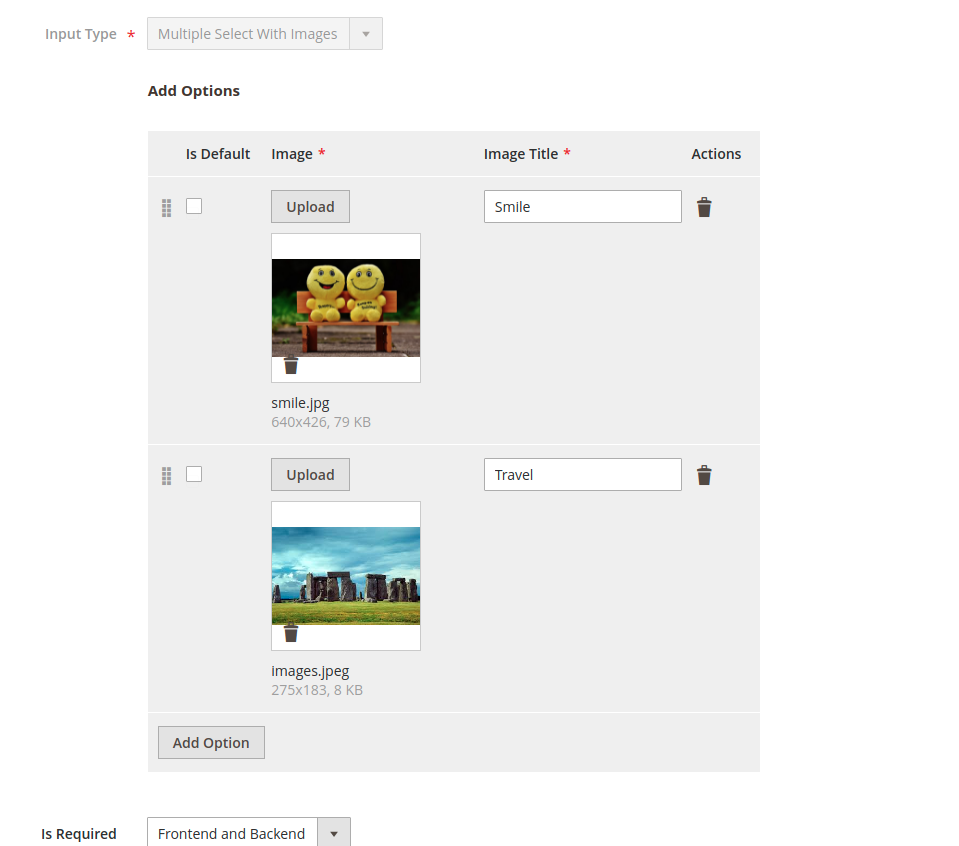
- Click on Add Option button to add more option.
- Choose the image and fill the title for each option.
- Multiple Select With Images type display:

| Status | ||||||||
|---|---|---|---|---|---|---|---|---|
|
...
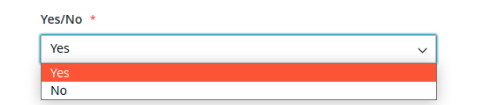
- Default Value: choose the value that will be marked by default. Customer Customers can choose another option.
- Yes/No type display:
| Status | ||||||
|---|---|---|---|---|---|---|
|
...
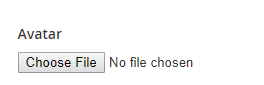
This type allows the customer to upload their image.
...
...
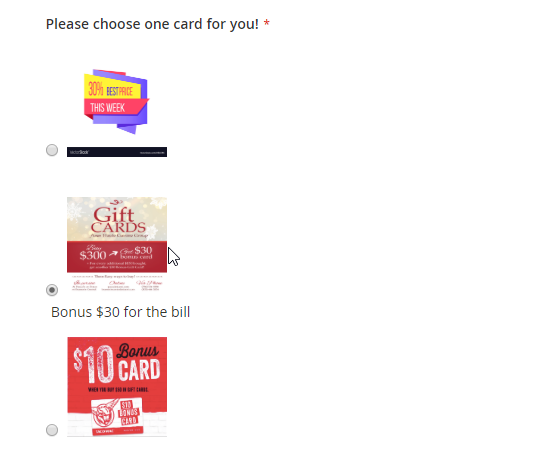
Single radio Image
There will be a list of options with images that allows the customer to select only one option.
...
- Click on Add Option button to add more option.
- Choose the image and fill the title for each option, which will display with the image.
- Single radio Image type display:
| Status | |||||
|---|---|---|---|---|---|
|
...
|
...
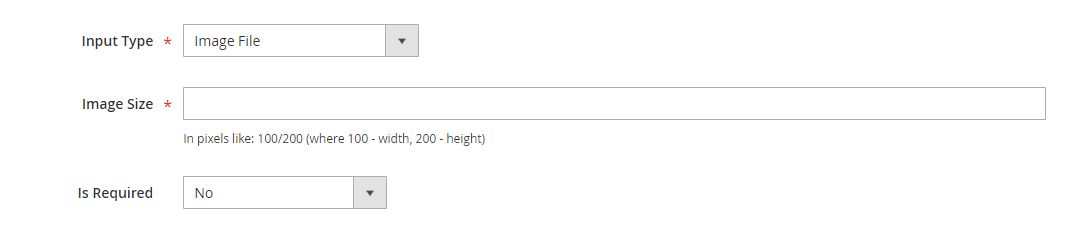
Single File Upload:
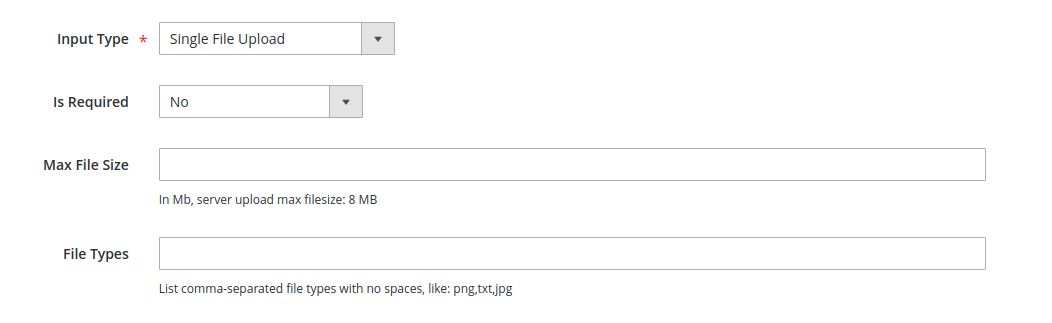
- Max file size: the maximum size for the uploaded file (MB)
- File types: file types allowed to upload, list comma-separated file types with no spaces, like png,txt,jpg.
...
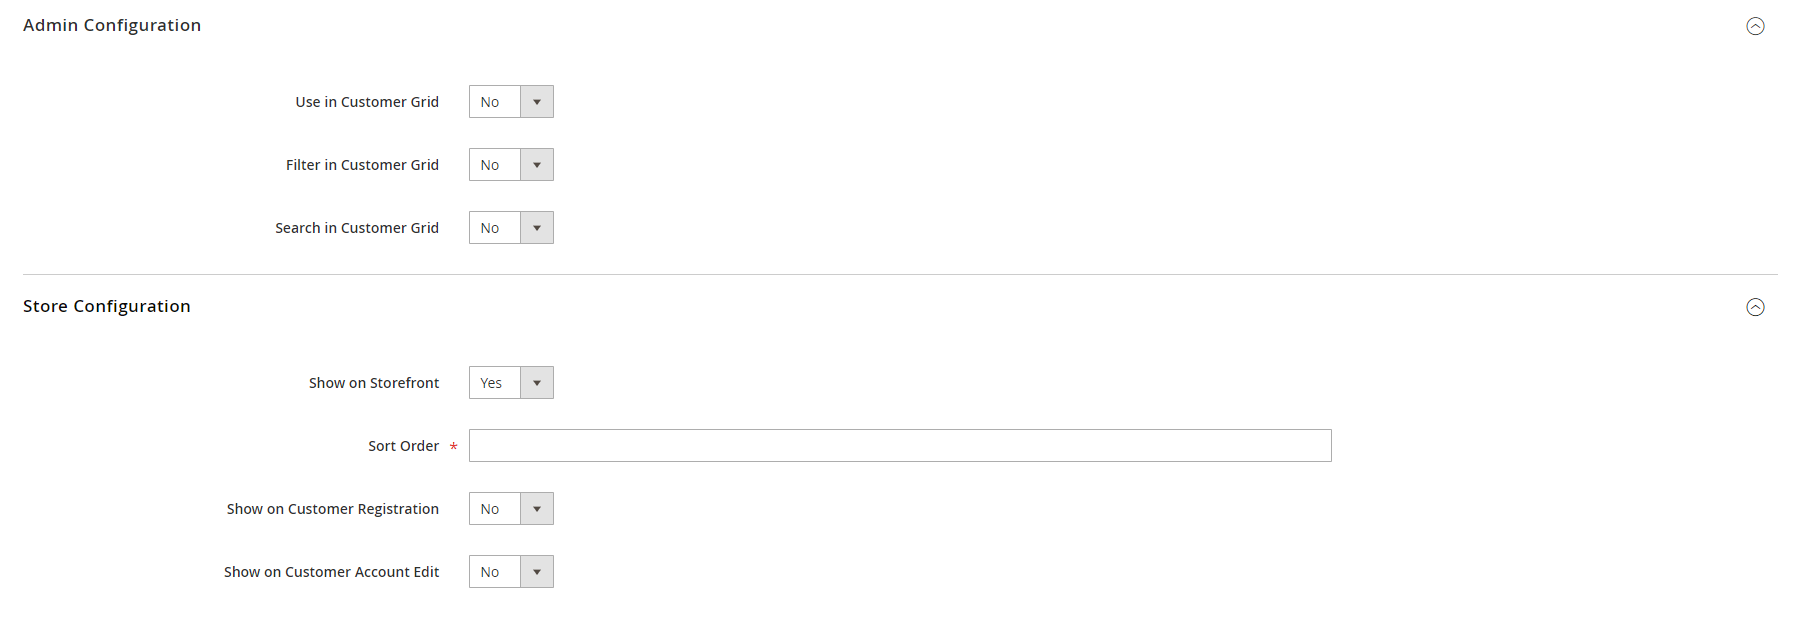
![]() Display on the select customer grid: choose Yes to show the attribute in the select customer grid. It's applied to the customer grid which is used to select a customer during order creation at the backend., which is available when you create the order from the back-end.
Display on the select customer grid: choose Yes to show the attribute in the select customer grid. It's applied to the customer grid which is used to select a customer during order creation at the backend., which is available when you create the order from the back-end.
![]() Show On Storefront: choose Yes to enable the attribute on the store.
Show On Storefront: choose Yes to enable the attribute on the store.
...
![]() Choose Yes / No to allow the attribute to display on the Customer Registration, Customer Account, and Customer Checkout page at the store.
Choose Yes / No to allow the attribute to display on the Customer Registration, Customer Account, and Customer Checkout page at the store.
![]() Note: The attribute with the Image File input field will NOT display on the checkout page.The attribute with the Single File Upload input field will NOT display on the checkout page.
Note: The attribute with the Image File input field will NOT display on the checkout page.The attribute with the Single File Upload input field will NOT display on the checkout page.
![]() After finishing the setup, click Save to save the attribute and view it on the frontend.
After finishing the setup, click Save to save the attribute and view it on the frontend.
...