Thank you for purchasing our extension. If you have any questions that are beyond the scope of this document, do not hesitate to leave us an email via our email address below.
Created: 08/02/2017 | By: Magenest | Support Portal: http://servicedesk.izysync.com/servicedesk/customer/portal/65
...
Introduction
Highlight Features:
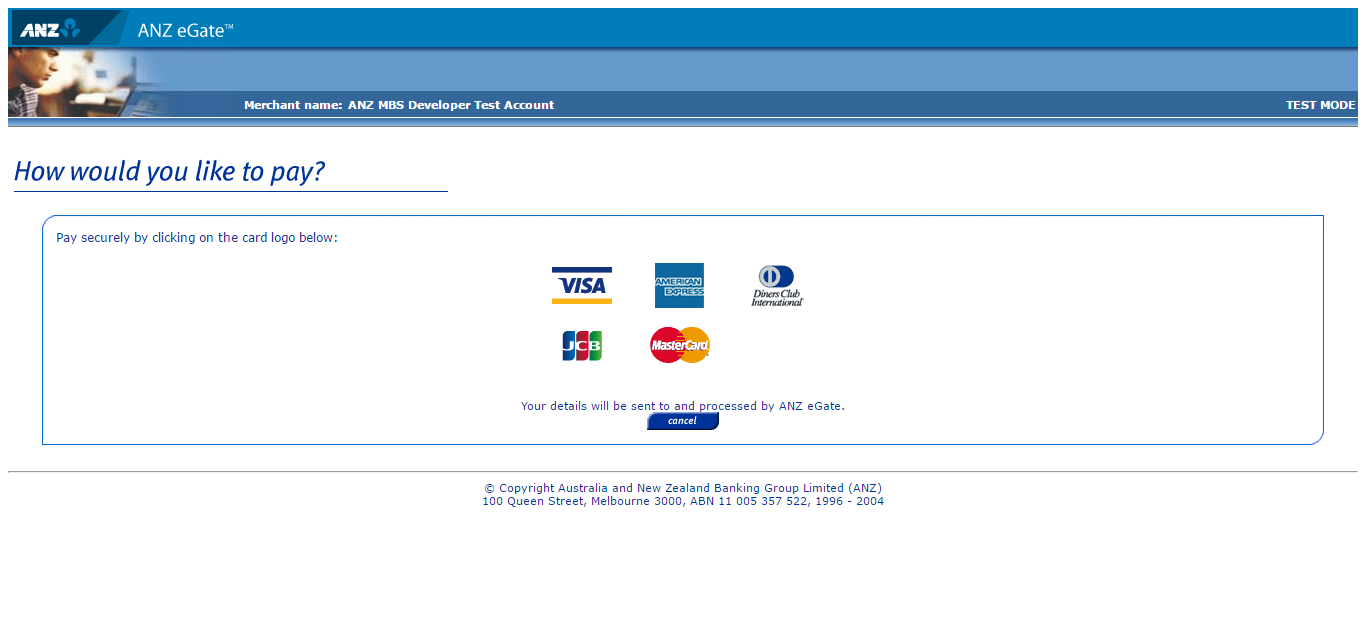
- Allow customers to checkout via debit cards and credit cards with various types of payment cards including Visa, MasterCard, American Express and Diners Club International.
- Guarantee merchants with 3D Secure Checkout, checking for fake card information.
- Payment gateway customization, giving customer a better checkout experience.
- Report of transactions, keeping control of all orders and invoices.
- Various tools for theft and fraud protection.
System Requirements
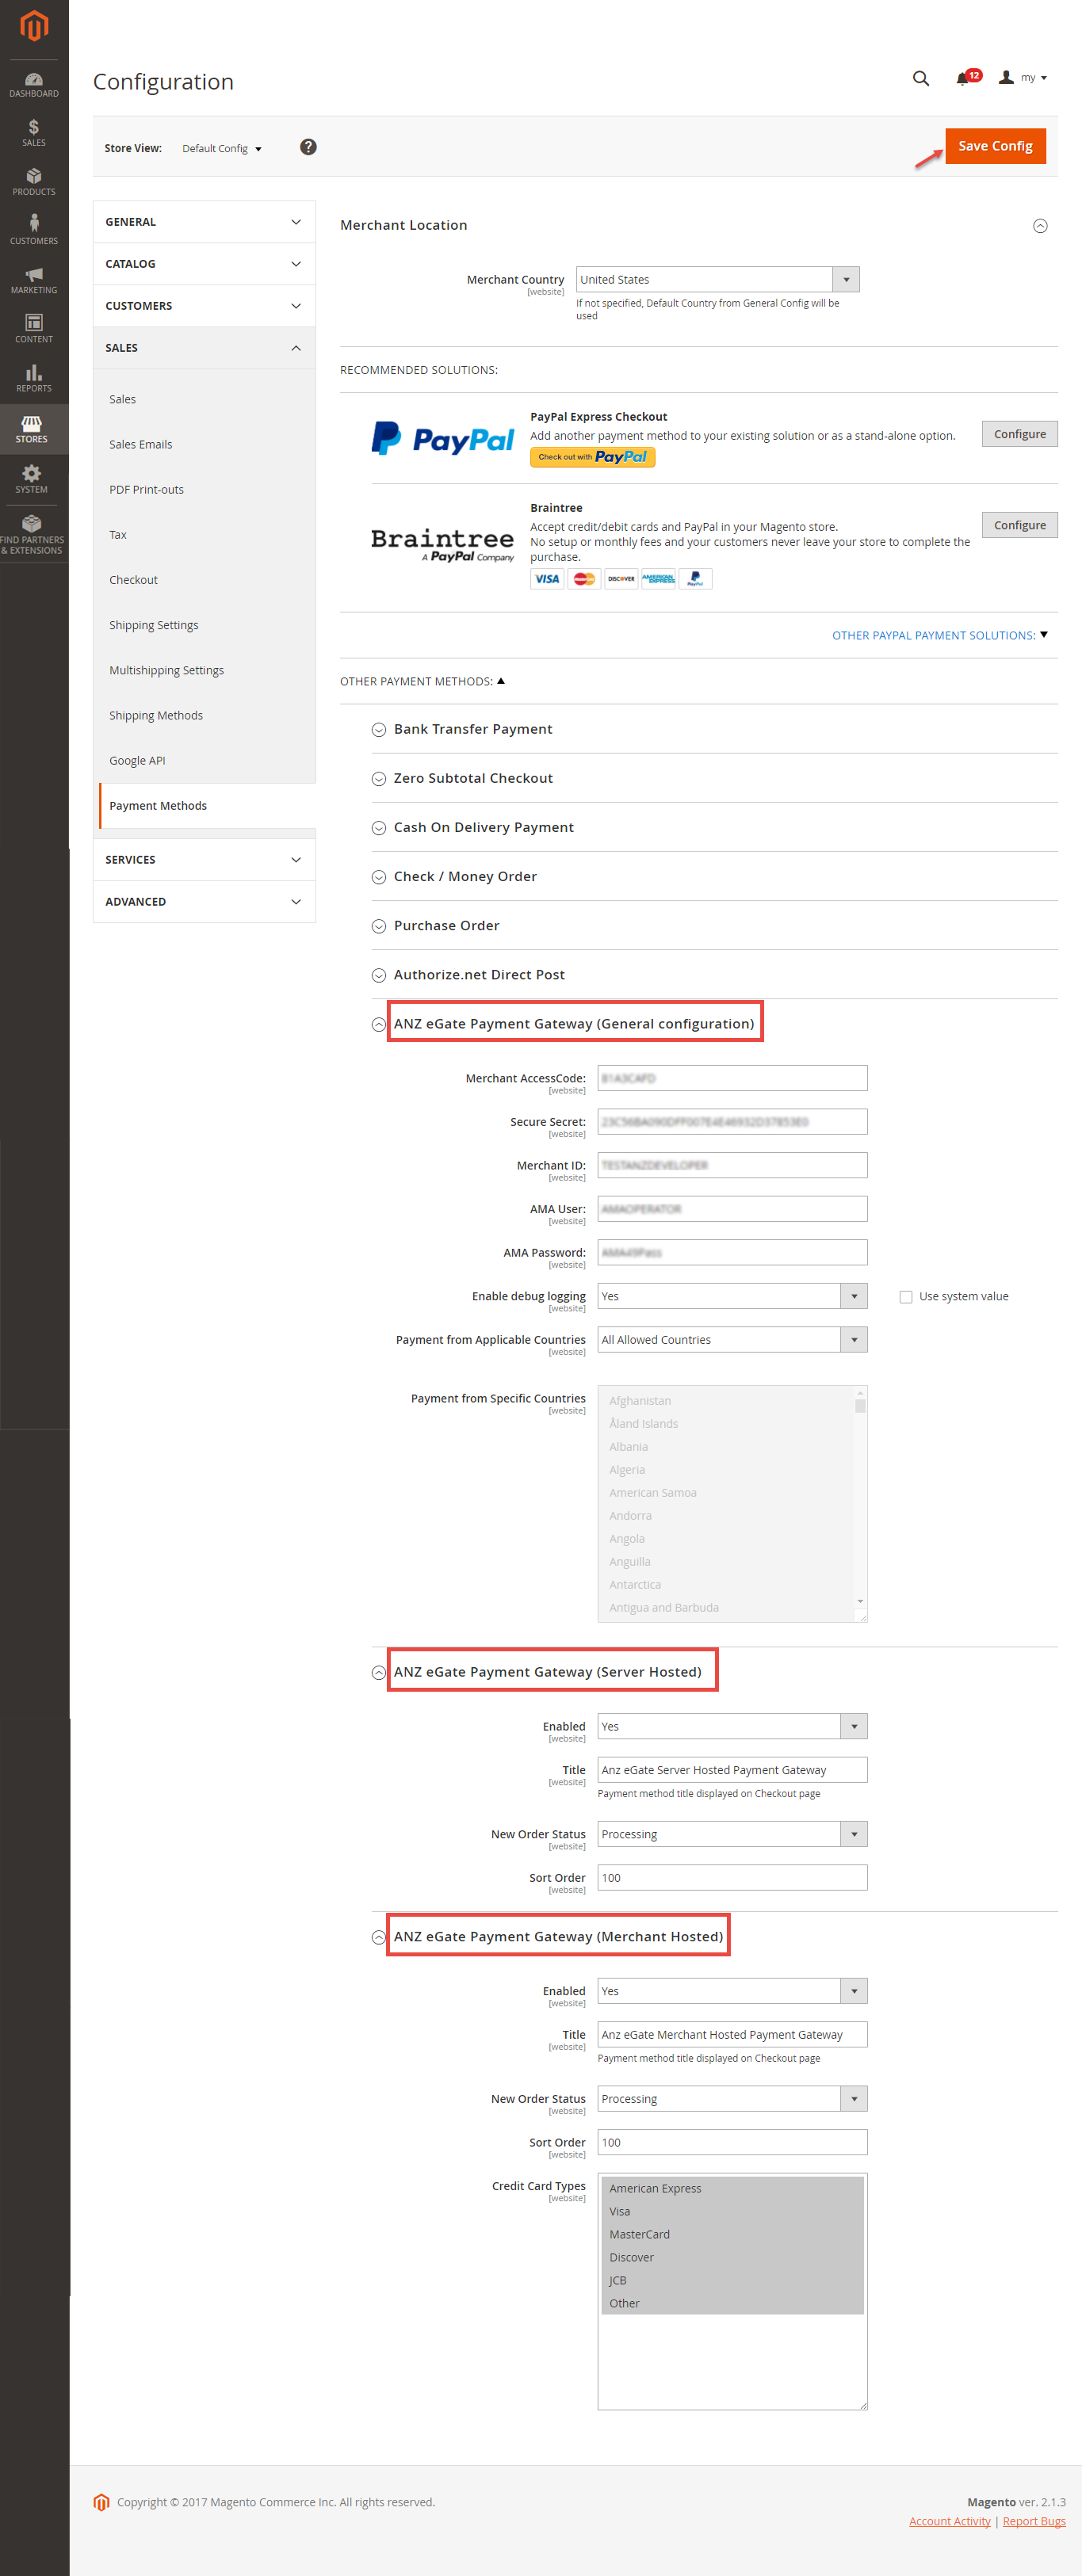
Configuration
Set up the Integration on Magento 2
Main Functions
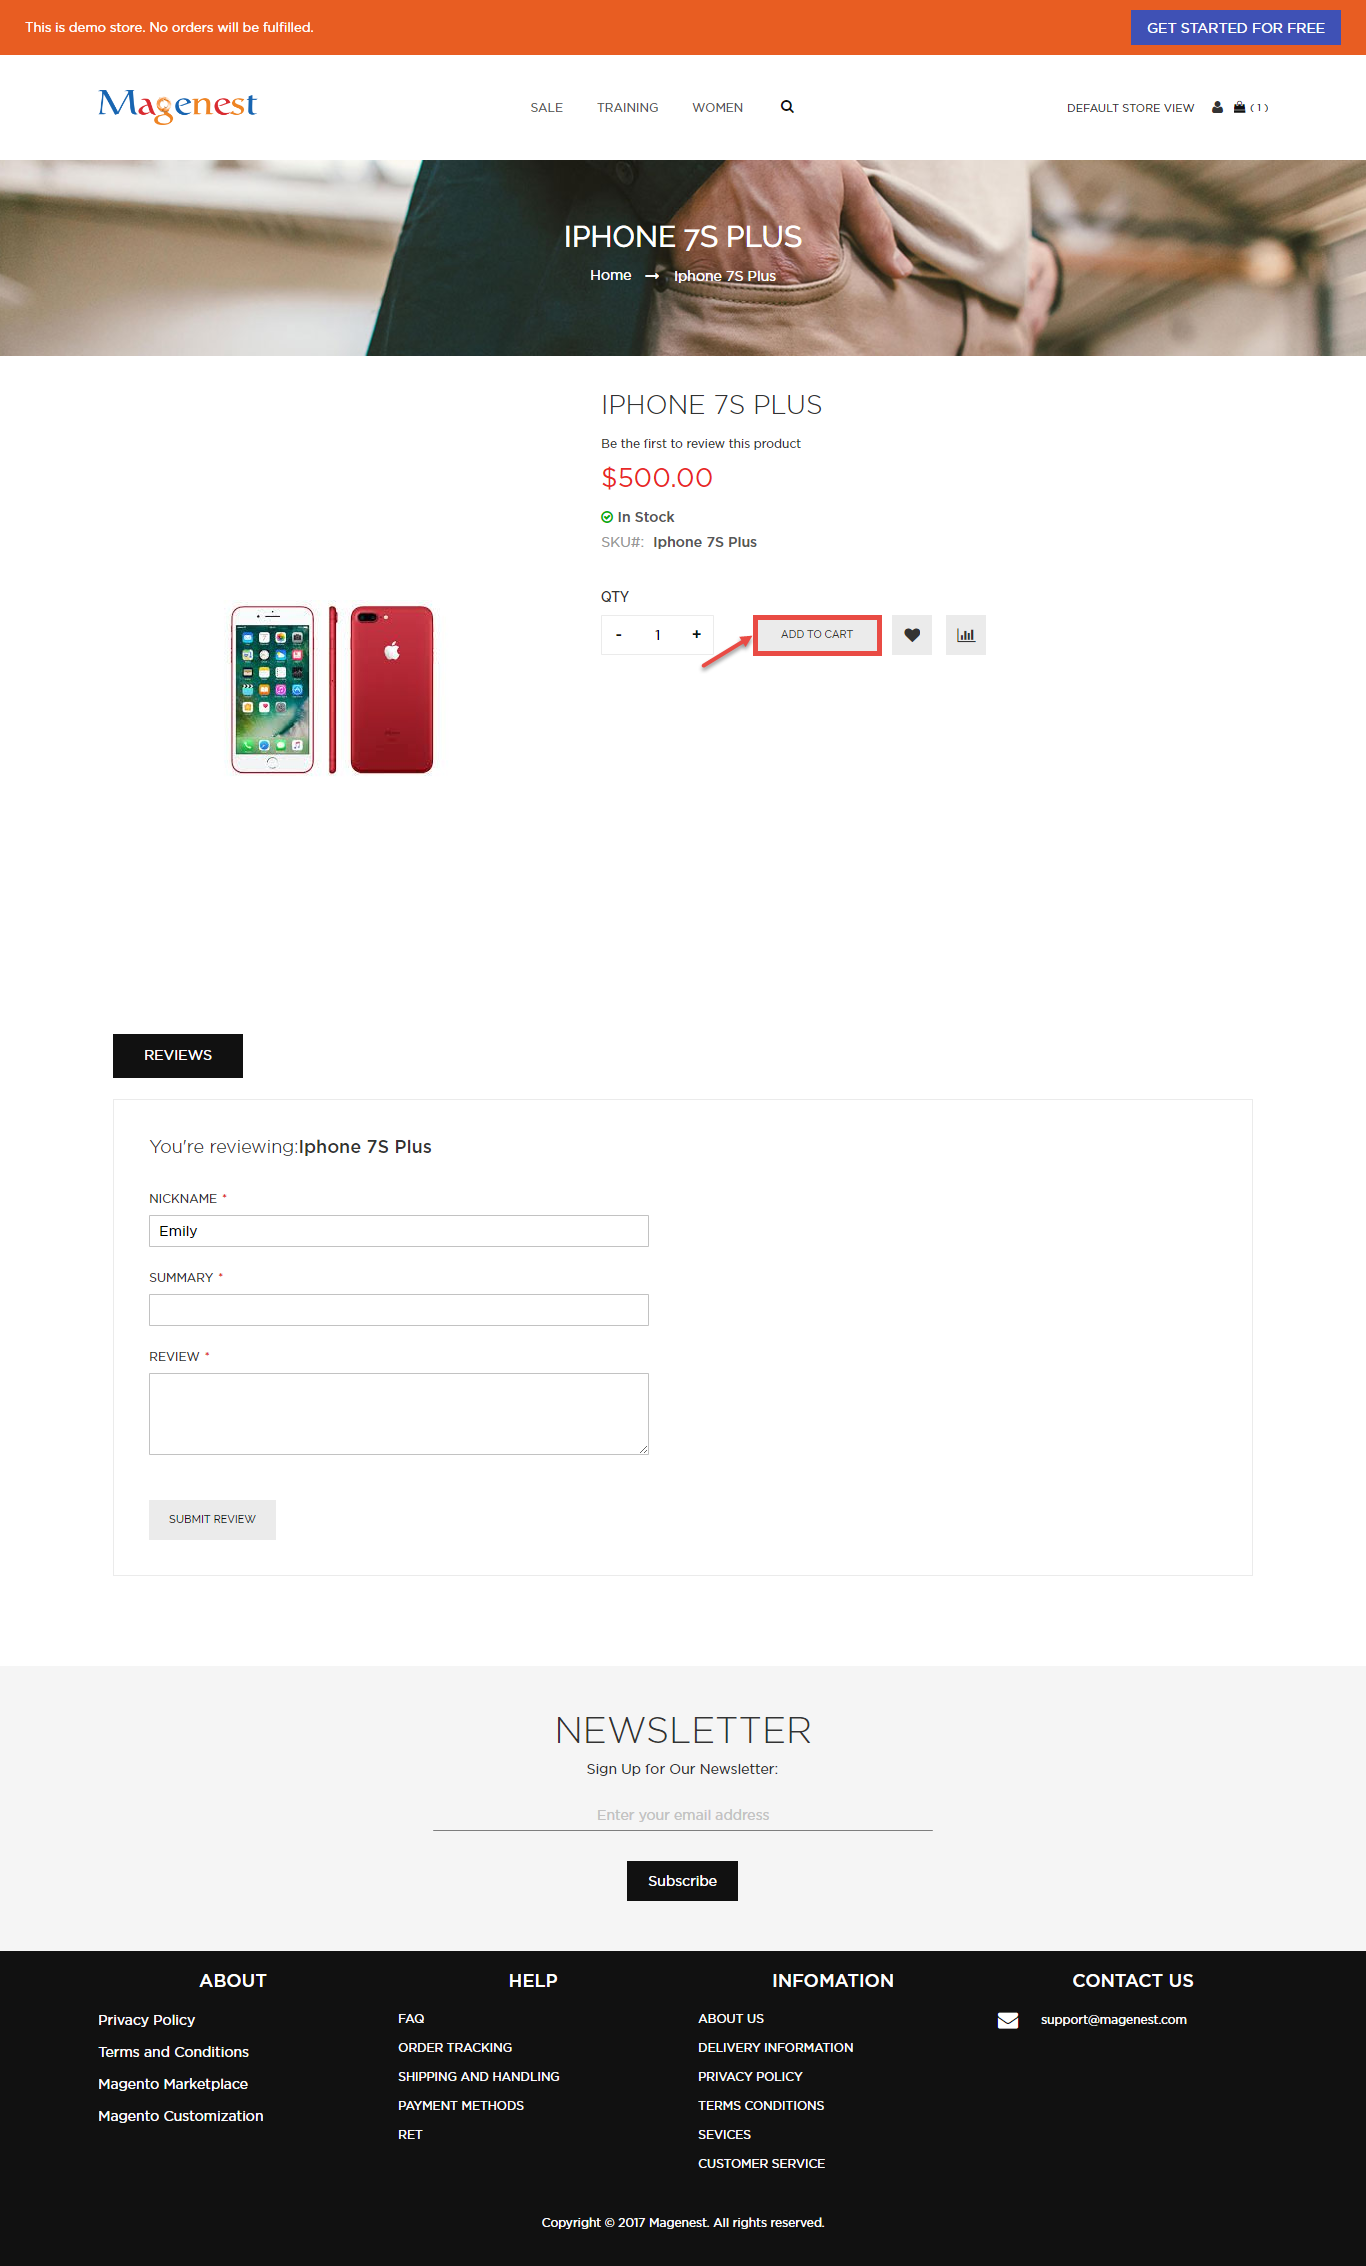
Easily Checkout
At frontend, Customer will need to choose an item and click on Add to Cart button:
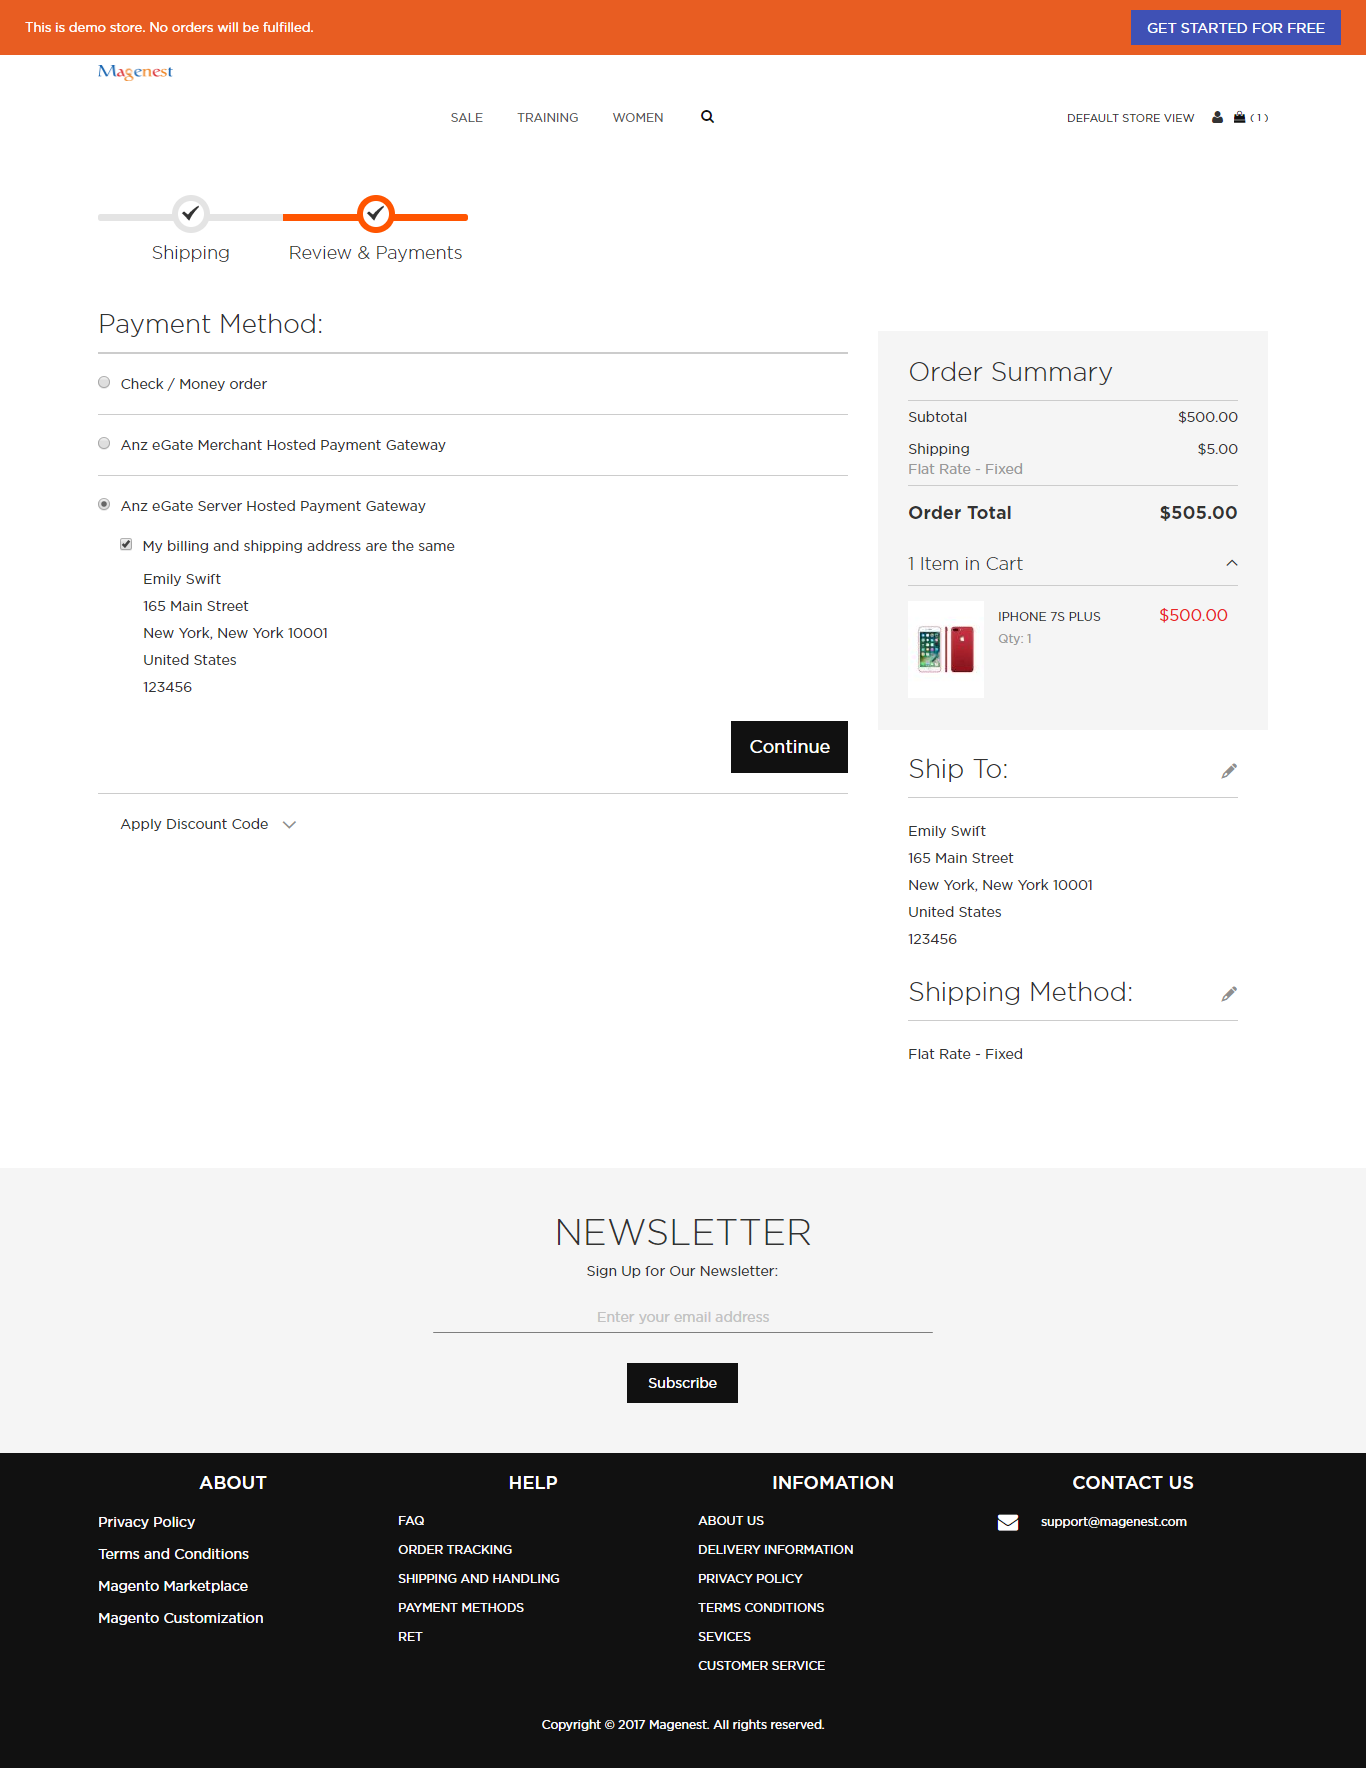
Customers can choose two methods: ANZ eGate Merchant Hosted Payment Gateway or ANZ eGate Server Hosted Payment Gateway.
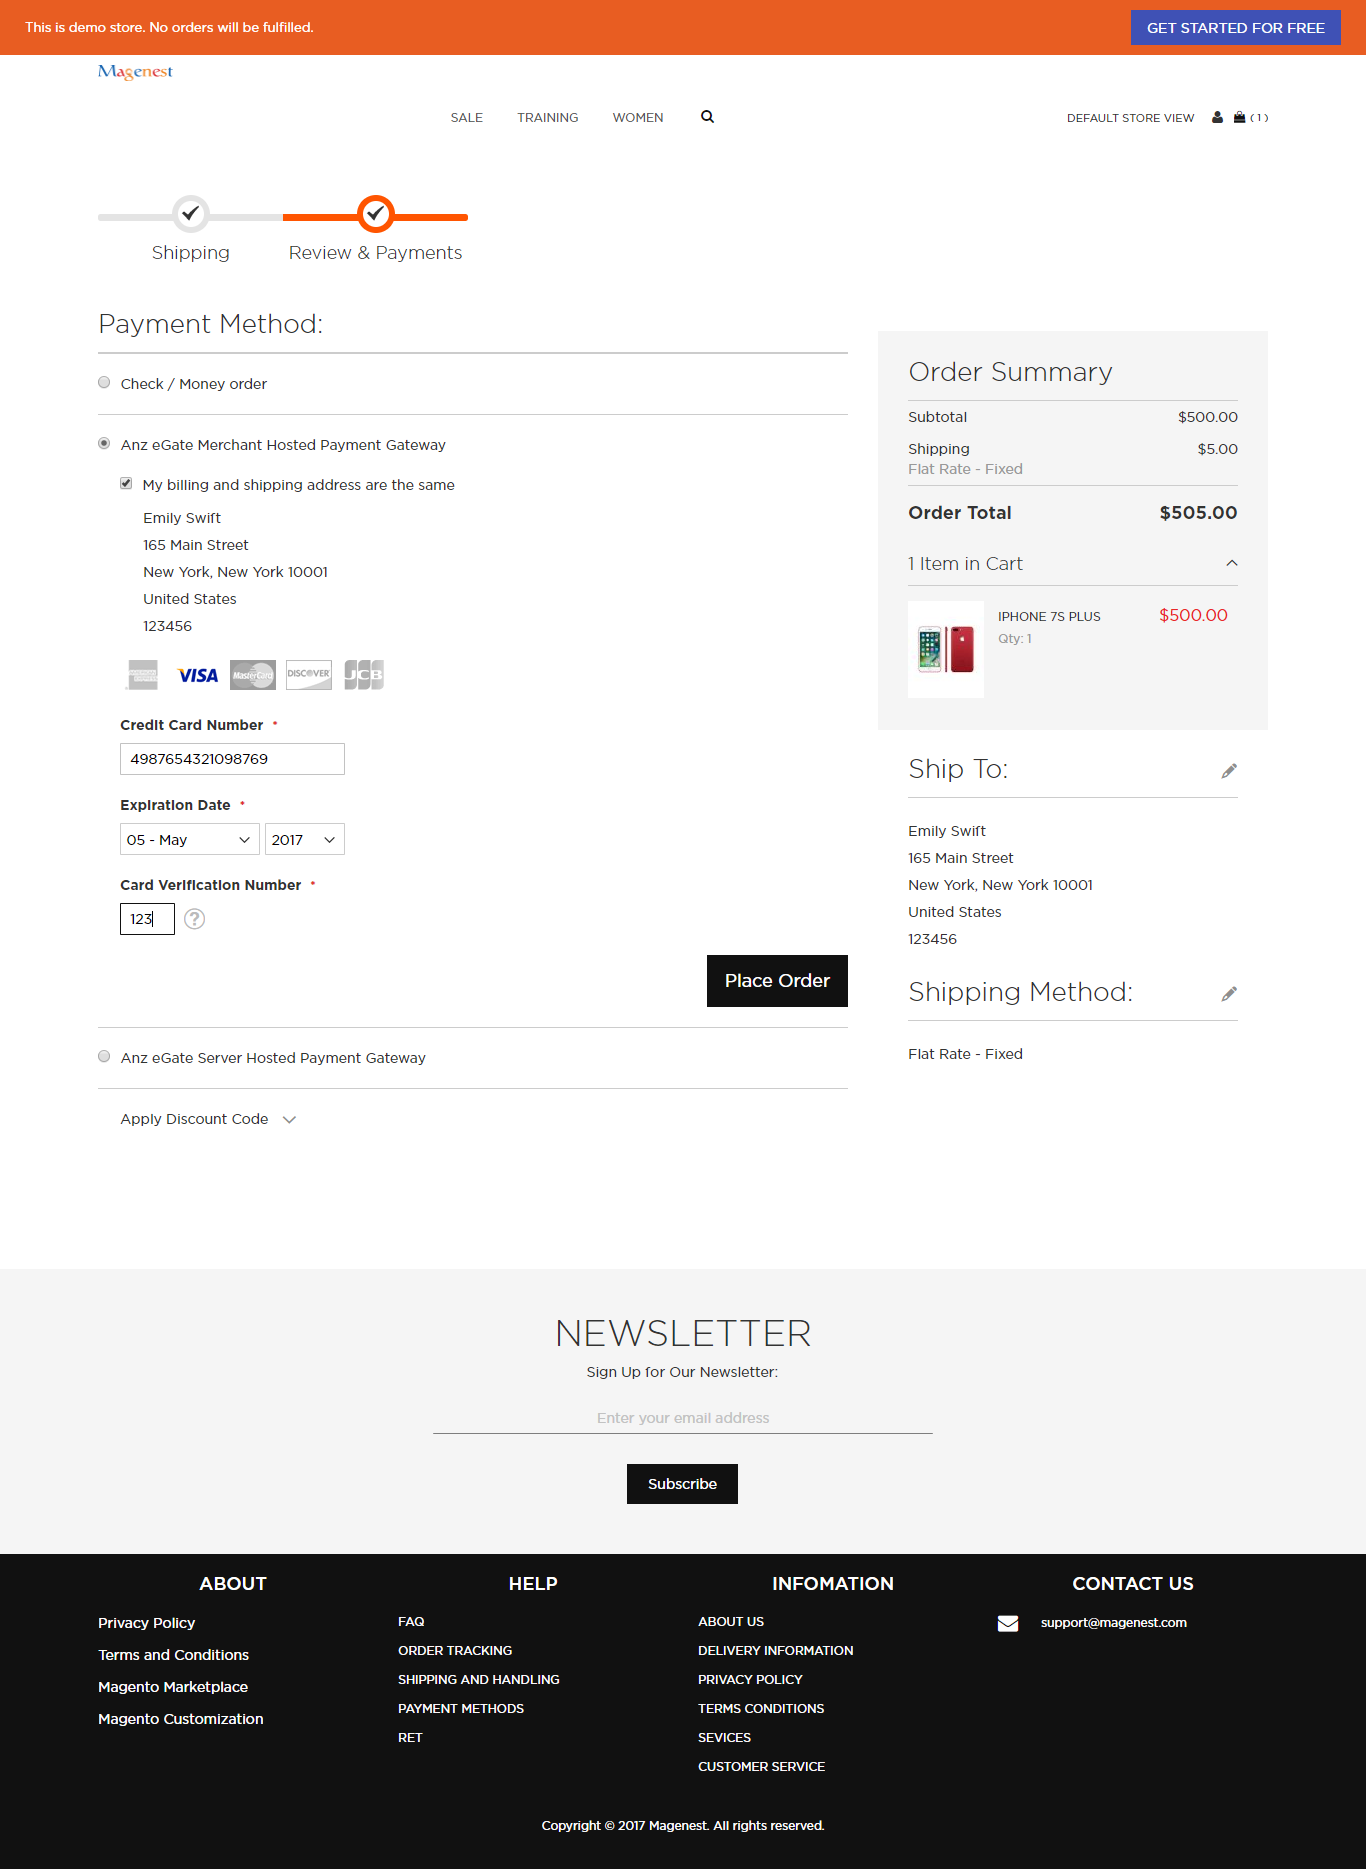
Following steps are the same to paying via ANZ eGate Server Hosted payment gateway.
![]() Support 3D secure card:
Support 3D secure card:
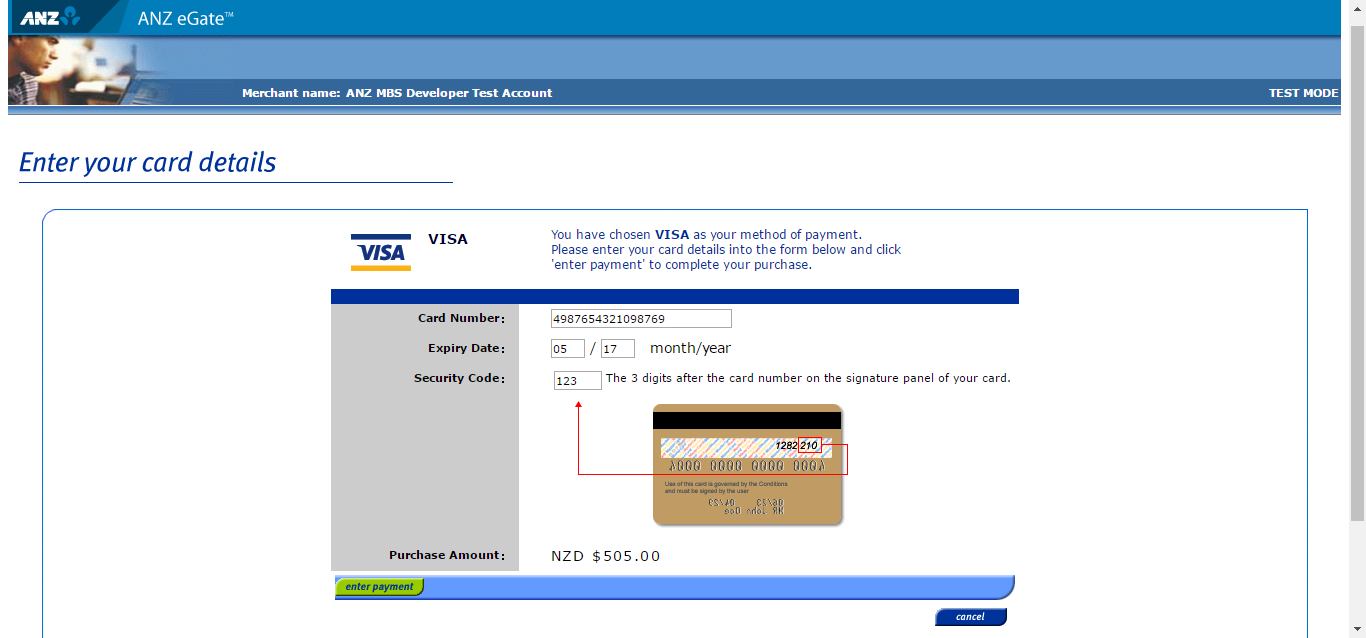
Step 1: Choose the type card with 3D secure and fill merchant's information
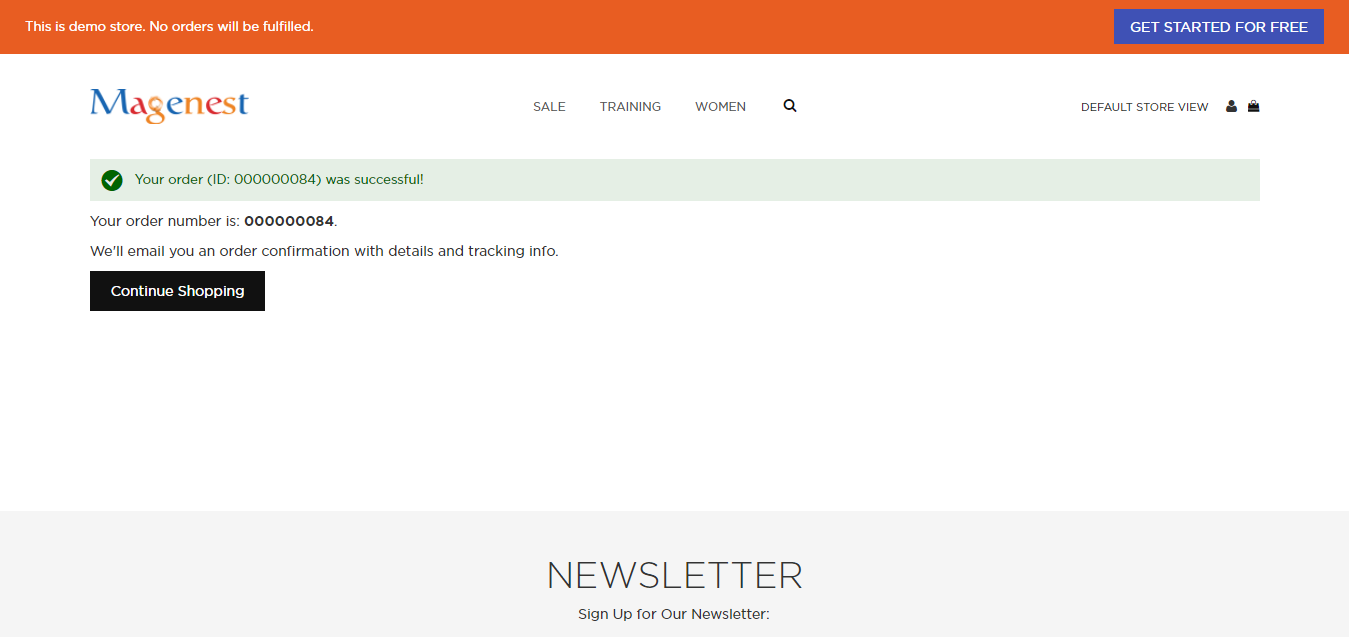
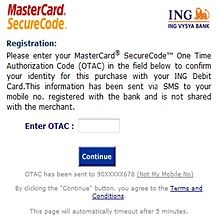
Step 2: The system will interact with the bank and send request to confirm when customer enter OTAC:
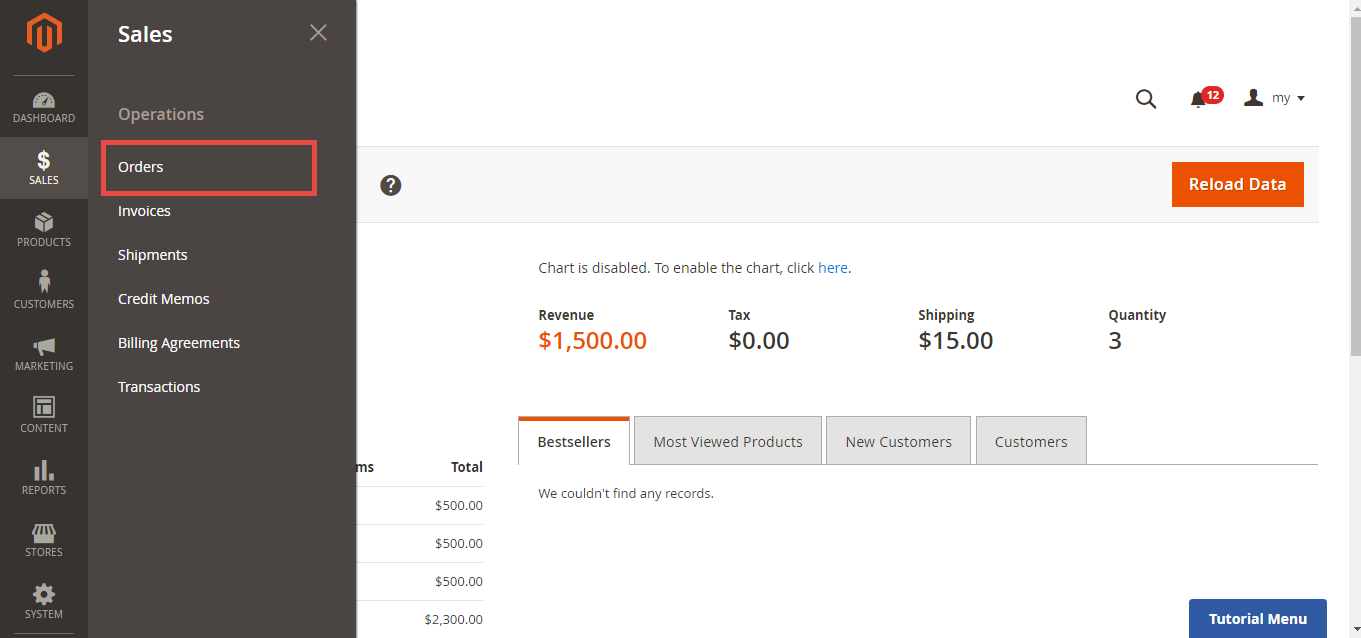
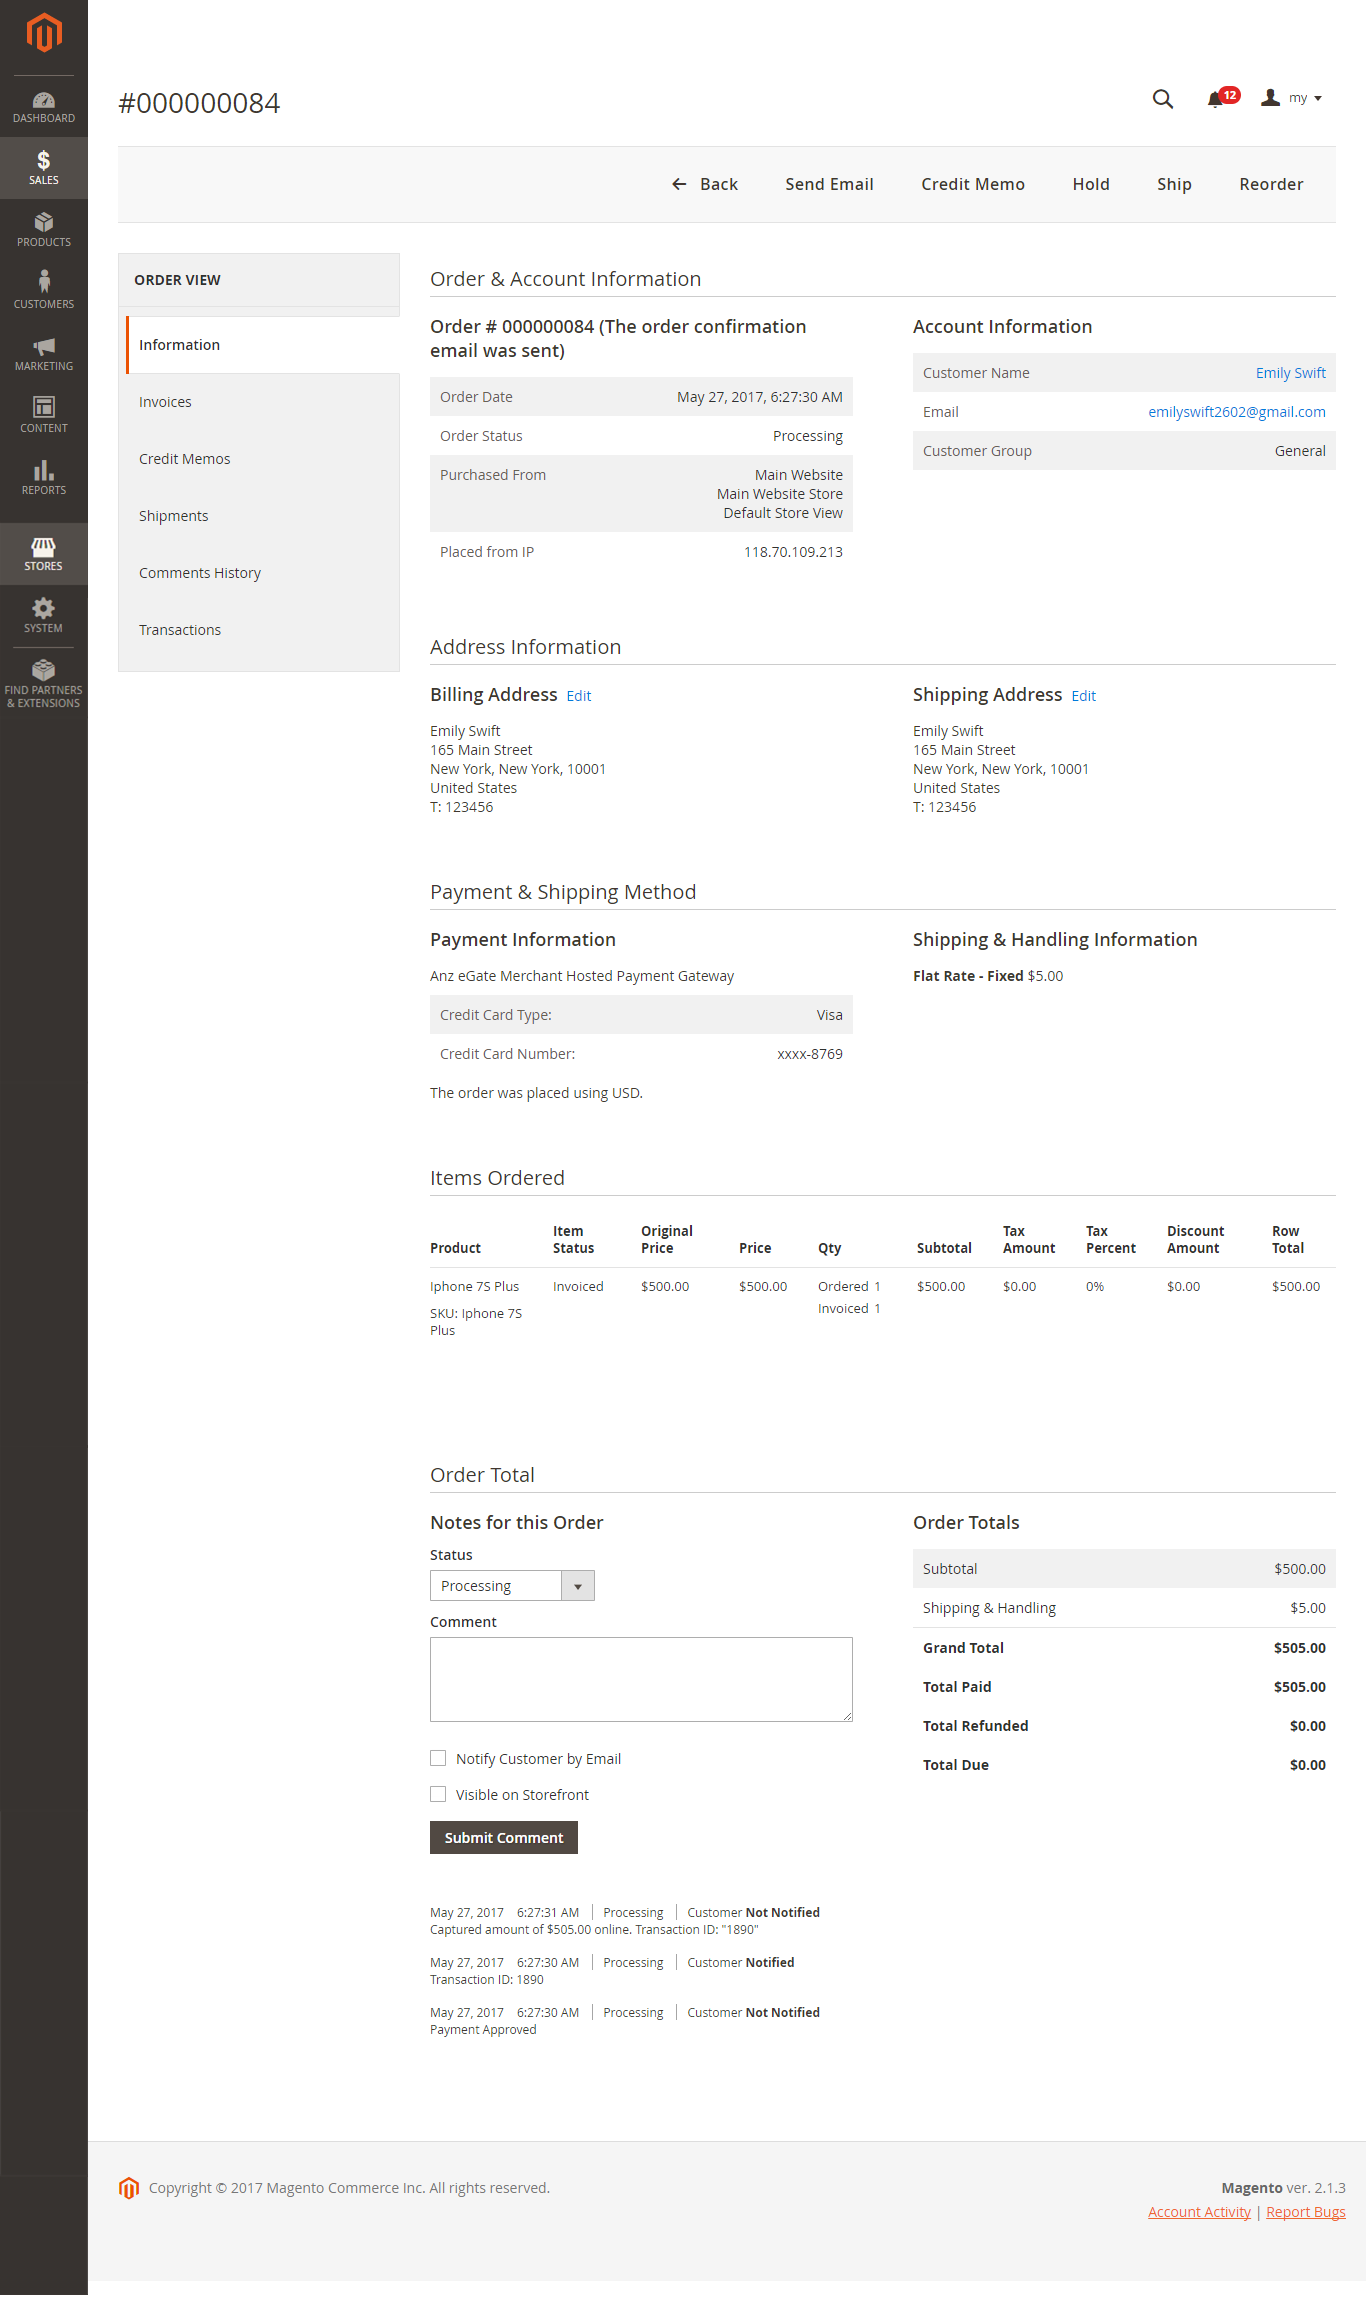
![]() To View Orders, click Sales->Orders-> View:
To View Orders, click Sales->Orders-> View:
NOTE:
...
Update
- When a new update is available, we will provide you with a new package containing our updated extension.
- You will have to delete the module directory and repeat the installing steps above.
- Flush the config cache. Your store and newly installed module should be working as expected.
...
Support
- We will reply to support requests after 2 business days.
We will offer lifetime free update and 6 months free support for all of our paid products. Support includes answering questions related to our products, bug/error fixing to make sure our products fit well in your site exactly like our demo.
- Support DOES NOT include other series such as customizing our products, installation and uninstallation service.
Once again, thank you for purchasing our extension. If you have any questions relating to this extension, please do not hesitate to contact us for support
Here we will guide you through the installation process of our extension. First off, open FileZilla, log in to your host as follows:

In the above example we switched the local site to the extension directory, and the remote site to the code directory. Now on the remote site window, inside app/code directory, create a folder named Magenest and go inside it. Now on your local site window, right click on Extension Name and click Upload. The extension will be uploaded onto your host in a few minutes.
The second method will require you to compress the extension into .zip or .tar.gz format, then execute the following command in your Command Line/Terminal:
scp <path to your extension> <ssh server>:<path to Magenest directory>Then log into your ssh server, go to Magenest directory and execute the following command to decompress the module:
unzip <.zip compressed extension> Or
tar -xzvf <.tar.gz compressed extension> Now go to your Magento root directory, say it's named magento2, and execute the following commands:
php bin/magento setup:upgrade php bin/magento setup:static-content:deploy
After running all these, your Command line/Terminal window might look like this:

Finally, you need to flush the cache by either type this into the Command Line/Terminal:
php bin/magento cache:flushOr go to System > Cache Management. Click the following buttons to completely clear the store cache:
1. Flush Magento Cache
2. Flush Cache Storage
3. Flush Catalog Images Cache
4. Flush JavaScript/CSS Cache

...
.