Thank you for purchasing our extension. If you have any questions that are beyond the scope of this document, do not hesitate to leave us an email via our email [email protected].
Created: 22/08/2019 | By: Magenest | Support Portal: http://servicedesk.izysync.com/servicedesk/customer/portal/29
Introduction
Feature
Configuration
General Setting
![]() On Admin sidebar, go to Marketing > PDF Invoice > Settings.
On Admin sidebar, go to Marketing > PDF Invoice > Settings.
![]() On Configuration page
On Configuration page
1 General Configuration
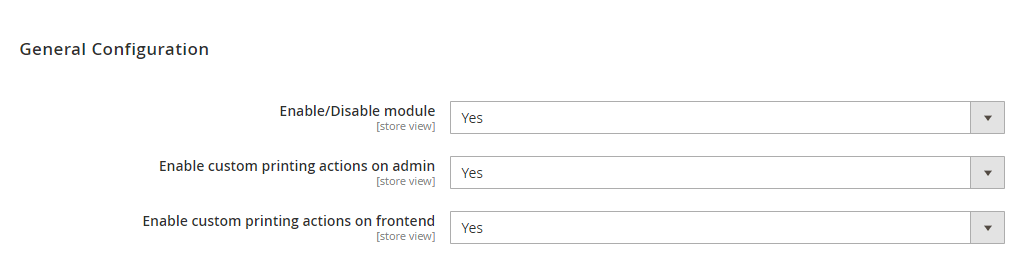
- Enable / Disable Module: choose Yes to activate the extension.
- Enable custom printing actions on admin: If choose Yes, it will allow admin to export the PDF from the backend.
- Enable custom printing actions on frontend: If choose Yes, it will allow the customer to export the PDF from the frontend.
2 Set configuration for the PDF

There are four types of PDF: PDF for Order, PDF for Invoice, PDF for Shipment, PDF for Credit Memos. Expand the sections to configure for each PDF.
- Enable PDF Attachment: choose Yes to attach the PDF files to the transaction emails.
- Select PDF Template: choose a template on the drop-down list for the attached PDF.
Manage PDF Template
This section allows editing the available PDF template or creating new template.
![]() On the Admin sidebar, go to Marketing > PDF Invoice > Manage PDF Template.
On the Admin sidebar, go to Marketing > PDF Invoice > Manage PDF Template.
![]() On Manage PDF Template page, click on Add New Template button to create a new one.
On Manage PDF Template page, click on Add New Template button to create a new one.
![]() On New Template page:
On New Template page:
General Configuration

- Template Name: enter the name for the new template.
- Template for: choose the type of email that the PDF is attached with. There are four default types of email: order, invoice, shipment. credit memo.
PDF Configuration
In this section, admin can configure the layout for the PDF template.
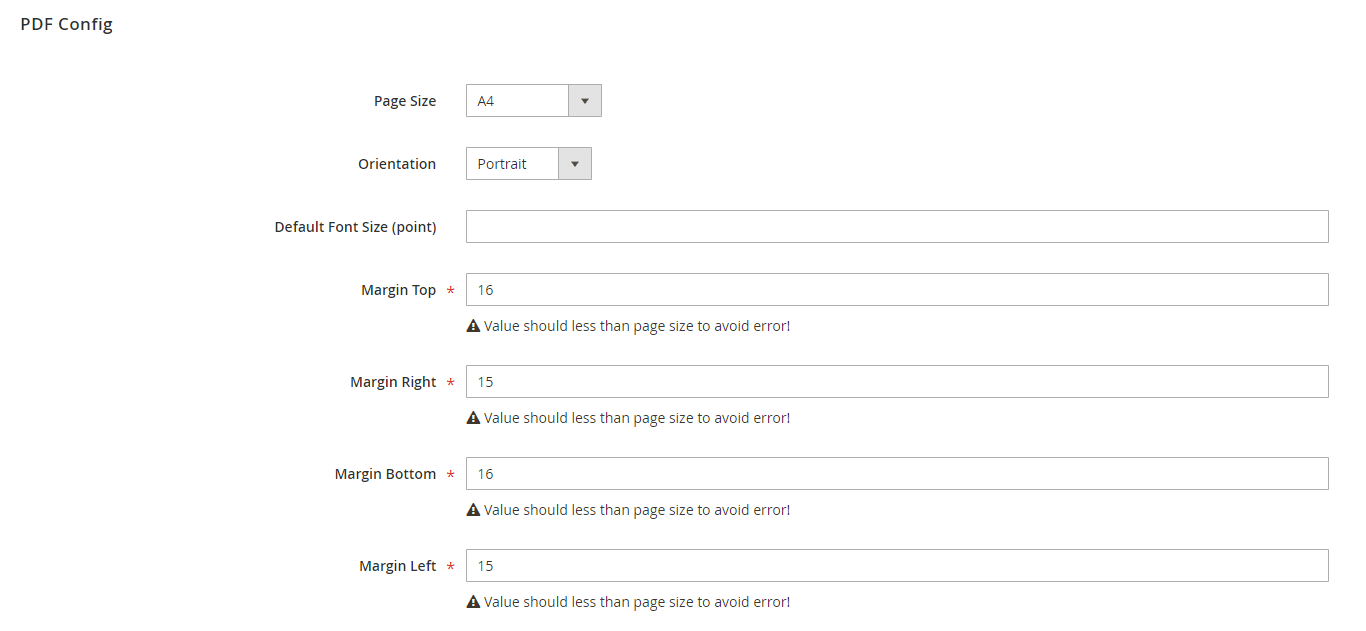
- Select the Page Size and Orientation for the template.
- Set the Default Font Size for the text.
- Set the margins for the template.
PDF Content
Admin can build a new template or create a new template base on an available template.
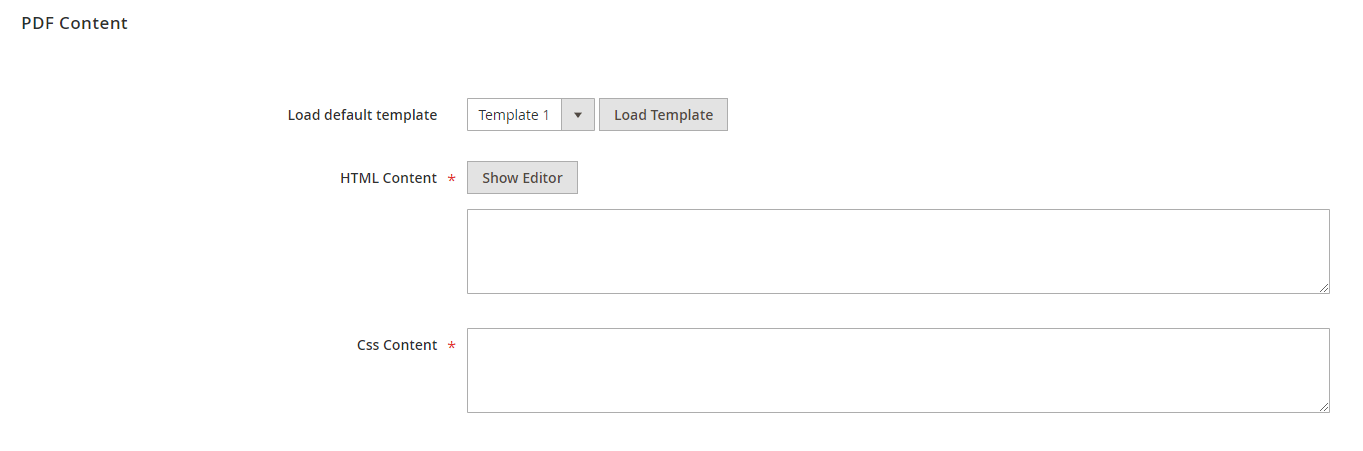
![]() To create a template base on the available templates
To create a template base on the available templates
- On Load default template section, choose one template on the drop-down list
- Click on Load Template button.
- Then click on Show Editor button to open the Template Builder area and set a new template base on the available one.
![]() To build a new template, on HTML Content, click on Show Editor button. Then create your content from scratch.
To build a new template, on HTML Content, click on Show Editor button. Then create your content from scratch.
- On the Template Builder section, drag and drop the items on the right column to the template area to build a new template.
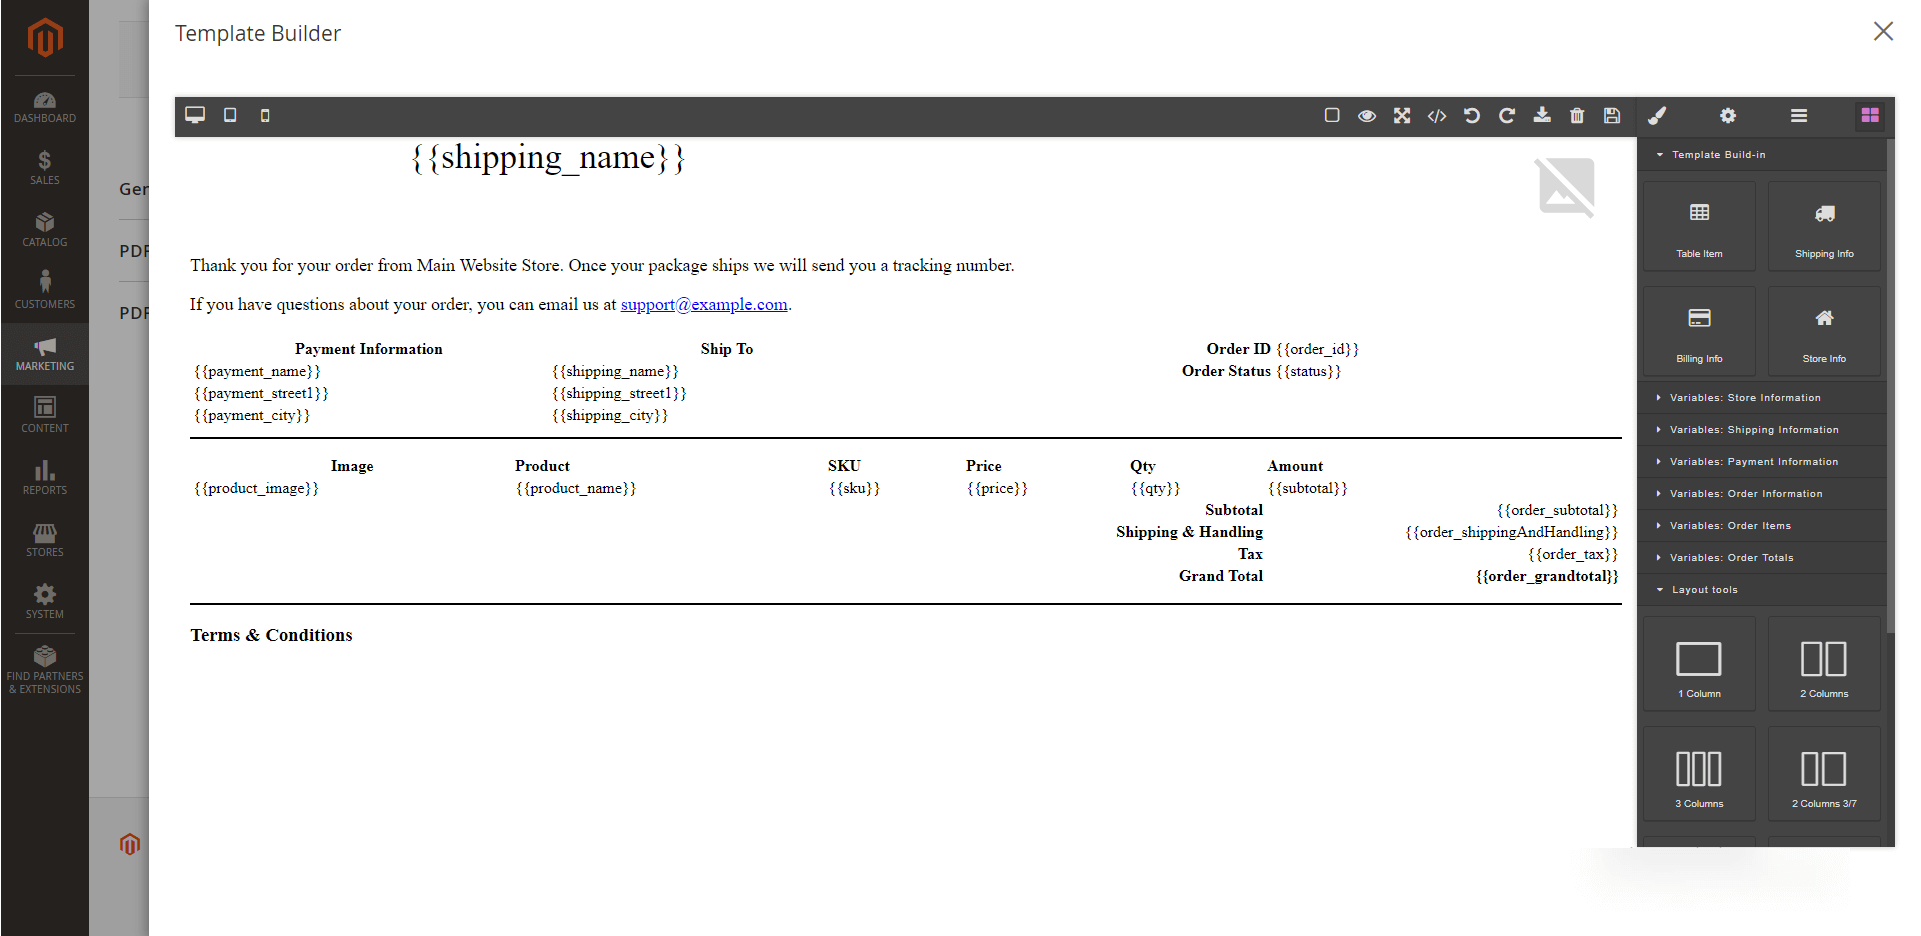
- Template Build-in: contain the main content parts for the template.
- Variables: include the content items for the template.
- Layout tools: include the layout items for the template form.
- Click on each item and set the display for it with the tool table on the right.
![]() After finish, click on Save button to save the new template.
After finish, click on Save button to save the new template.
Update
- When a new update is available, we will provide you with a new package containing our updated extension.
- You will have to delete the module directory and repeat the installing steps above.
- Flush the config cache. Your store and newly installed module should be working as expected.
Support
- We will reply to support requests within 2 business days.
- We will offer lifetime free update and 6-month free support for all of our paid products. Support includes answering questions related to our products, bug/error fixing to make sure our products fit well in your site exactly like our demo.
- Support DOES NOT include other services such as customizing our products, installation and uninstallation service.
Once again, thank you for purchasing our extension. If you have any questions relating to this extension, please do not hesitate to contact us for support.