Introduction
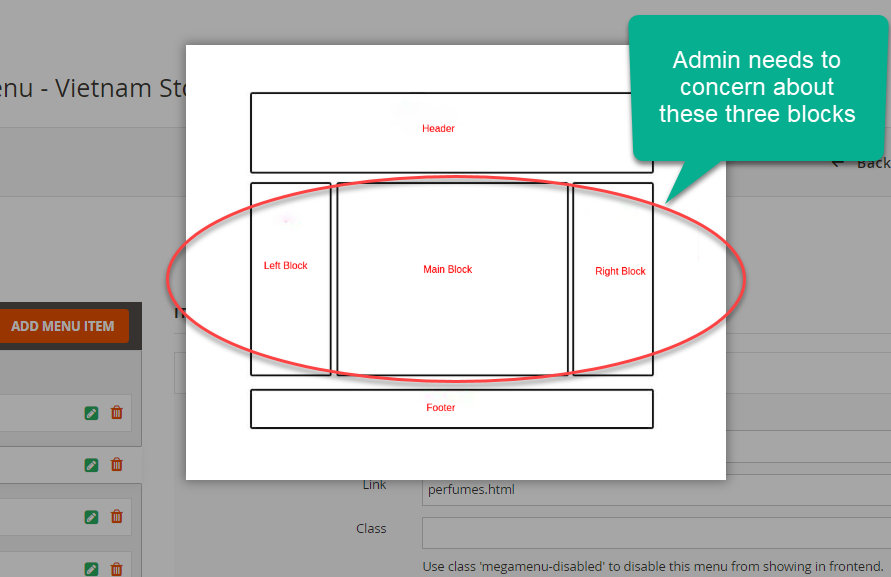
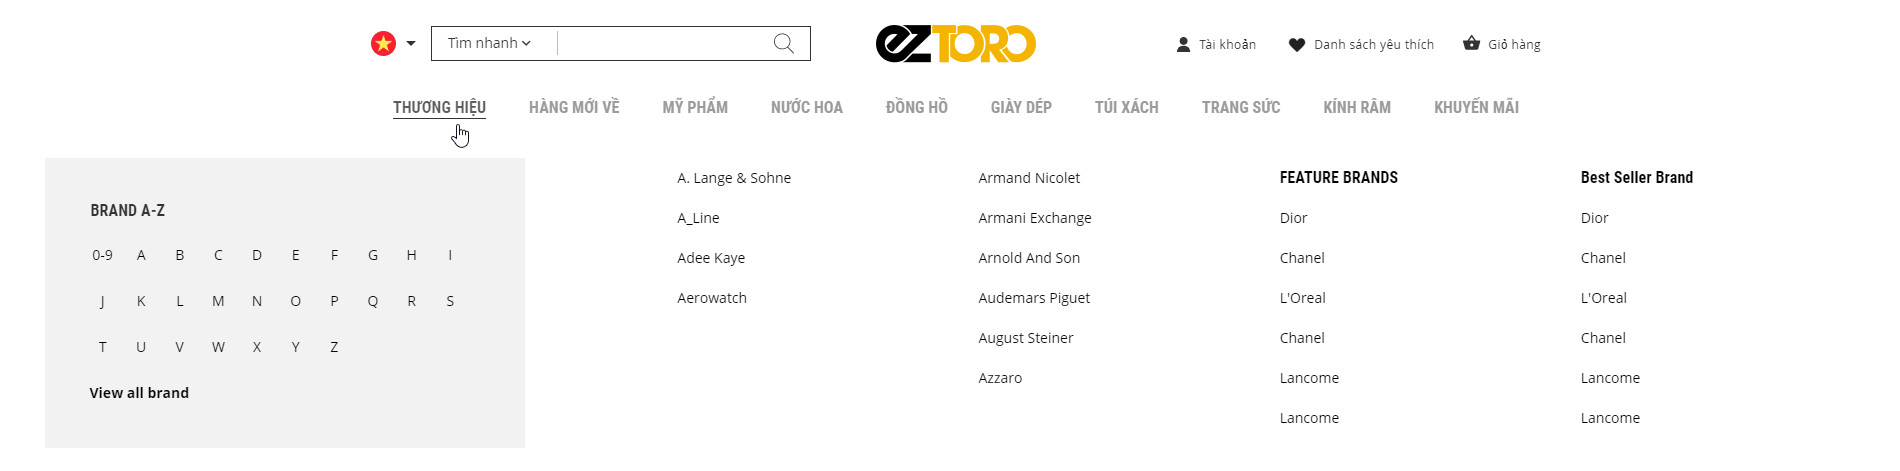
This is the default menu structure. Admin needs to concerns about the three blocks in the middle. In a menu section, if the right block is disabled, the left block and main block will display on the menu section as normal. In this case, the main block will display on the right side.
Navigation
Menu
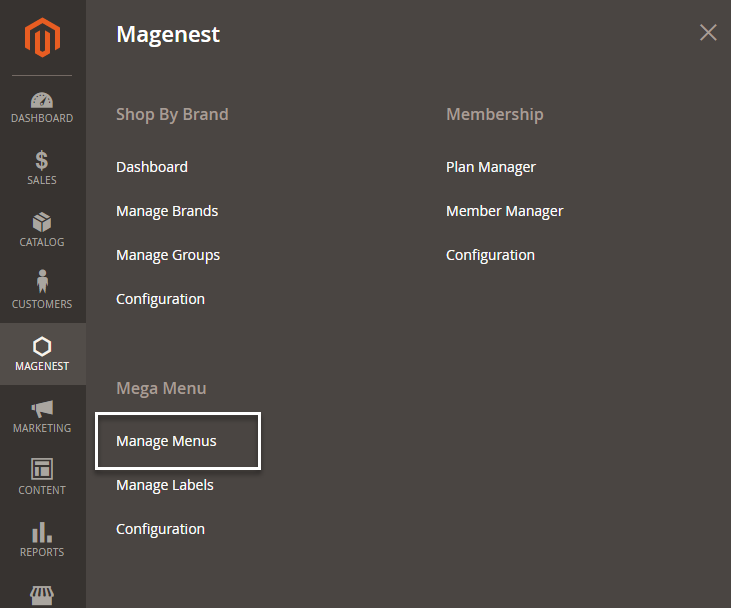
![]() On the admin sidebar, go to Magenest > Mega Menu > Manage Menus.
On the admin sidebar, go to Magenest > Mega Menu > Manage Menus.
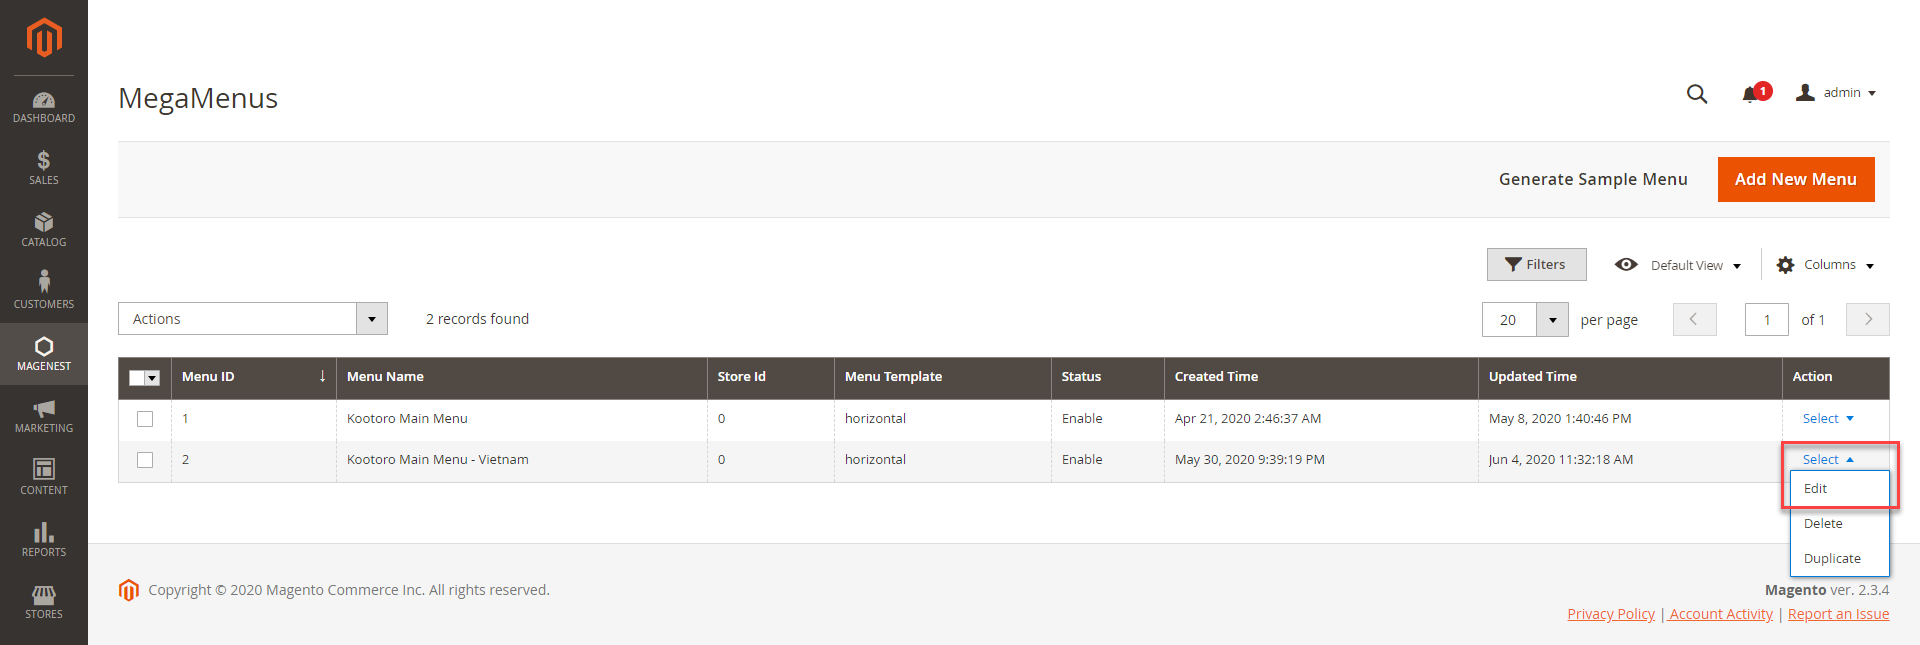
![]() On the MegaMenus page, select the menu to edit. On the Action column, click on Select > Edit.
On the MegaMenus page, select the menu to edit. On the Action column, click on Select > Edit.
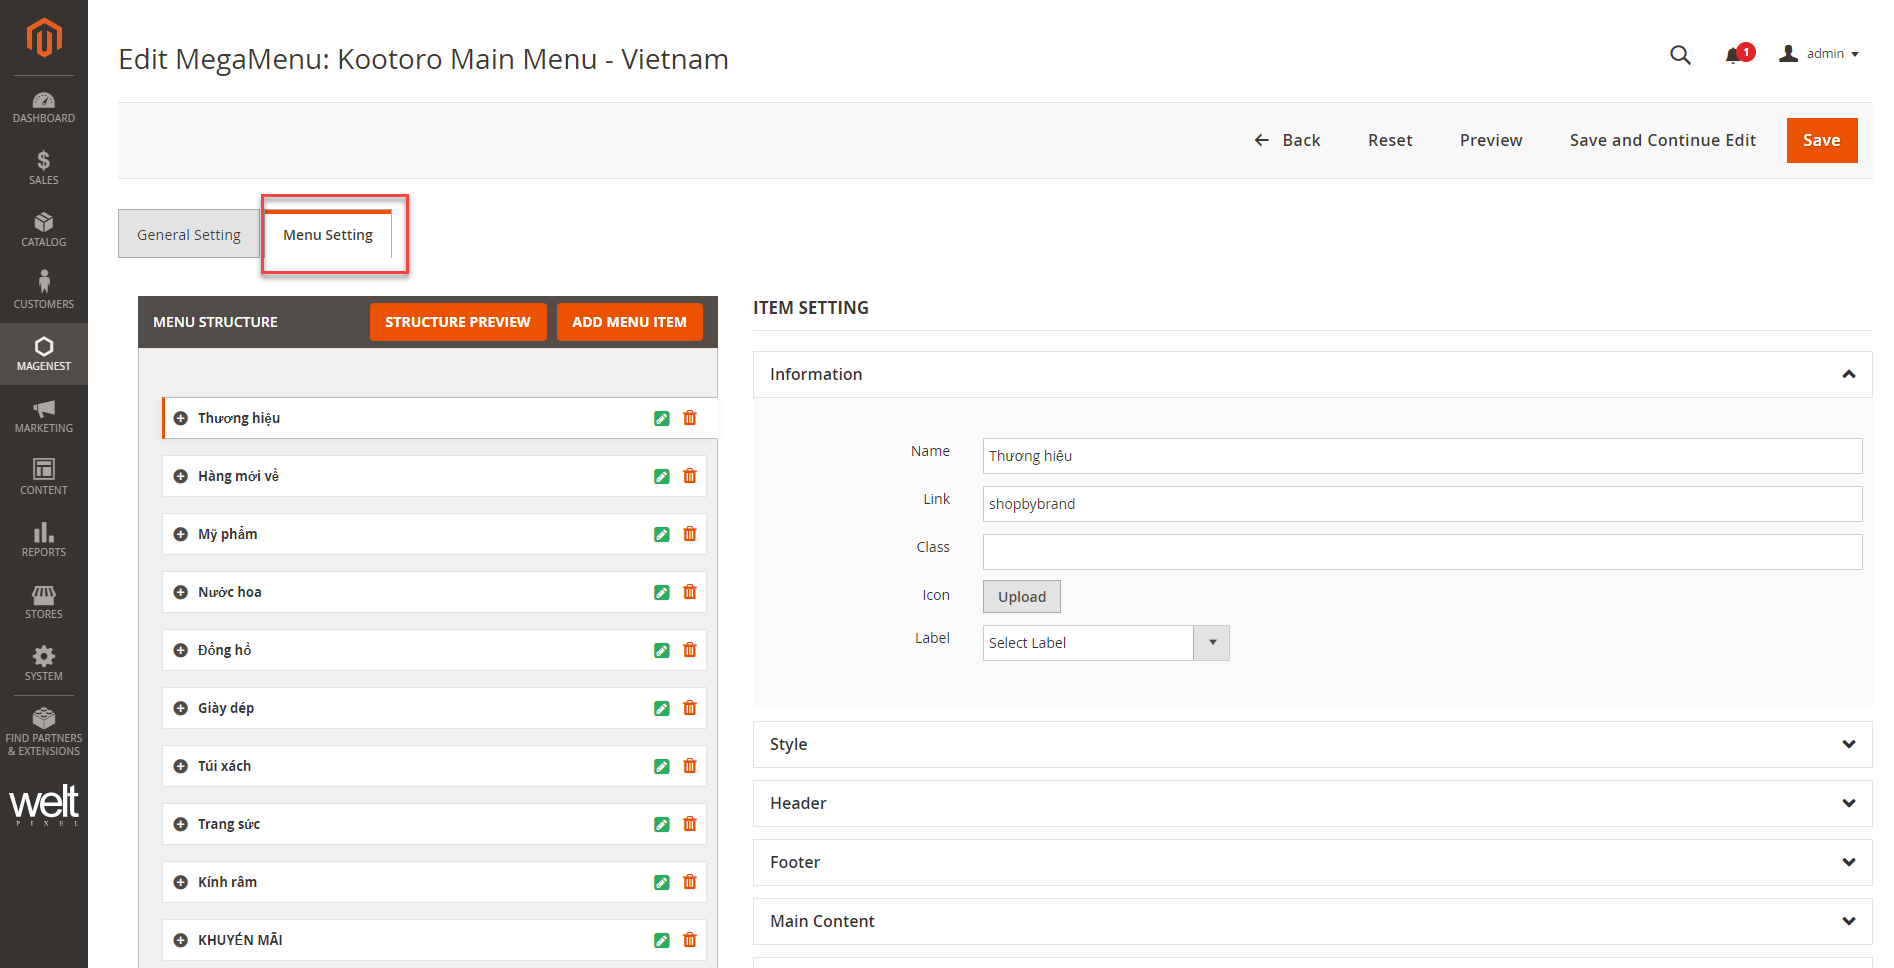
![]() On the menu details page, open Menu Setting section to edit.
On the menu details page, open Menu Setting section to edit.
Inset link in Brand A-Z section
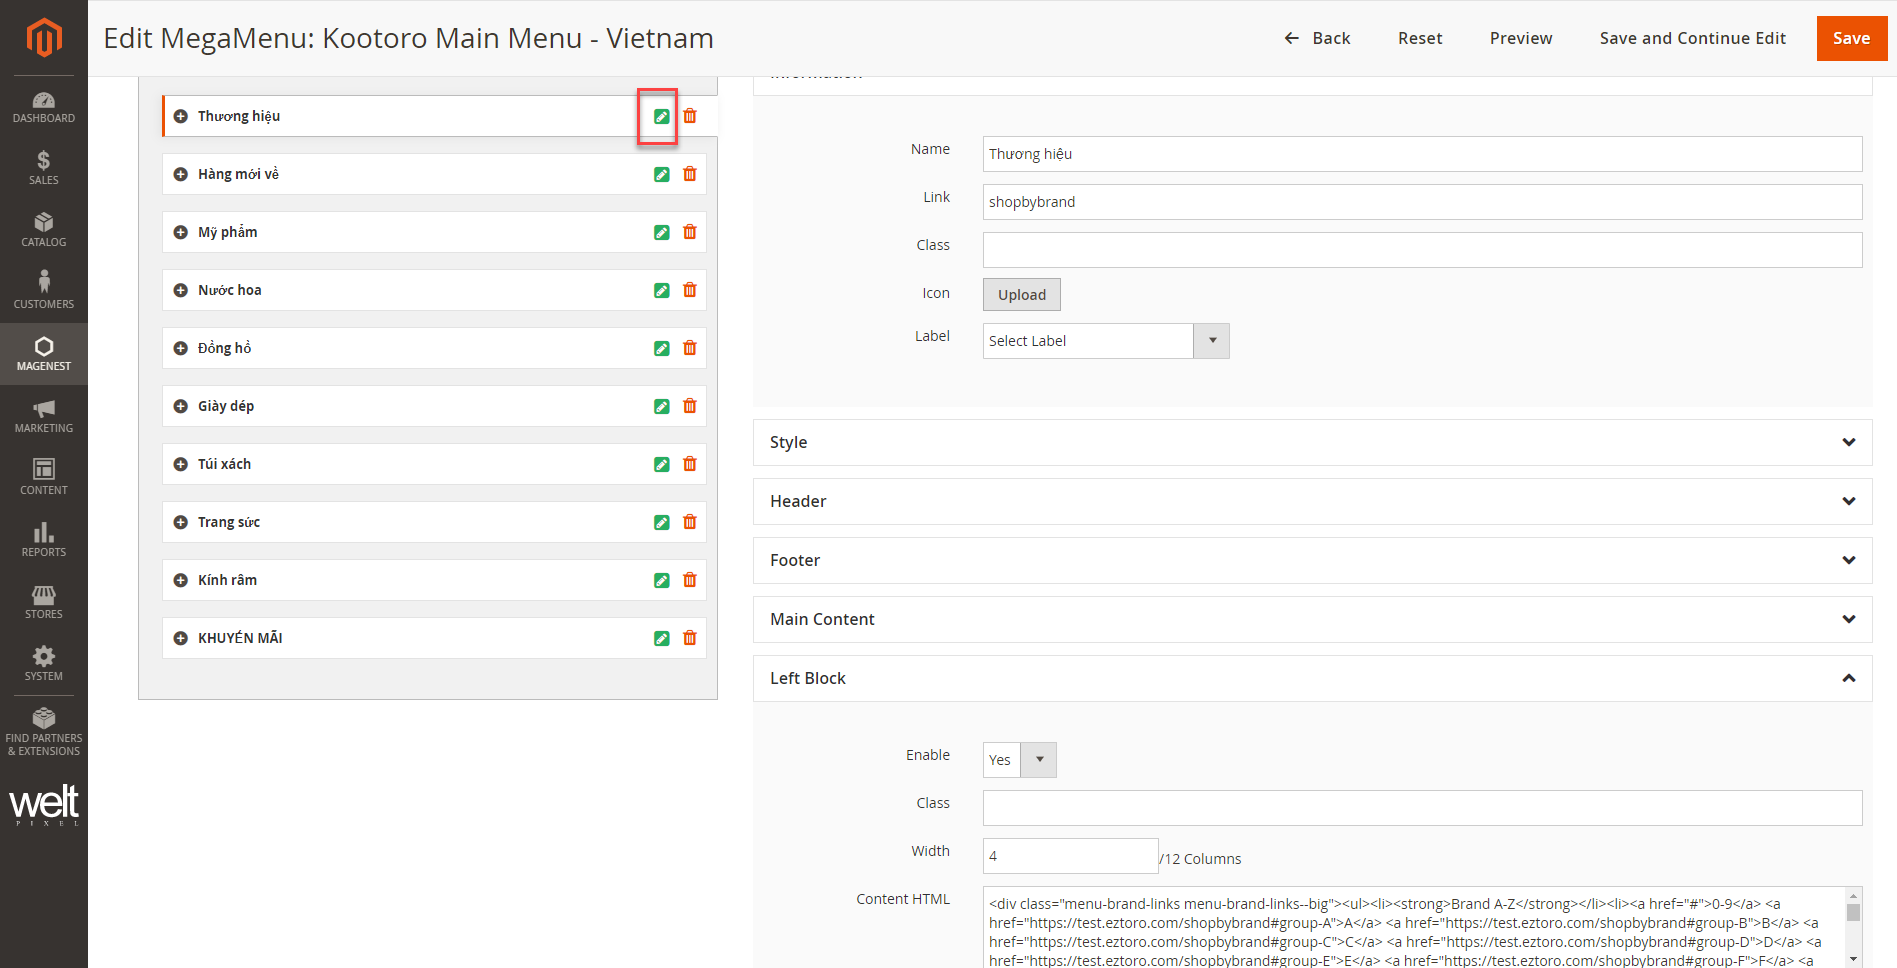
- On the menu items list, find brand menu, then click on Edit icon.
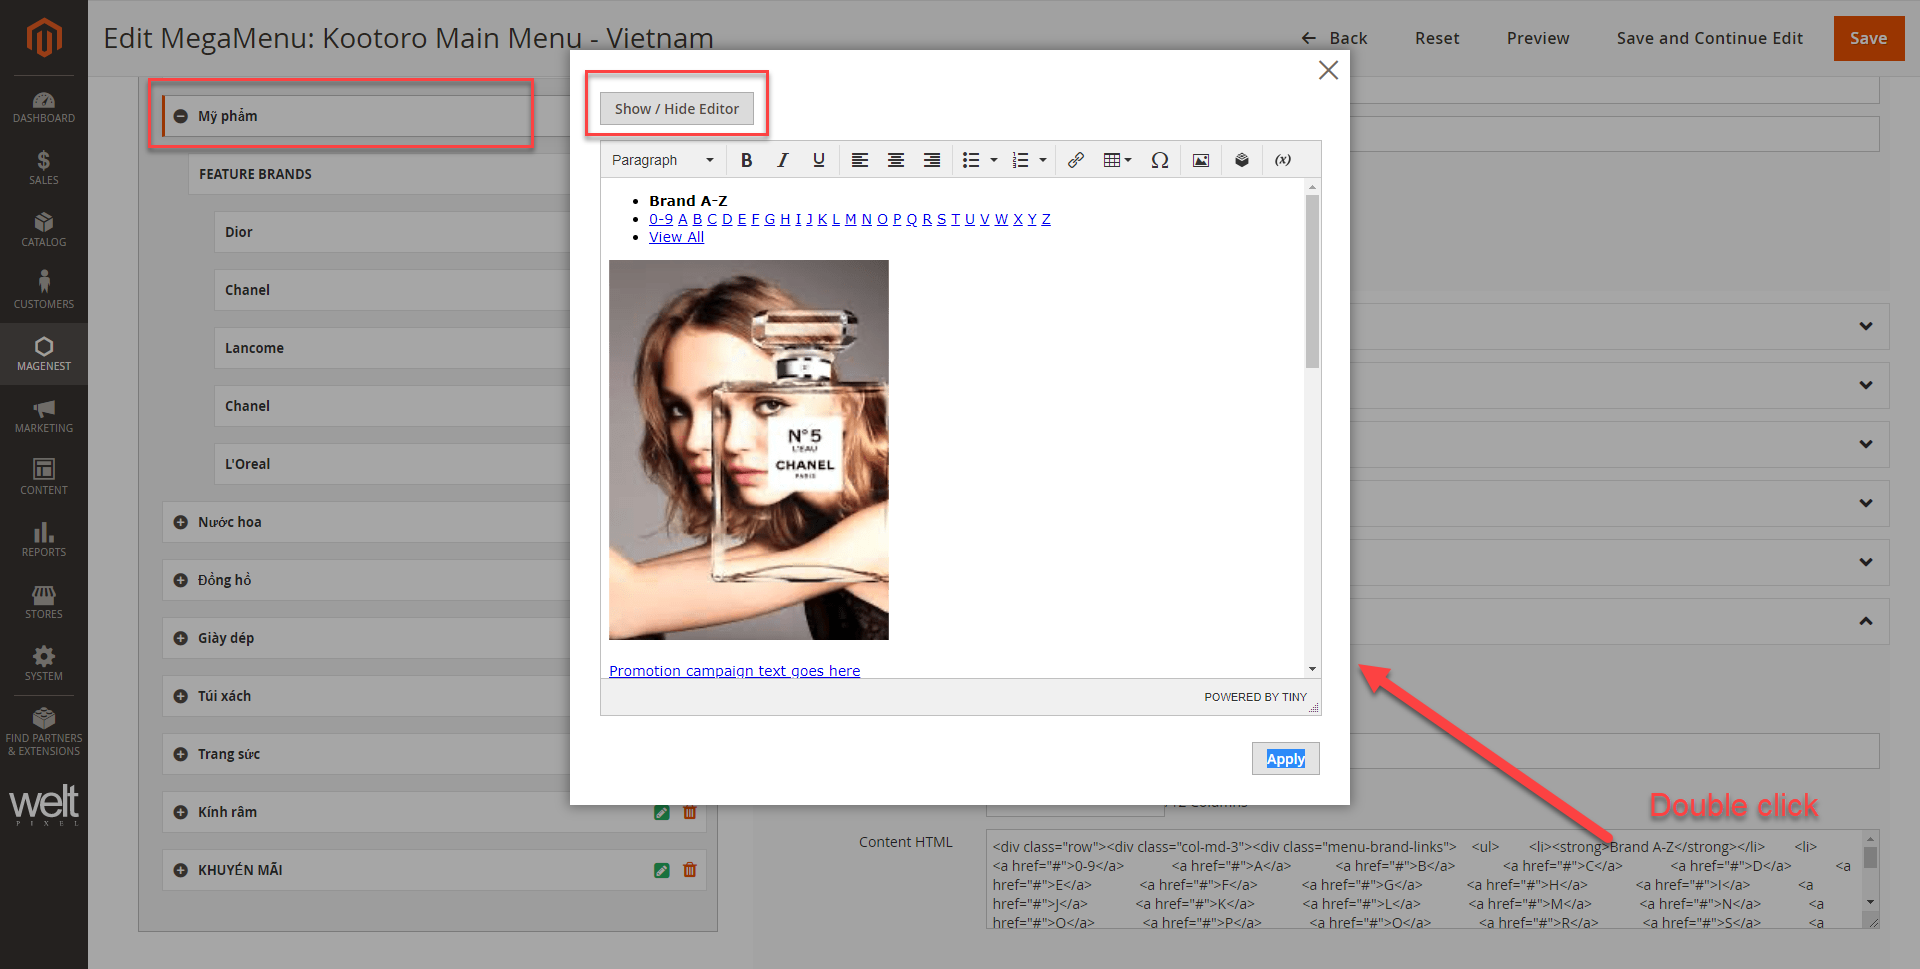
- Expand Left Block section, double click on HTML Content, open the content-edit pop-up.
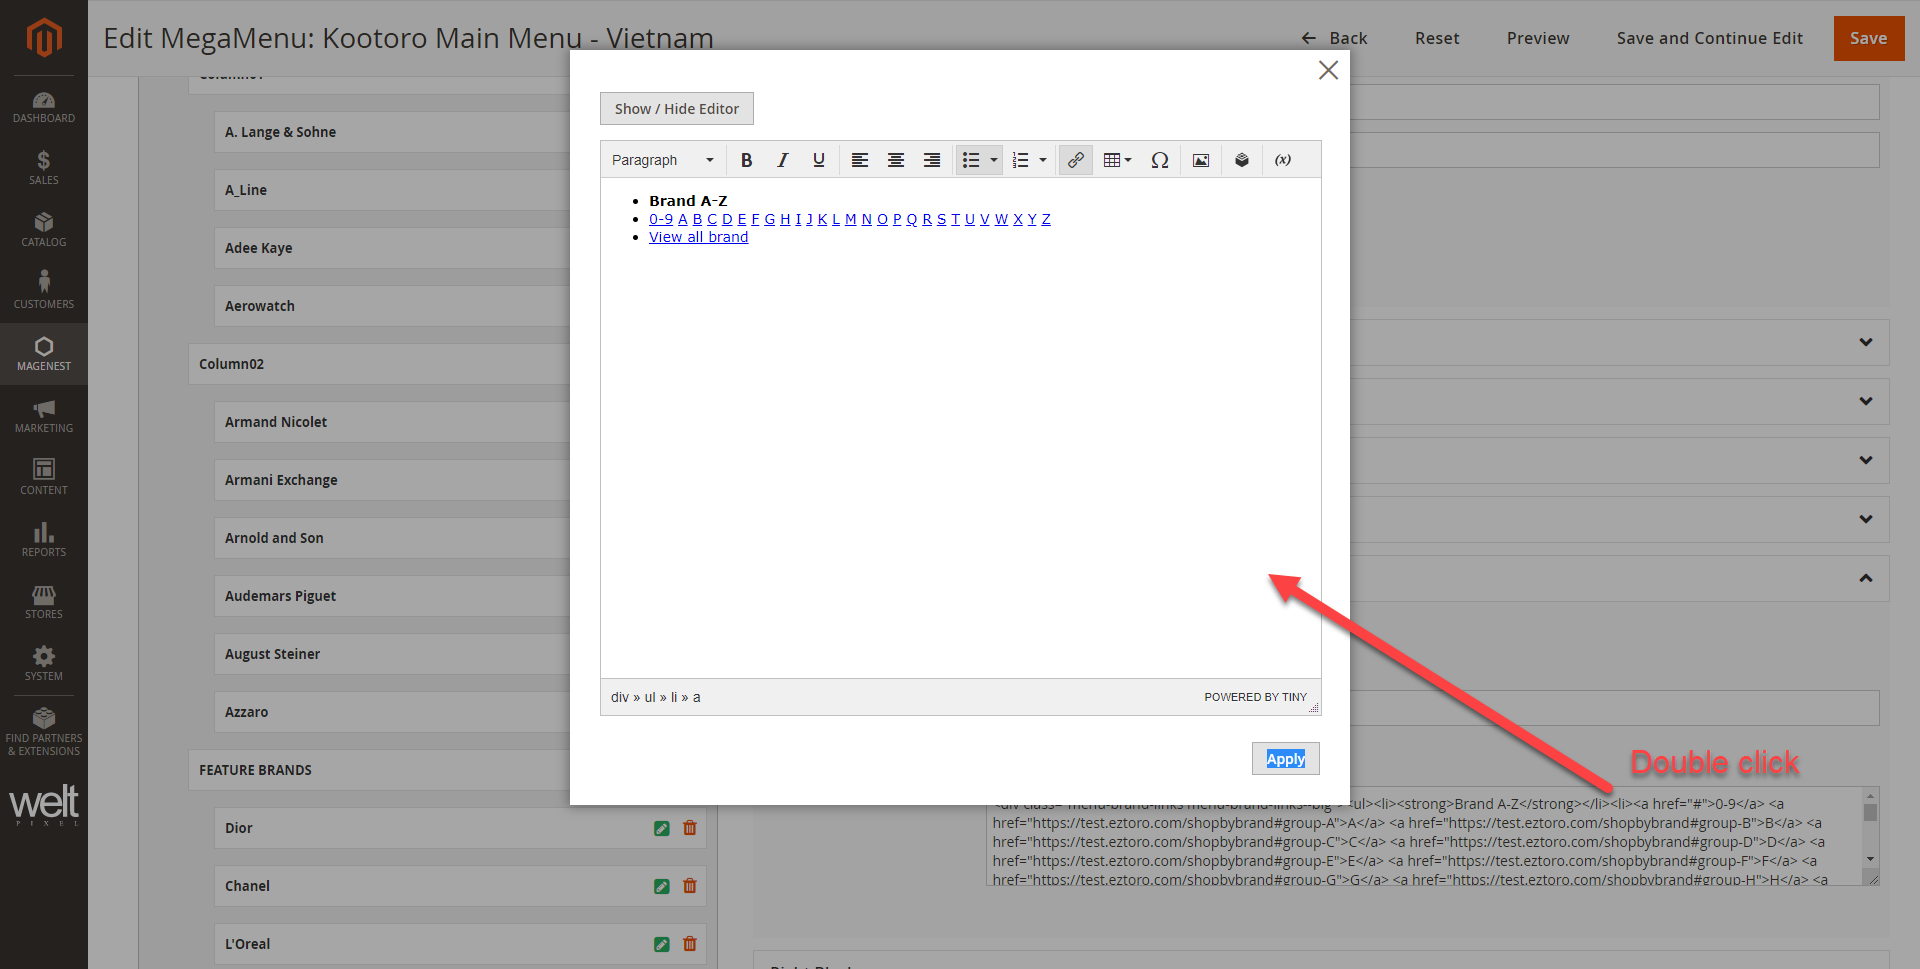
- Click on a character > then click on Link icon > enter the URL > OK > Apply.
- Do the same for the other characters.
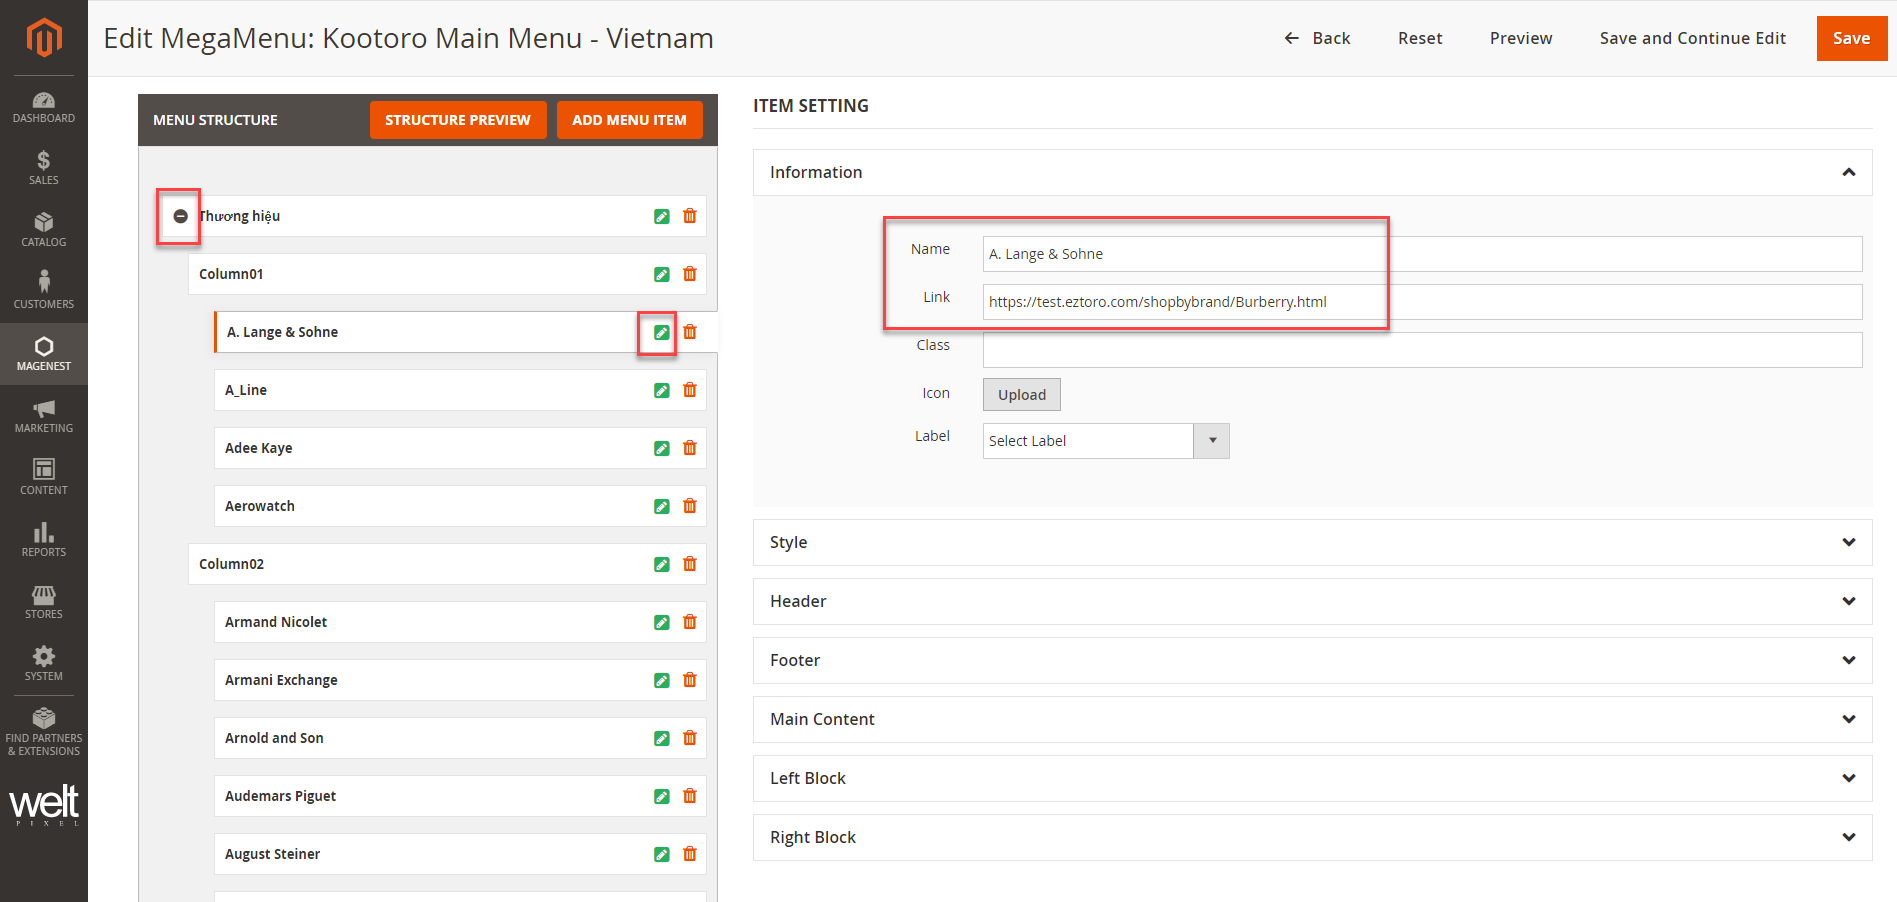
Edit menu items
- Click on
 to show the menu items.
 - To edit an item, click on Edit icon.
- Admin can edit display name and insert link for the text menu item.
![]() After finish, click Save to save the changes.
After finish, click Save to save the changes.
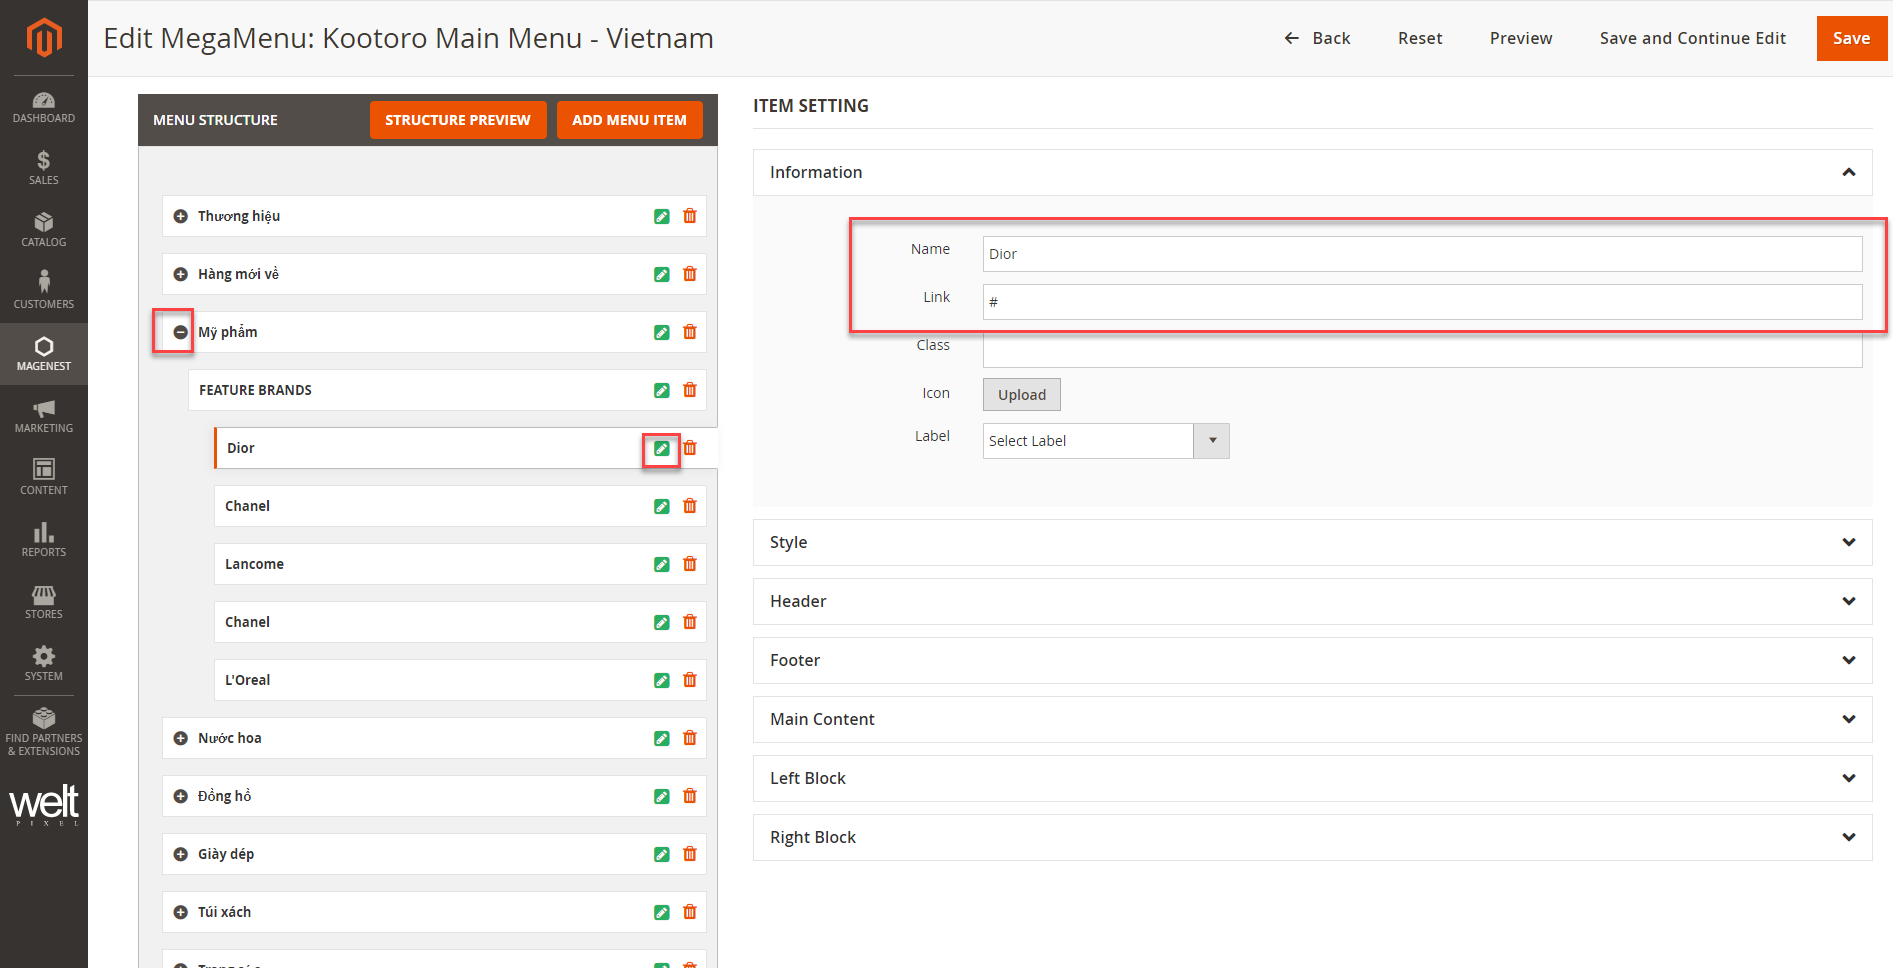
Edit Featured Brand section
- Click on to show the menu items.
- To edit an item, click on Edit icon.
- Admin can edit display name and insert link for the text menu item.
Edit image items
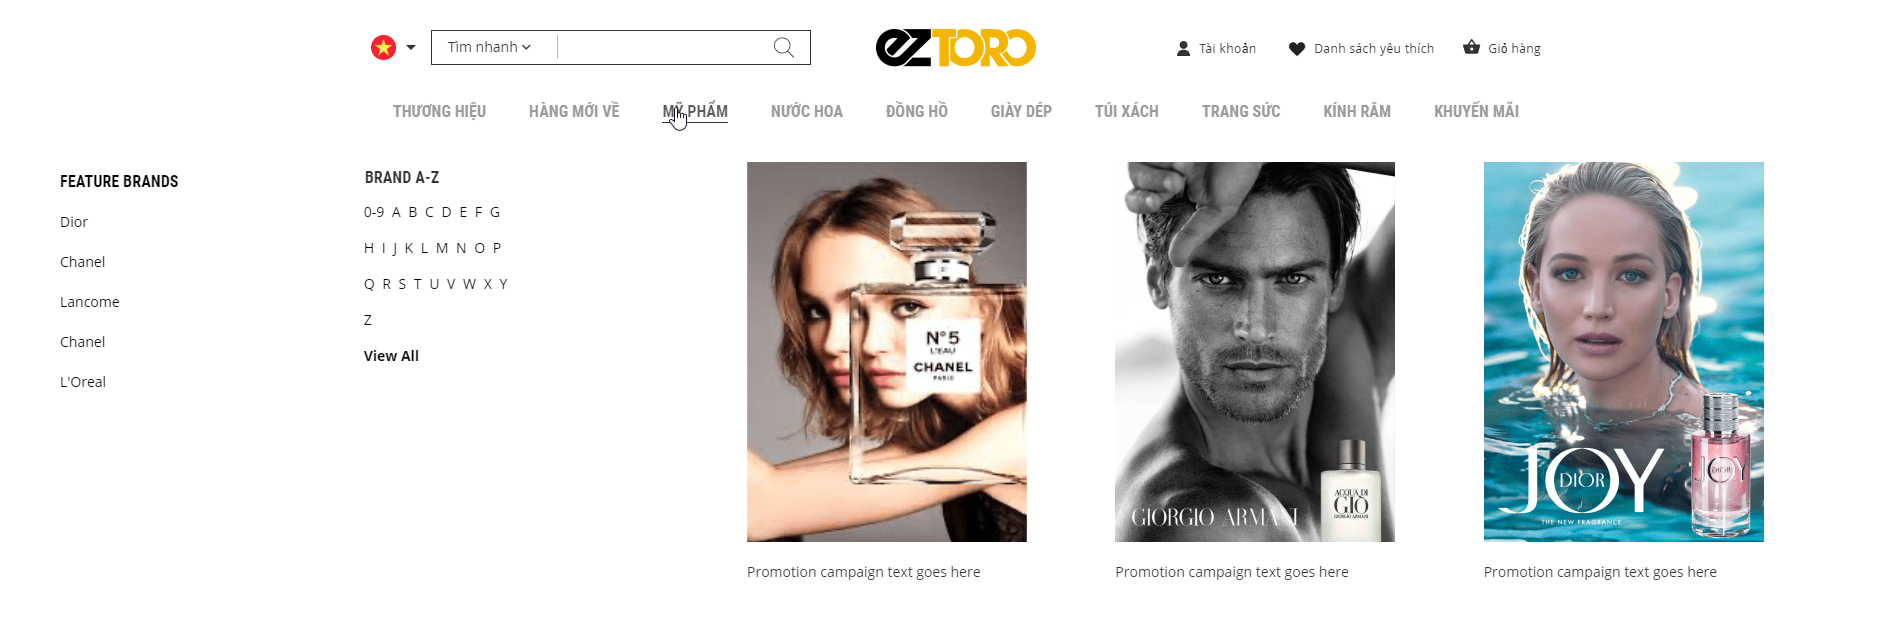
Image size: 280x380
 Image size: 440x185
- On the menu section setting, open Right Block tab.
- Right Block: double click on this content to open editing pop-up.
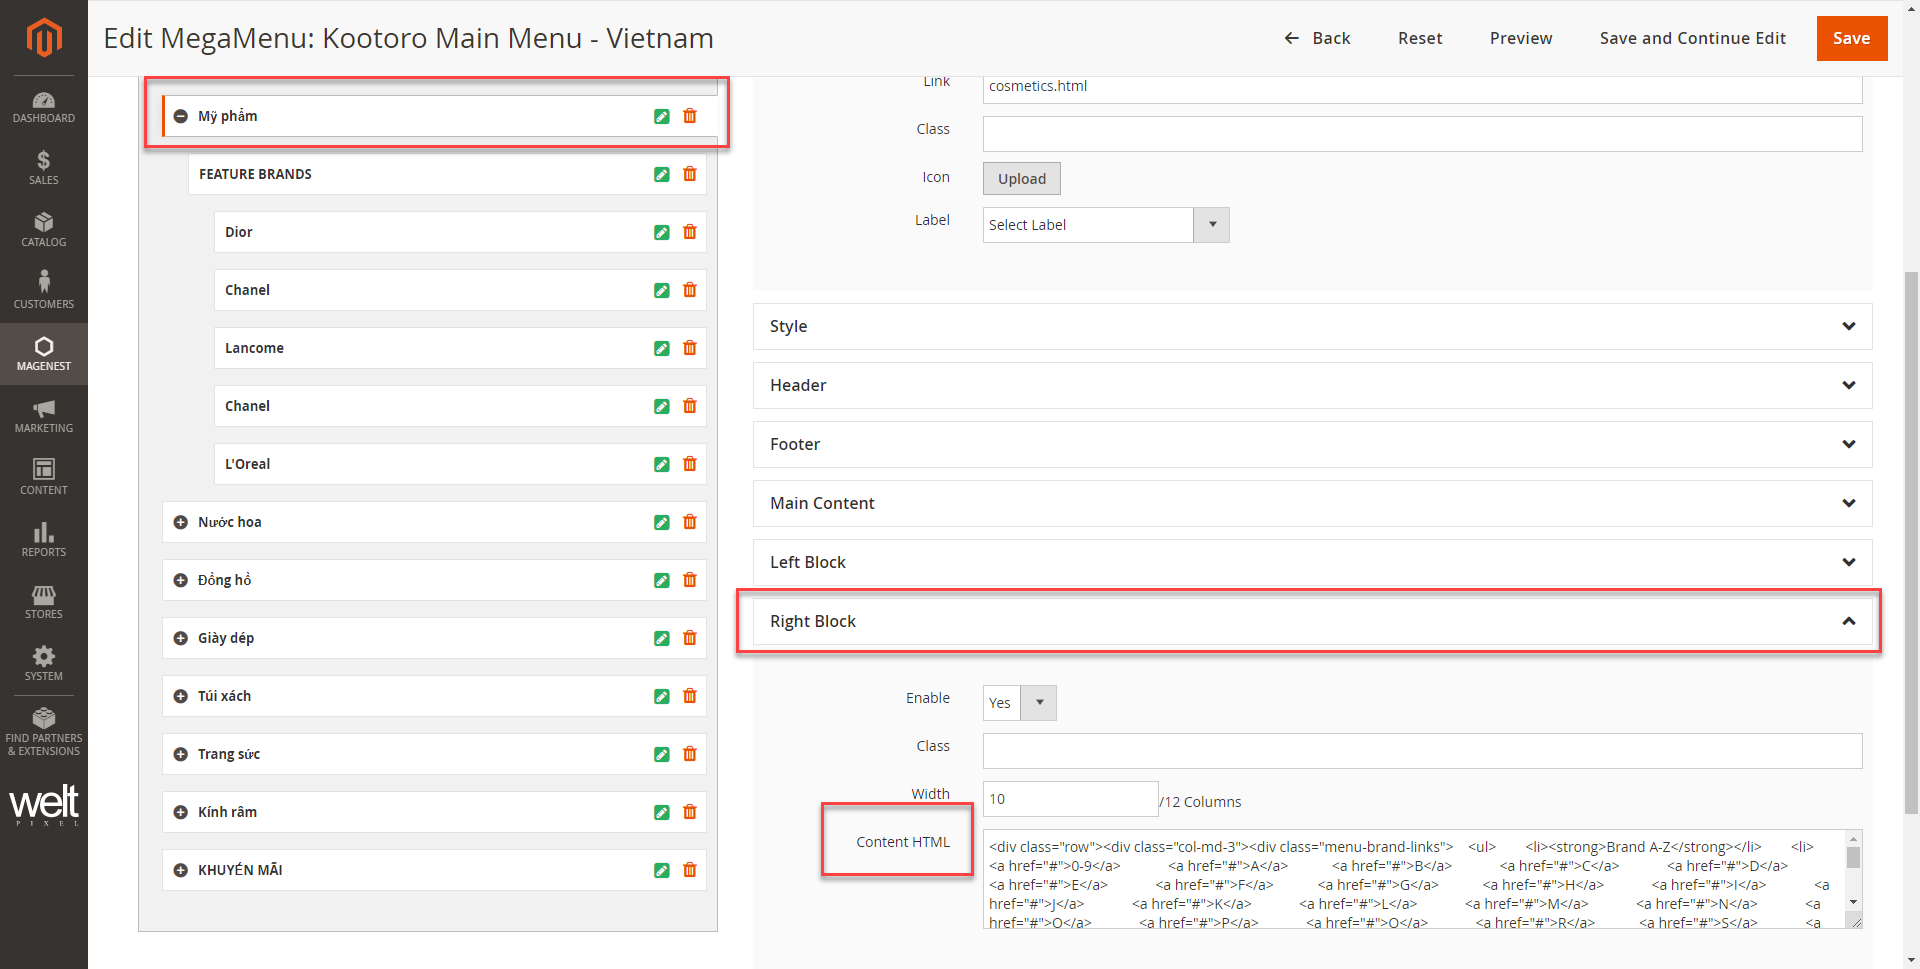
- Click Show/Hide Editor to show the content in code to edit. This is to remain the designed layout.
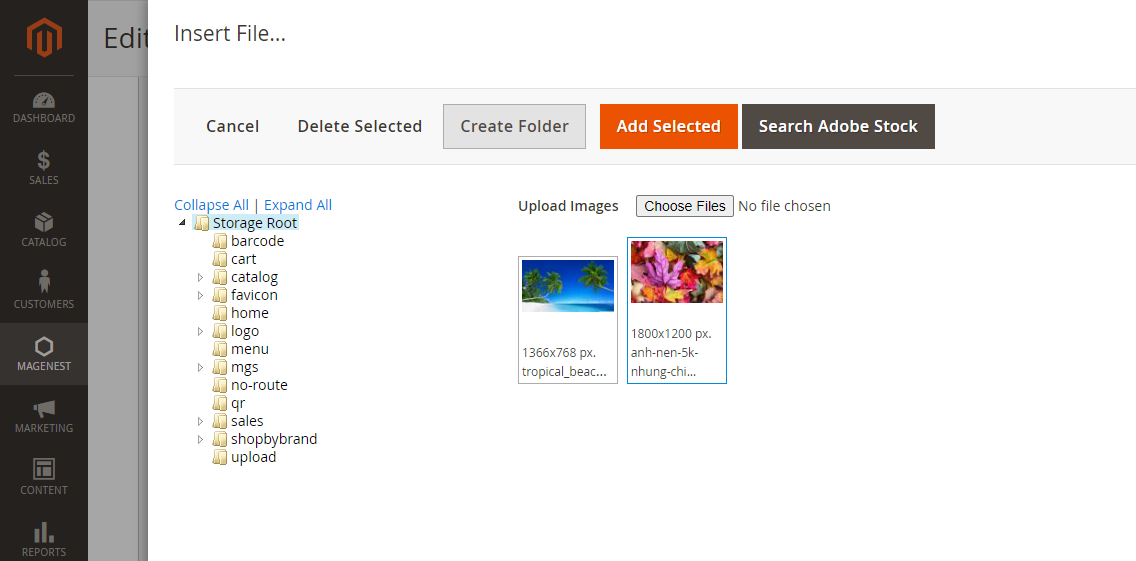
- Find the image need replacing, delete the image html as instruction, then click on Insert Image to add another image to that position.

![]() After finish, click Save to save the changes.
After finish, click Save to save the changes.
Create new menu item
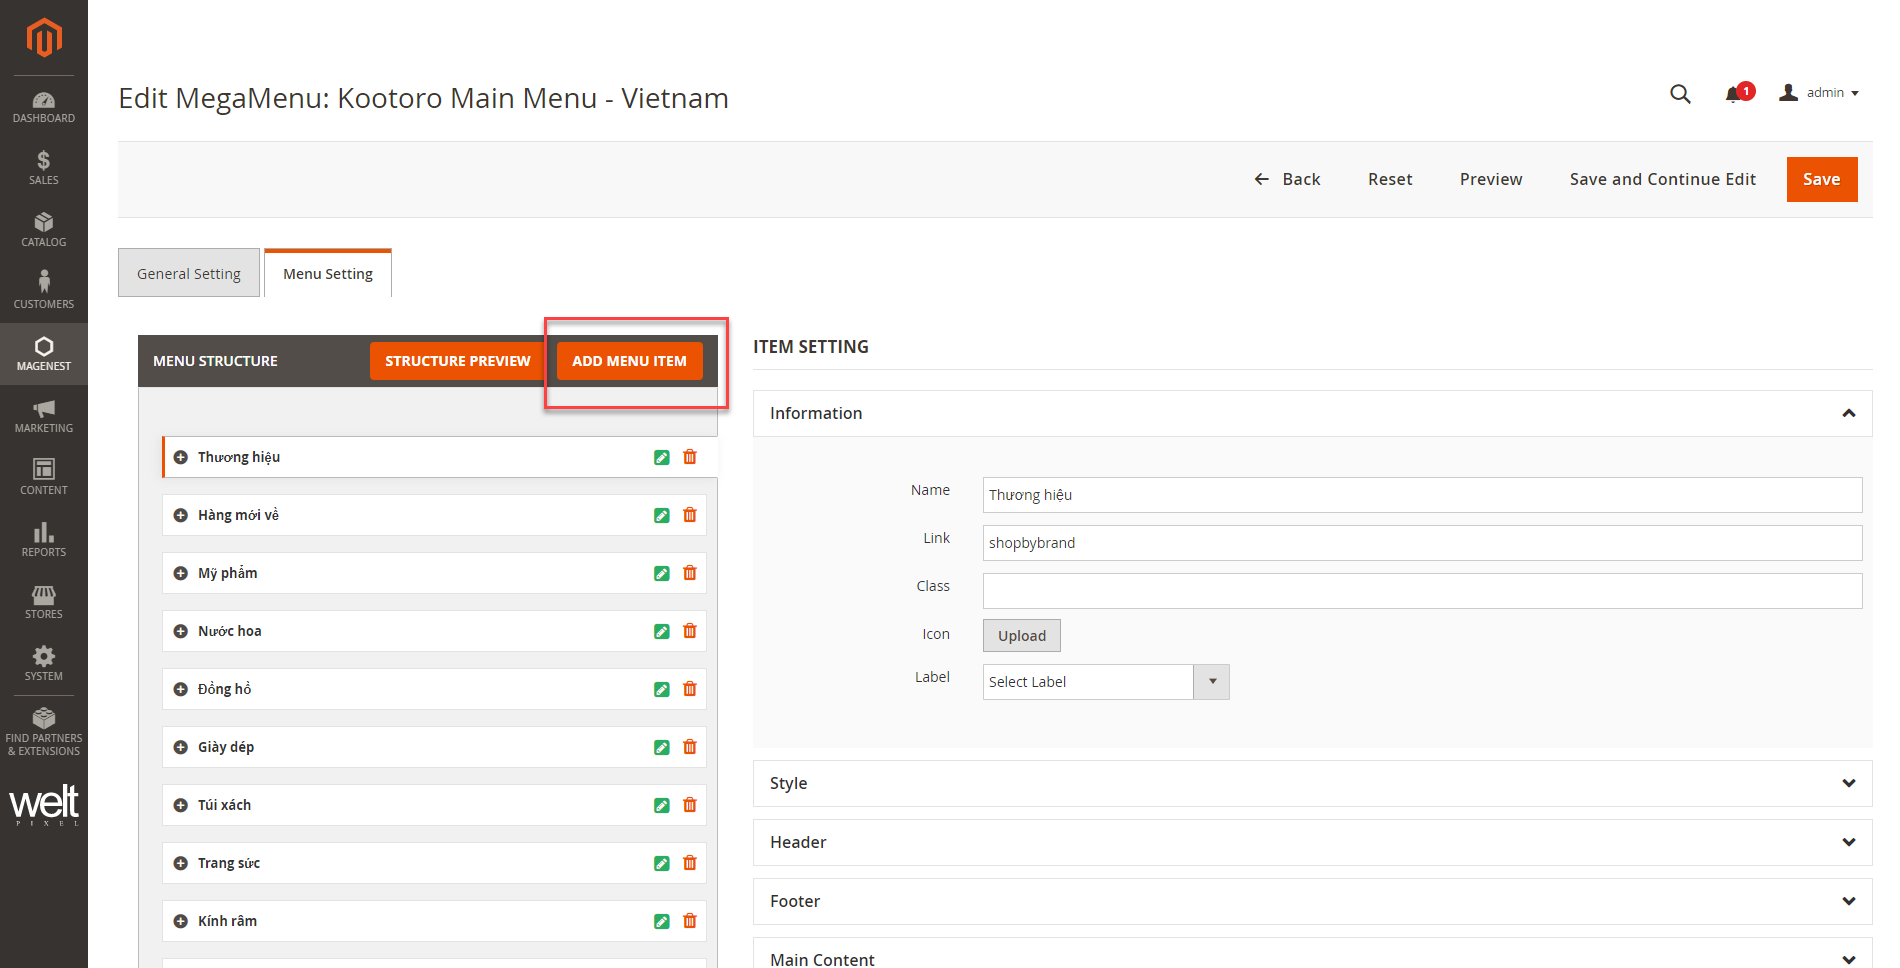
![]() On the menu setting page, click on Add Menu Item button.
On the menu setting page, click on Add Menu Item button.
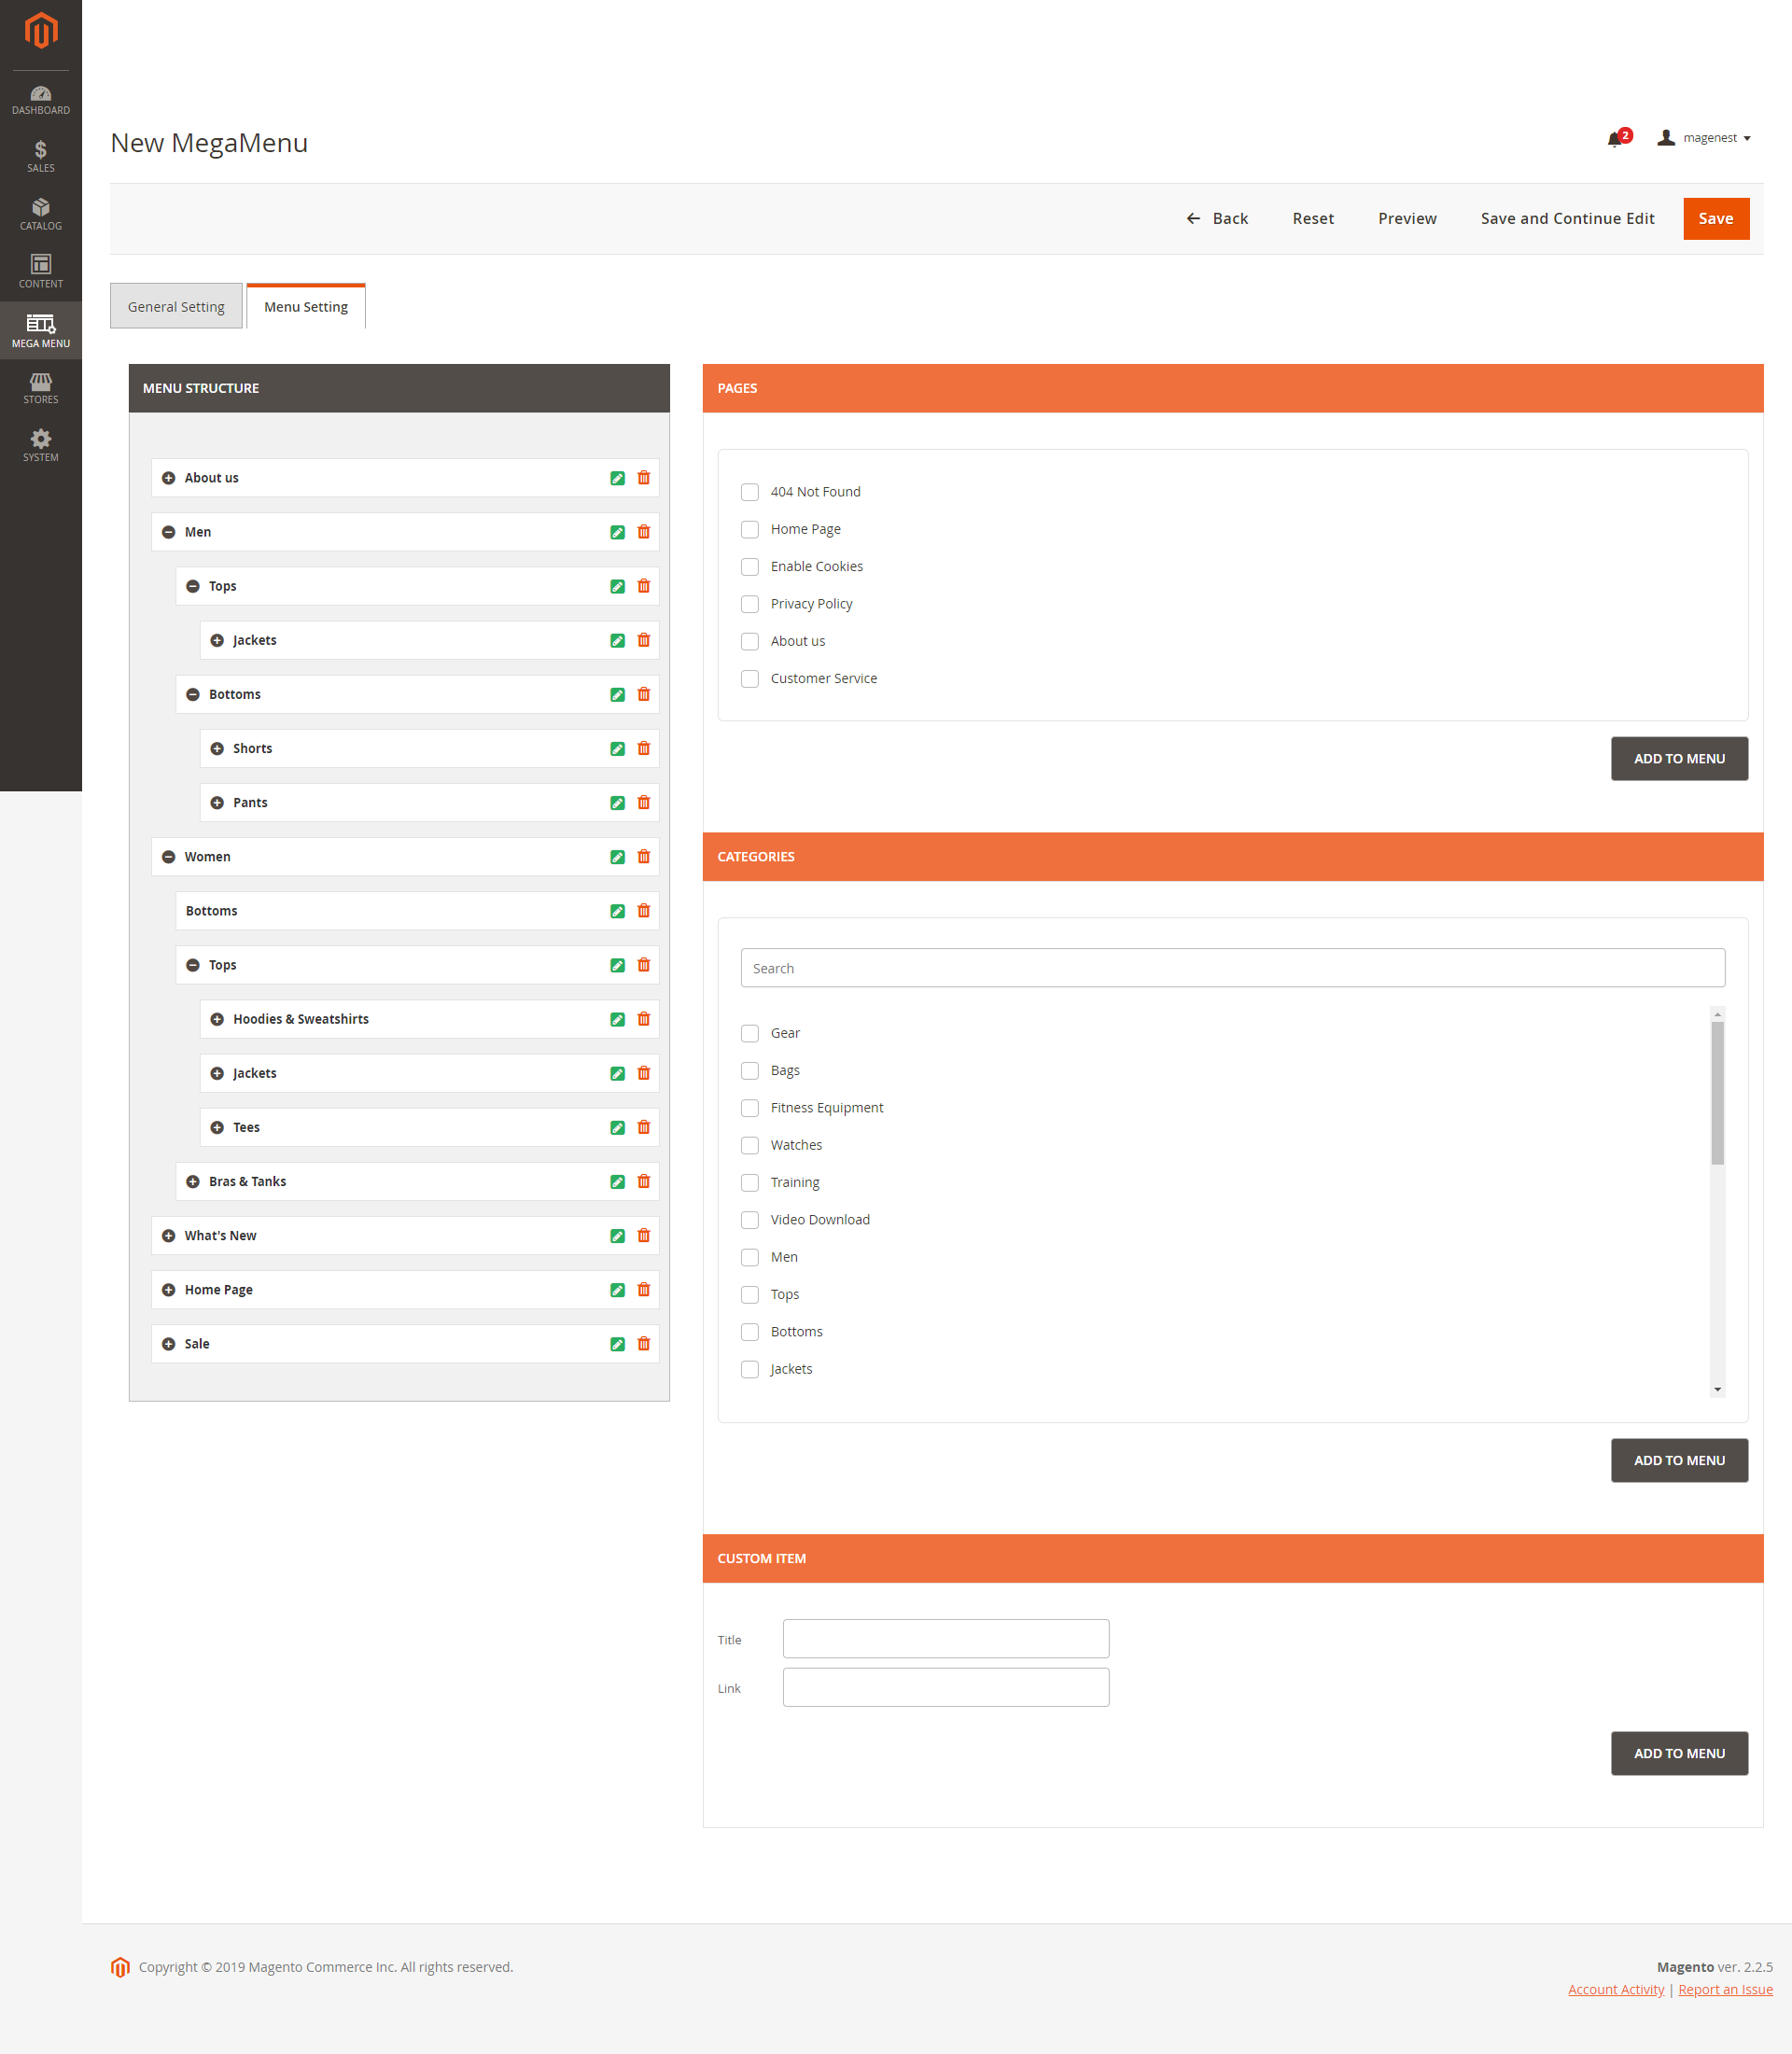
![]() Menu item settings:
Menu item settings:
On the right column, there are 3 tabs: Pages, Categories, Custom. Select the position for the new item then click on Add To Menu.
![]() Customize menu item
Customize menu item
- Name: The menu name that will be displayed on front end.
- Link: The menu url or url key.
- Class: You can add a class to customize the item with CSS.
- Icon: You can upload the icon for each item. It will be displayed on the left of the item on the main menu bar.
- Label: You can create the label in Mega Menu > Manage Labels.
![]() Style:
Style:
- You can choose the Text Color, Hover Text Color, Hover Button Background Color from RGB color picker.
- You can add the content in Header, Footer, Left Block and/or Right Block. You can enable/disable each one and edit with HTML and CSS.
- Main Content: You can use wysiwyg editor or use different types of content: default list, grid or tab.
- You can preview the mega menu before saving by clicking on Preview button.
![]() After finish, click Save to save the changes.
After finish, click Save to save the changes.