...
Extension page: http://store.magenest.com/magento-2-follow-up-emails.html
...
Installation

Here we will guide you through the installation process of our extension. First off, open FileZilla, log in to your host as follows:
In the above example we switched the local site to the module directory, and the remote site to the code directory. Now on the remote site window, inside app/code directory, create a folder named Magenest and go inside it. Now on your local site window, right click on Wrapper extension and click Upload. The extension will be uploaded onto your host in a few minutes.
...
sudo chmod -R 777 var pub
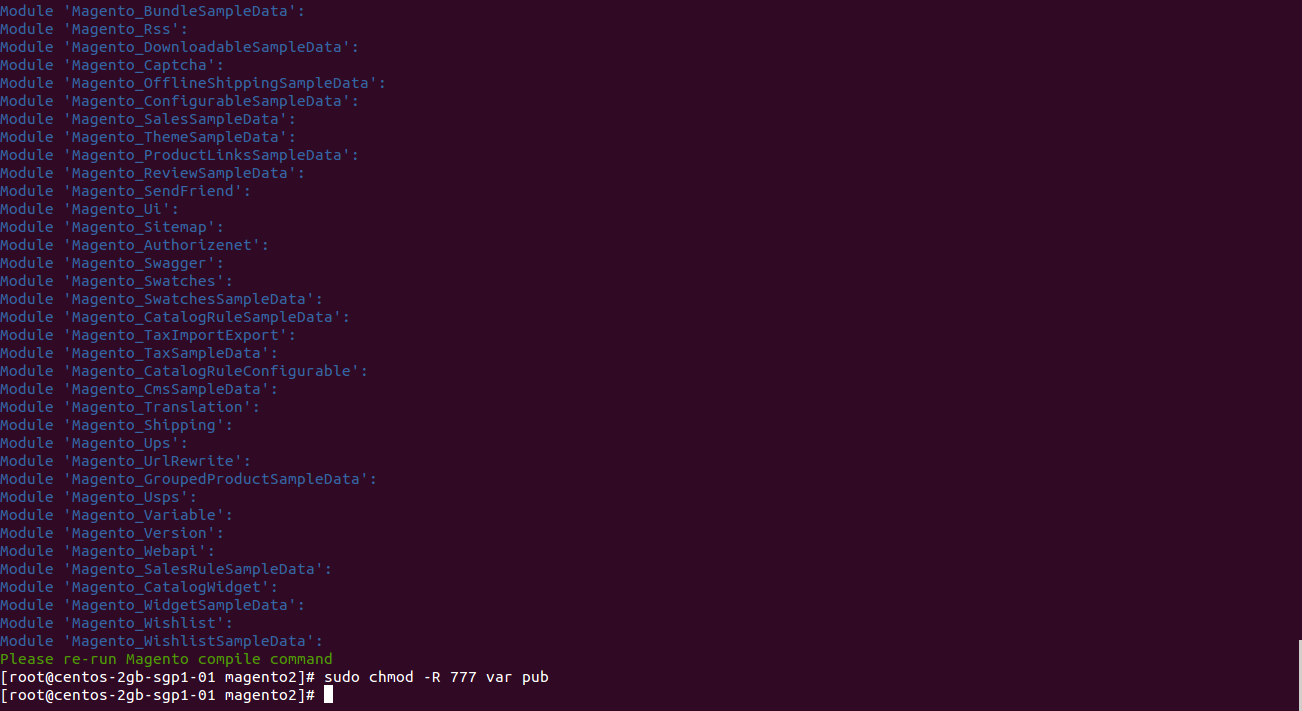
After running all these, your Command line/Terminal window might look like this:
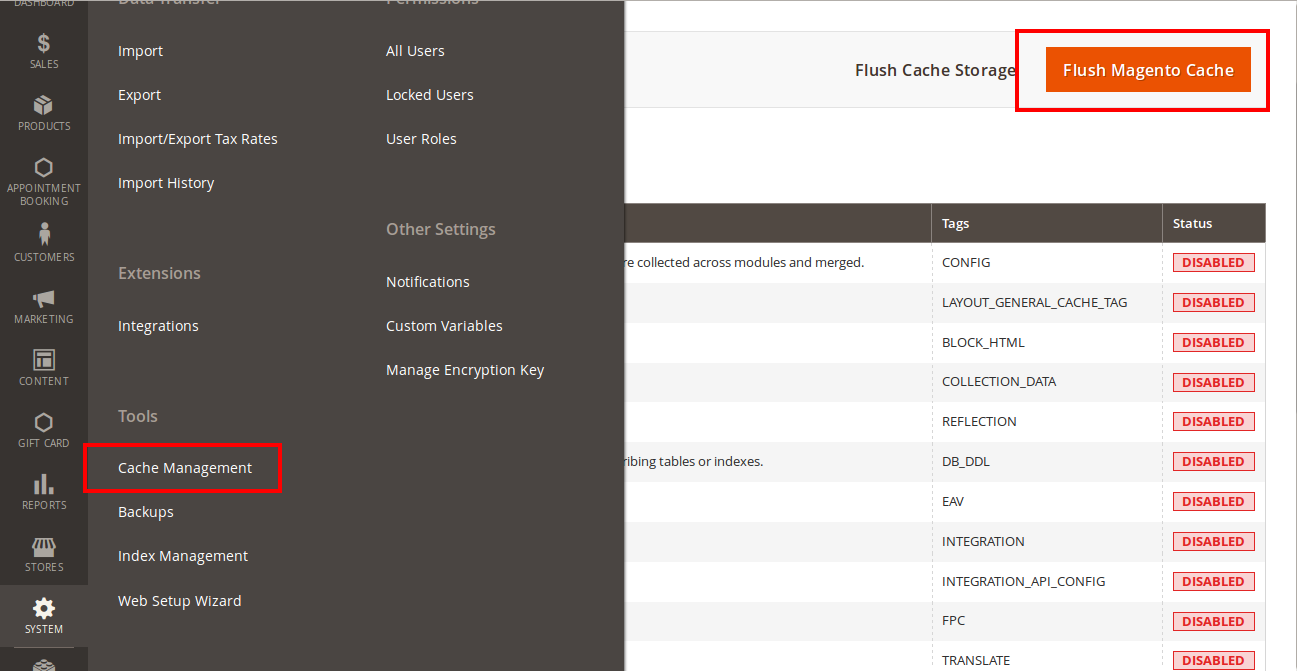
Afterwards, go to your backend site, go to System > Cache Management and flush all caches
Now you can go to your store and check if the extension is working as expected. We are sure it is!.
...
Configuration
General Configuration
...
Follow up Emails | Follow up Emails | Follow up Emails | Follow up Emails | Google Analytics Follow up Emails | Follow up Emails
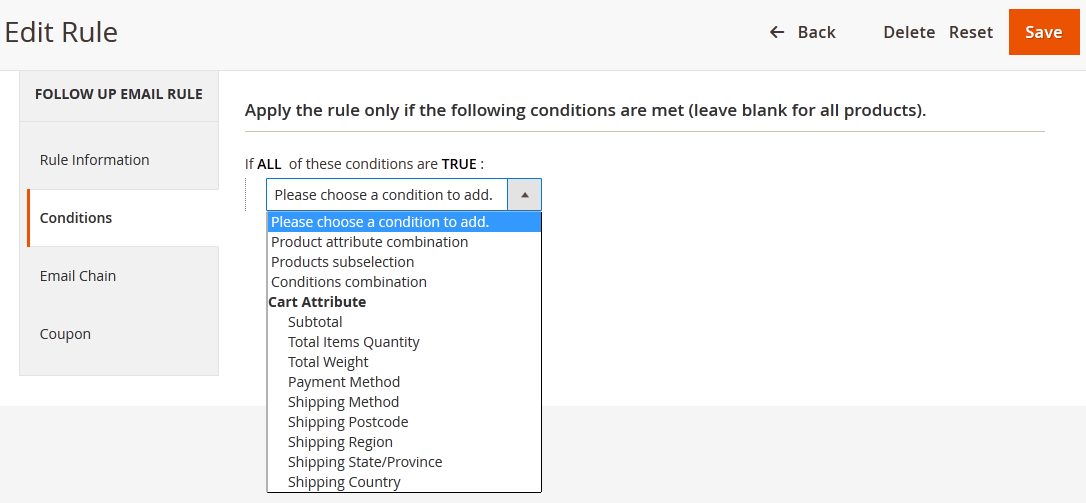
The extension's rules can be managed through Marketing > Follow Up Emails > Rules. Fist, define rule conditions, then add several tiers to your rule chain. Each tier allows you to choose email template and the number of days for system to wait before sending ( for the Customer Birthday event you can inpur negative values, pointing that the corresponding email will be generated and sent before the birthday happen)
...
Condition
...
Email Chain
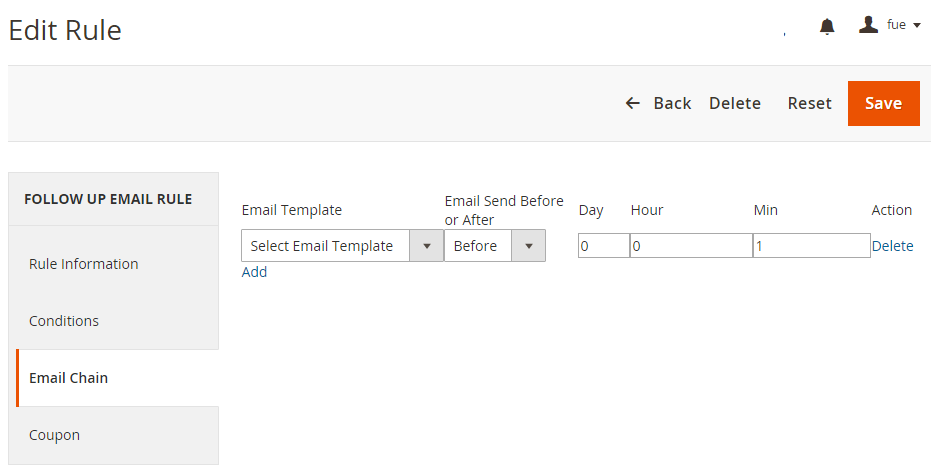
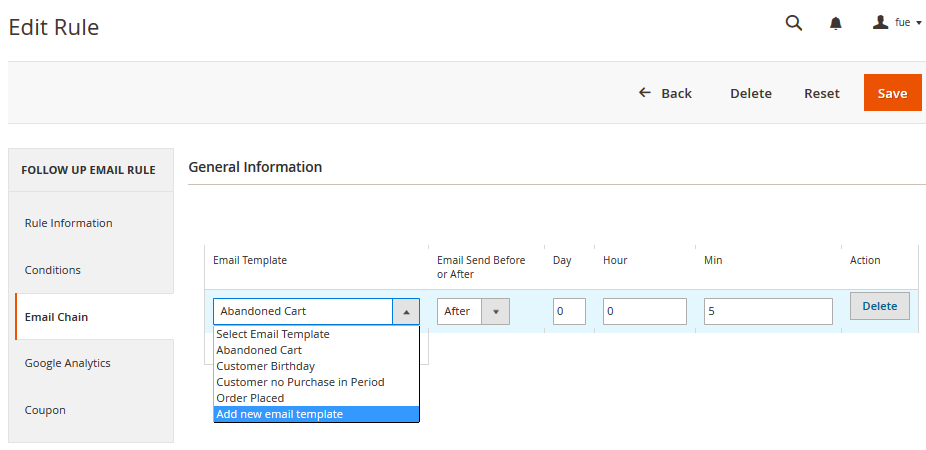
In this section you can add email instances that would be sent to a customer when the rule gets triggered. Remember you must add at least 1 email when creating a rule.
To add new email to mail chain, follow these steps:
*Case 1:
- Go to Marketing > Conmunications > Email Template and open the rule.
Press Add New Template
Then go to Marketing > FollowUp Emails > Rule, follow Email Chain Tab.
Select when the triggered message will be sent.
By default, it will send immediately after a triggering event (0 days 0 hours 0 minutes). You can choose set times from as short as one minute to as long as few years after the trigger’s criteria is met.
Select Email Template, which will be sent
*Case 2:
Navigate to Marketing > FollowUp Emails > Rule, follow Email Chain Tab
- Select when the triggered message will be sent.
- Select Add new email Template in dropdown email template menu
...
Google Analytics
To configure Google Analytics Campaign, follow these steps: 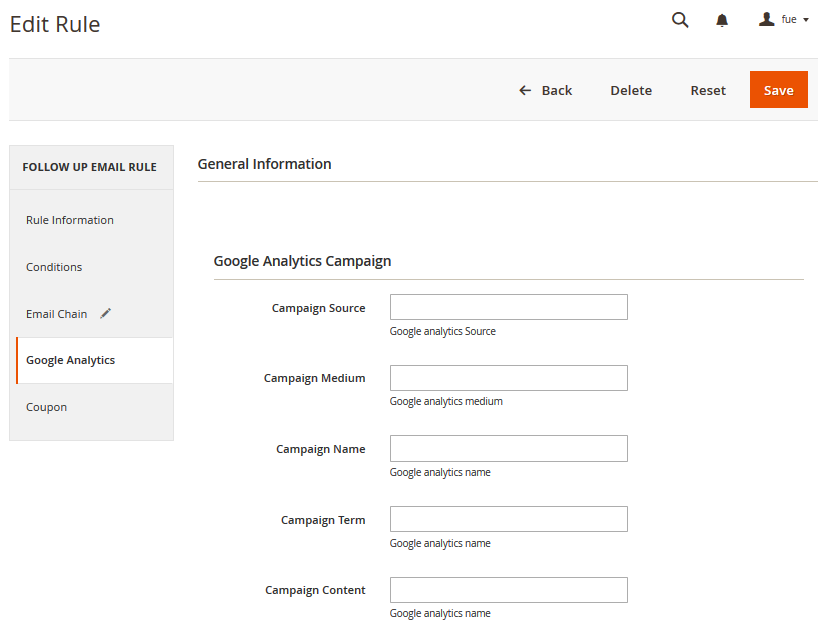
- Go to Marketing > FollowUp Emails > Rule, open rule and follow tab Google Analytics.
- Fill in 3 required fields:
- Campaign Source - Identifies a search engine, newsletter name, or other source.(i.e. email, follow-up-email, newsletter)
- Campaign Medium - Identifies a medium such as email or cost-per-click. (i.e. cpc, banner, email)
- Campaign Name - Identifies a specific product promotion or strategic campaign. (i.e product, promo code, or slogan)
Also, you can optionally fill in other fields: - Campaign Term - Identifies paid keywords.
- Campaign Content - Differentiates ads or links that point to the same URL.
- Save the trigger
After configuring Google Analytics Campaign, extension will automatically add special get params to all links in emails. Thus, you don't need to do additional configuration adjustments. (i.e. url http://example.com/about-us/ will be converted tohttp://example.com/about-us/?utm-source=email&utm-medium=trigger-email&utm-name=review-request).
To track Google Analytics Campaign log in into your Google account and go to Traffic Sources > Campaigns. Select campaign source from the list.
...
Coupon
At first, you need to creates some Cart Price Rules then select the Specific Coupons value in the Coupon field and check the Use Auto Generation box.
...