Thank you for purchasing our extension. If you have any question that is beyond the scope of this document, do not hesitate to leave us an email.
Created: 21/01/2016 | By:Magenest| Email: [email protected]
| Table of Contents |
|---|
Introduction
Appointment Booking extension by Magenest is byMagenestis a solution for hotel service providers, healthcare service providers, travel agency,... to efficiently manage bookings and reservations made on Magento 2-powered store
For more information, please visit: http://store.magenest.com/magento-2-appointment-booking.html
Features
Version 2.1 (updated 11/7/2016)
WHAT'S NEW
- Admin can easily create Recurring Price Rule products.
- Upgrade front end.
- Customer now can add many staffs in many time intervals in front end
- Customer can steal booking product from the other customer cart
Upgrade all rules in more details.
Upgrade special date in more details.
Version 2.0.x
The extension is packed with the following features:
For Admins
- A time slot cannot be placed by 2 or more different customers.
- Beautiful frontend.
- Responsive mobile.
- Allow admins to convert any products or new products to a reservation product.
- Create product schedule automatically related to staff user.
- Allow admins to choose one of four options (need staff or not, some hours in 1 day or full day) for a reservation product.
- Create staff rules, special date price rules, rush hour rules, early order rules in details (add/ sub amount/ percentage of money).
- Allow admins to manage all reservation orders, cancel request from customer list.
- Send an email to staff when customers make a reservation order.
- Admin can define default reservation status for newly ordered products.
Features For Customers
- Customers can review all reservation orders.
- Customers
Customercan send a cancel request to their
booked appointmentsreservation orders within a click.
- Customers can now add many staffs in many time intervals in front end.
- Customers can steal reservation product from the other customer cart (who place order first will take that)
The extension will send an email with a custom template to the customer if the admin change the booking status of an order.System Requirements
Your store should be running on Magento Community Edition version 2.0.0 or newer.
Installation
Here we will guide you through the installation process of our extension. You can upload your extension via FileZilla or using SSH. In the first method, log in to your host as follows:
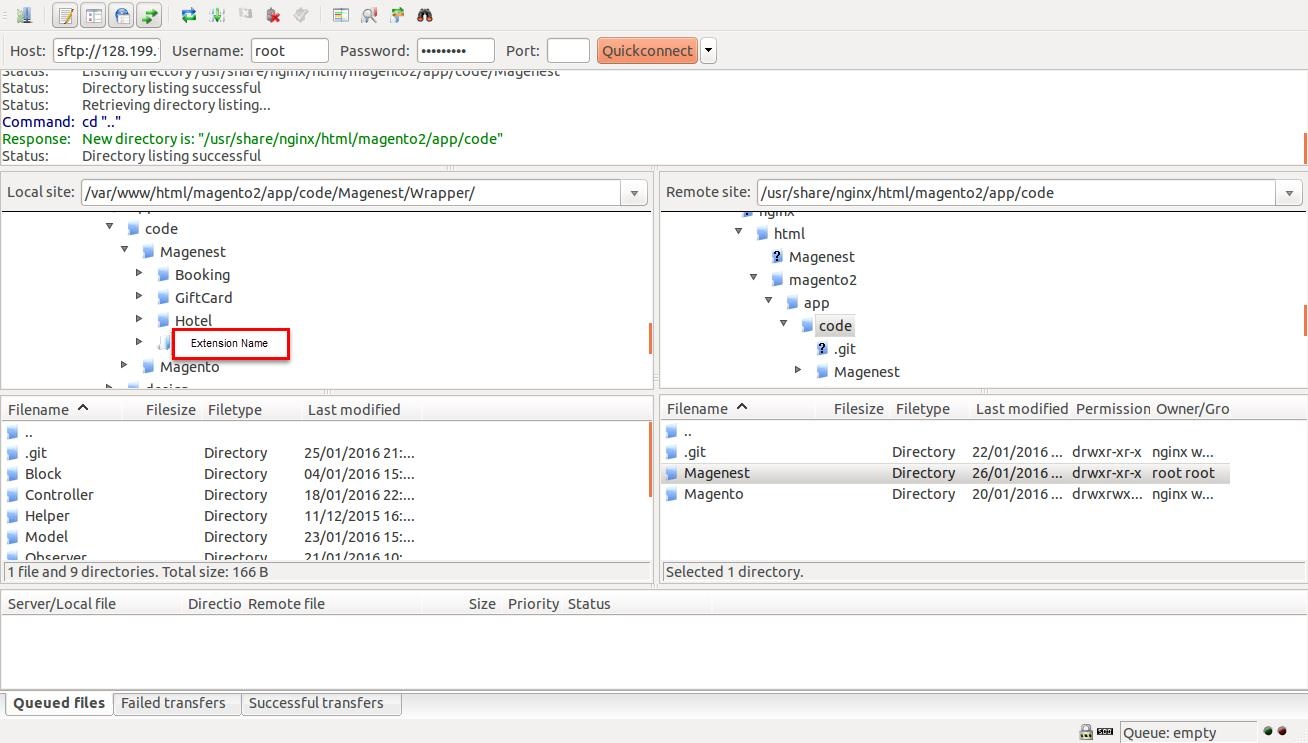
In the above example we switched the local site to the extension directory, and the remote site to the code directory. Now on the remote site window, inside app/code directory, create a folder named Magenest and go inside it. Now on your local site window, right click on Extension Name and click Upload. The extension will be uploaded onto your host in a few minutes.
The second method will require you to compress the extension into .zip or .tar.gz format, then execute the following command in your Command Line/Terminal:
scp <path to your extension> <ssh server>:<path to Magenest directory>Then log into your ssh server, go to Magenest directory and execute the following command to decompress the module:
unzip <.zip compressed extension> Or
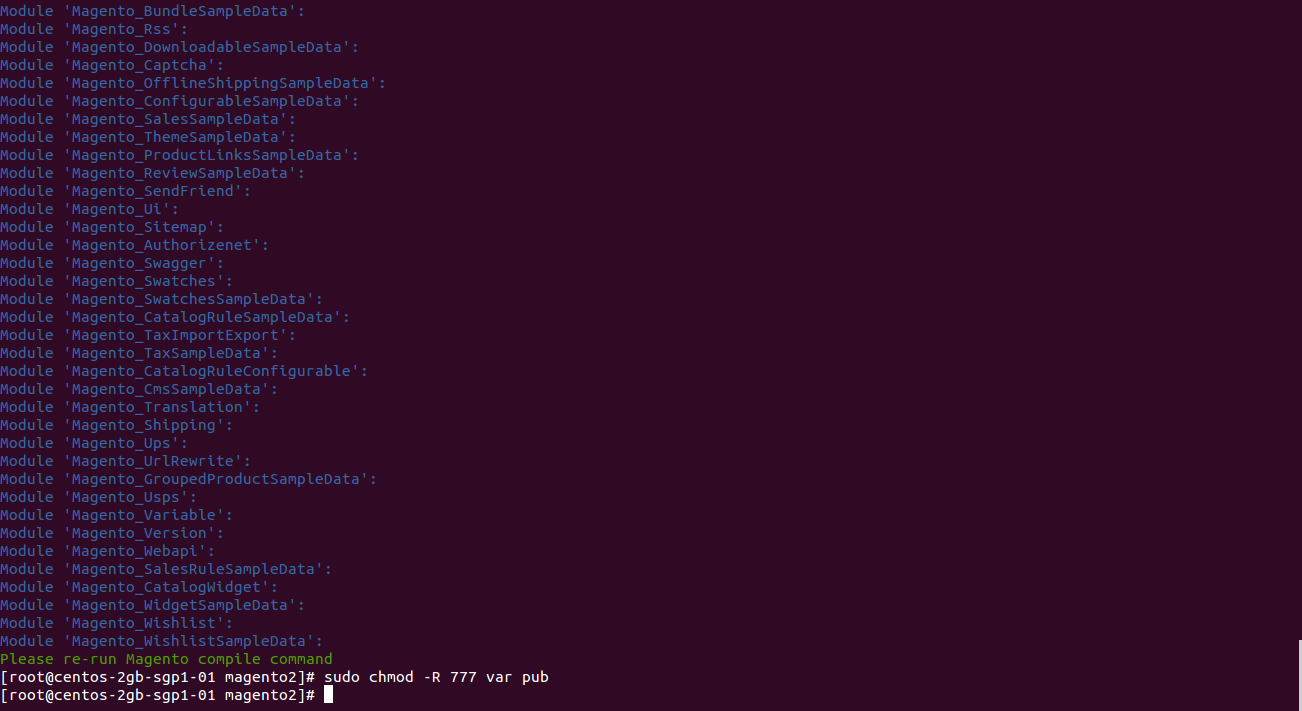
tar -xzvf <.tar.gz compressed extension> Now go to your Magento root directory, say it's named magento2, and execute the following commands:
php bin/magento setup:upgrade php bin/magento setup:static-content:deployAfter running all these, your Command line/Terminal window might look like this:
Finally, you need to flush the cache by either type this into the Command Line/Terminal:
php bin/magento cache:flushOr go to System > Cache Management and click Flush Magento Cache
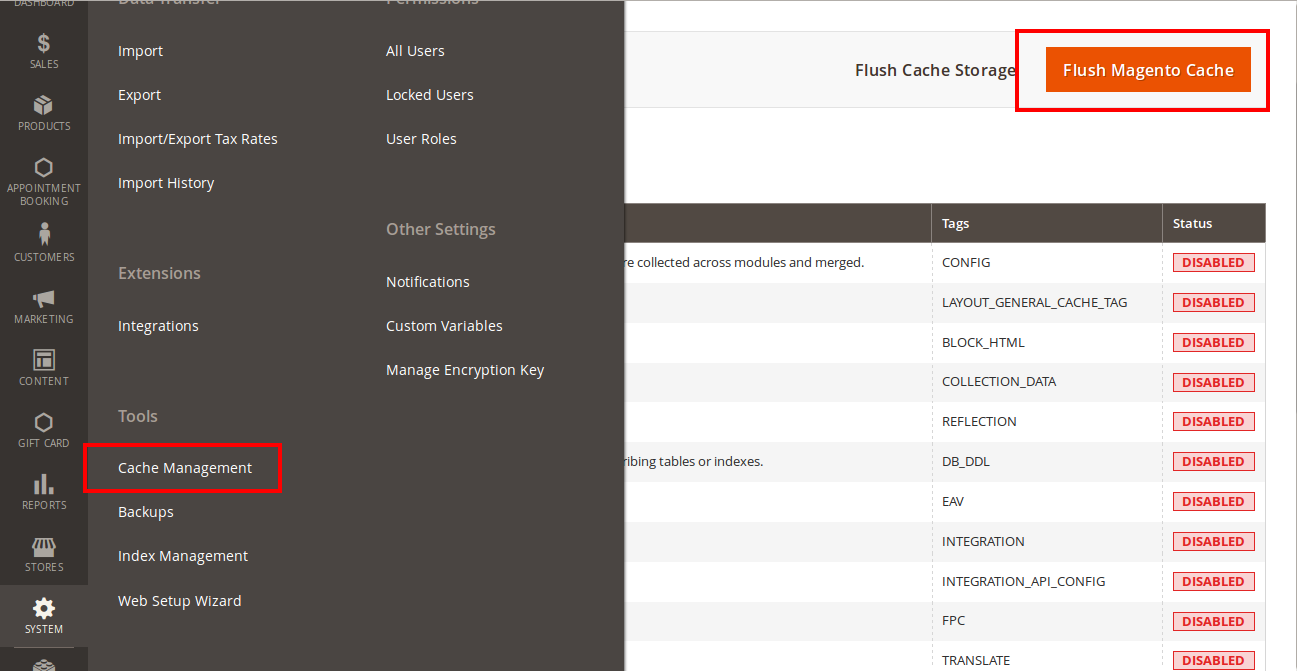
Now you can go to your store and check if the extension is working as expected.
1.
Initial Configuration
In order to get your extension up and running properly, we highly recommend that you make some configurations right from the beginning
Order Status Settings
Firstly, go to Order Settings tab on the Appointment Booking menu, this is the place where you define the email template and sender identification of the email sent each time the booking status of a booking order is changed.
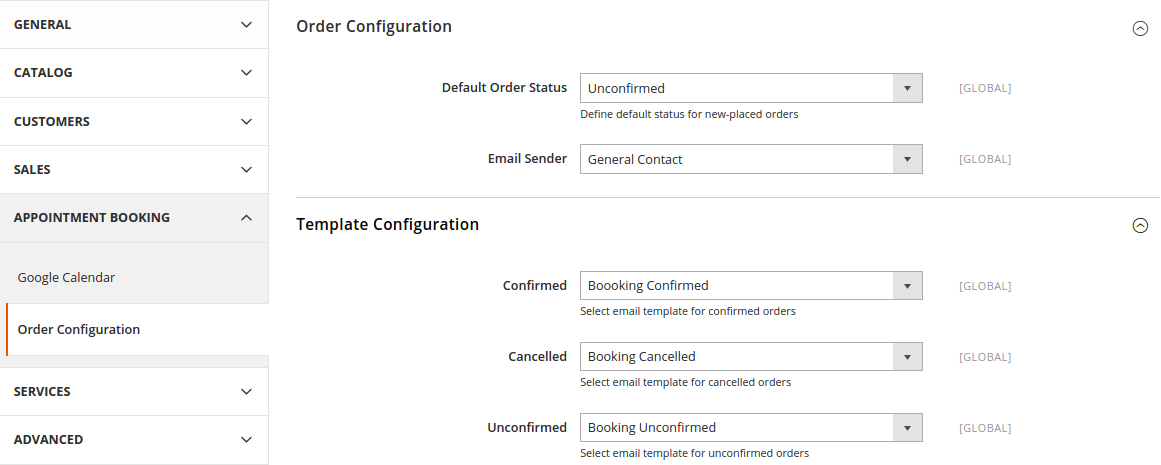
- Default Order Status: specify the default status of newly placed booking orders.
- Email Sender: specify the identification of the sender. You can define this in tab General > Store Email Addresses.
- Template Configuration: these are email templates for each booking status of an order.
Here are some template variables that you can embeed in canembeedin your template:
- customer: customer email
- customerName: customer name
- store: store name
- itemName: name of the ordered item
- bookingStatus: new booking status of the item
- specialDate: will be available if there is any special date
- bookedDate: booked date
- start: start time
- end: end time
- staffName: staff name
Google Calendar Sync Settings
If you want to sync booking orders onto your Google Calendar account, then you should go to Google Calendar Settings tab on Appointment Booking menu.

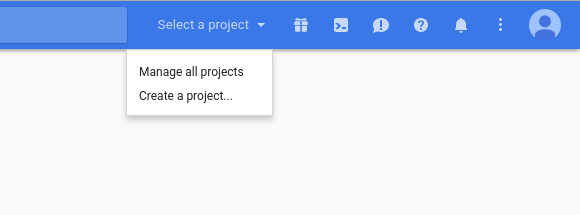
When it comes to getting these parameters, things get a bit tricky. First off, in order to get Client ID and Client Secret, go to Google Developer Console and create a new project by clicking on Select a project > Create a project
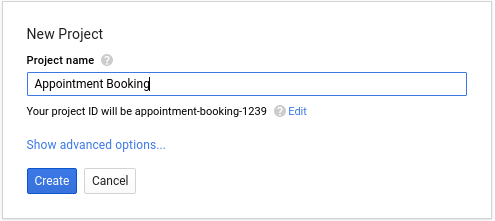
Enter your project title and click on Create
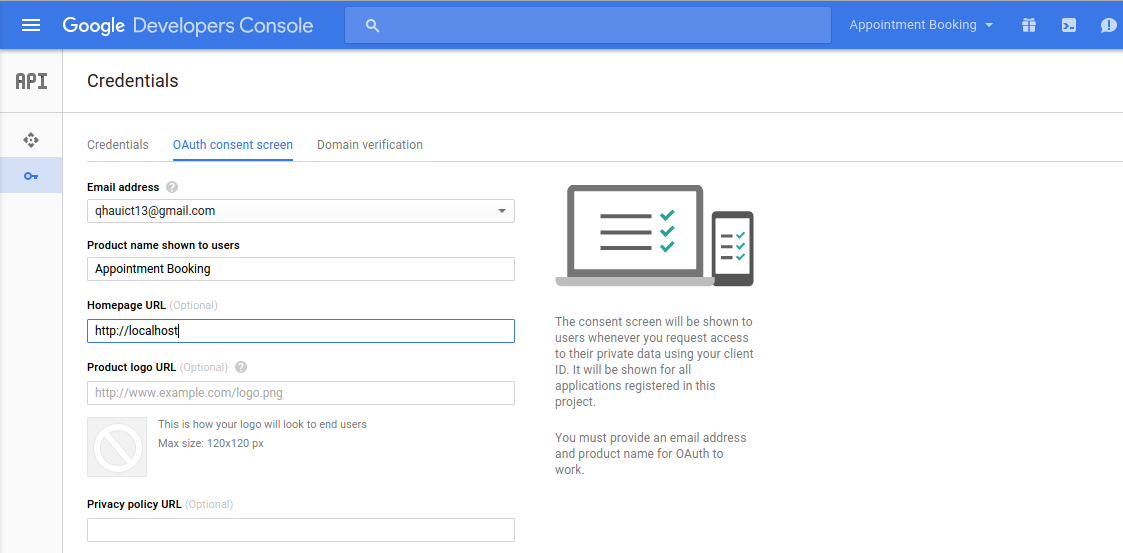
Next up, click on Enable and Manage APIs, you will be taken to the API Manager page. Click on Credential tab of the page and select OAuth Consent Screen and enter Product Name.
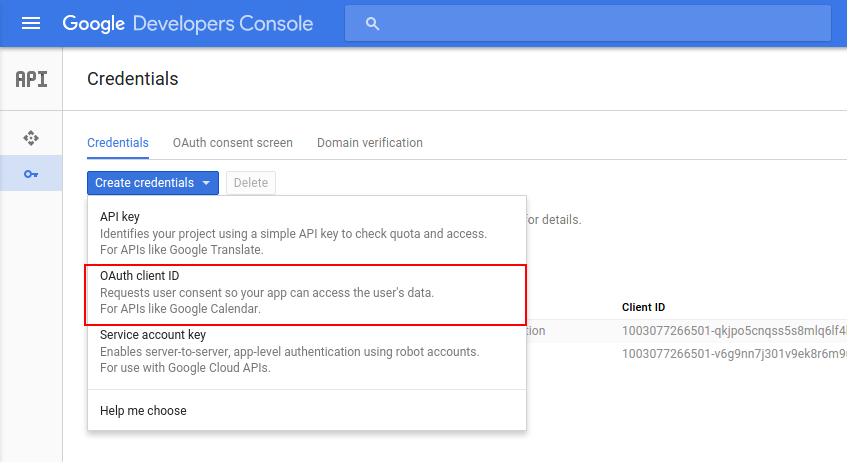
Click on Save, now you will be able to create Credentials for your project. Select Credentials, click on Create credentials > OAuth client ID
Remember to check on Other in Application type and enter an appropriate name for your project, then click Create. You will be immediately informed of your Client ID and Client secret keys.
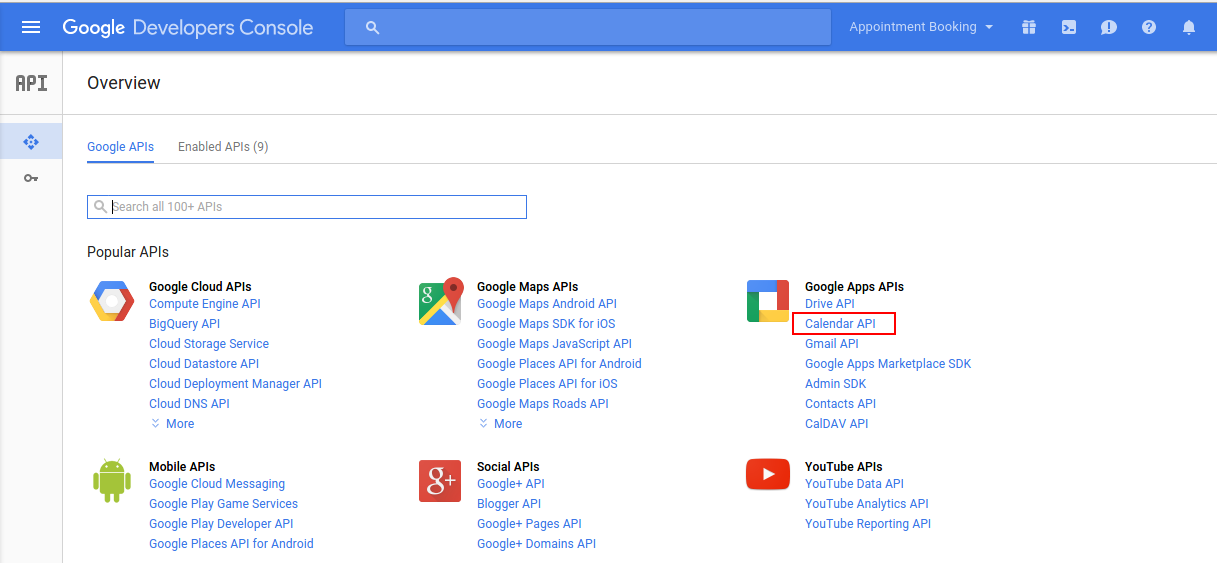
Now go to Overview tab, select Calendar API and enable the API.
Go to your Google Calendar and create a new calendar.
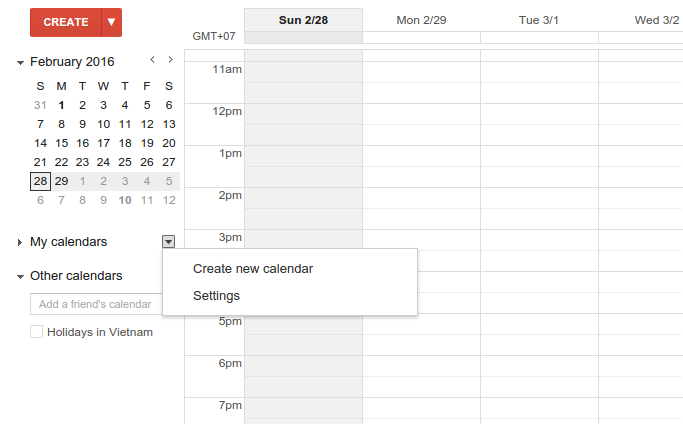
Fill in the inputs with your desired information for the calendar and click on Save Calendar. Then go to the settings page of your calendar.
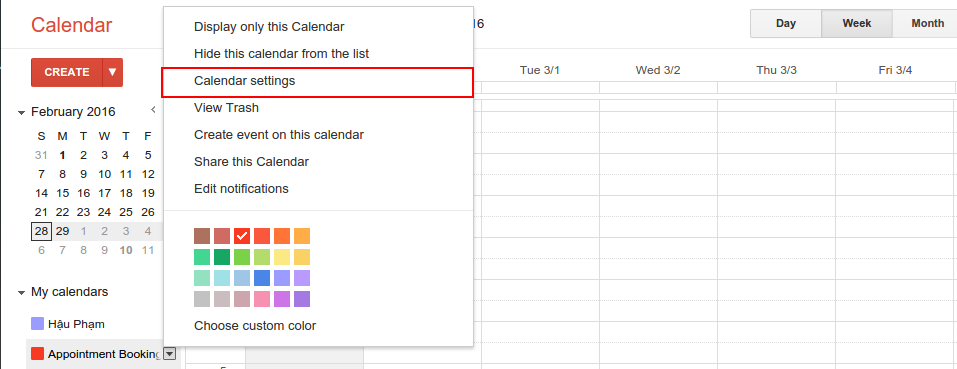
Scroll to the bottom of the page, you should be able to see the Calendar Address section and get the Calendar ID.
Price Rules
We have implemented 3 kinds of price rules: Staff Price Rules, Special Date Price Rules and Recurring Price Rules. These rules will add some versatility into the effort of better evaluating price of bookings. With Staff Price Rules, go to Staff Price Rules tab in Appointment Booking menu.
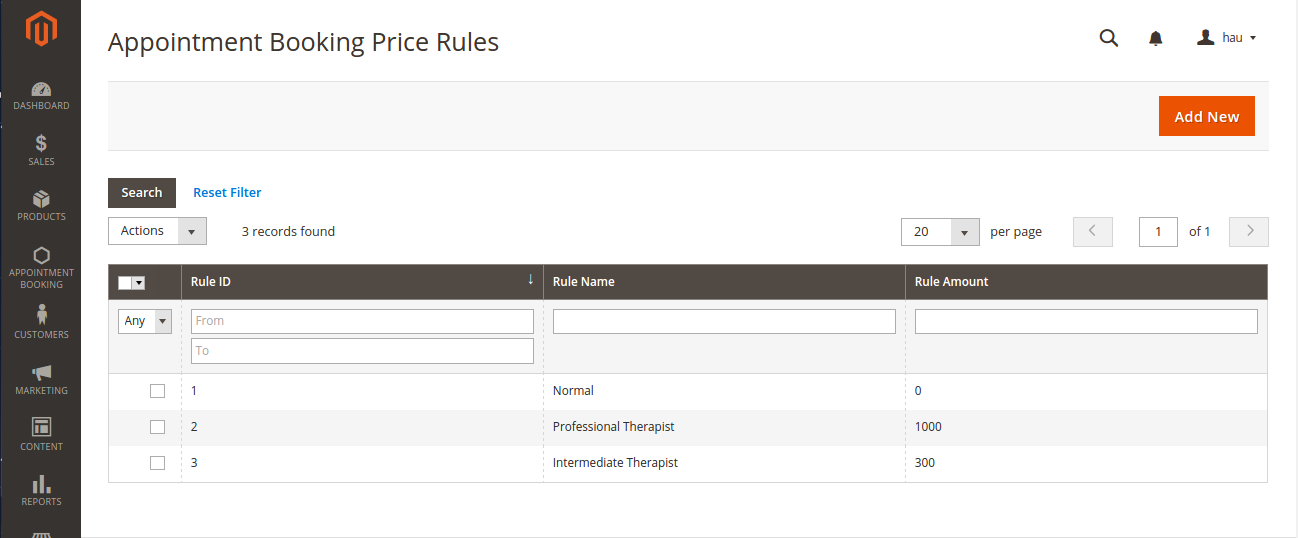
Rule Amount is defined so that if a staff of one type is selected on frontend by the customer, a corresponding amount will be added to the total (we will illustrate this in a later section). We recommend you to add a default type with Rule Amount set to 0 to prevent any abnormal functionality of the extension.
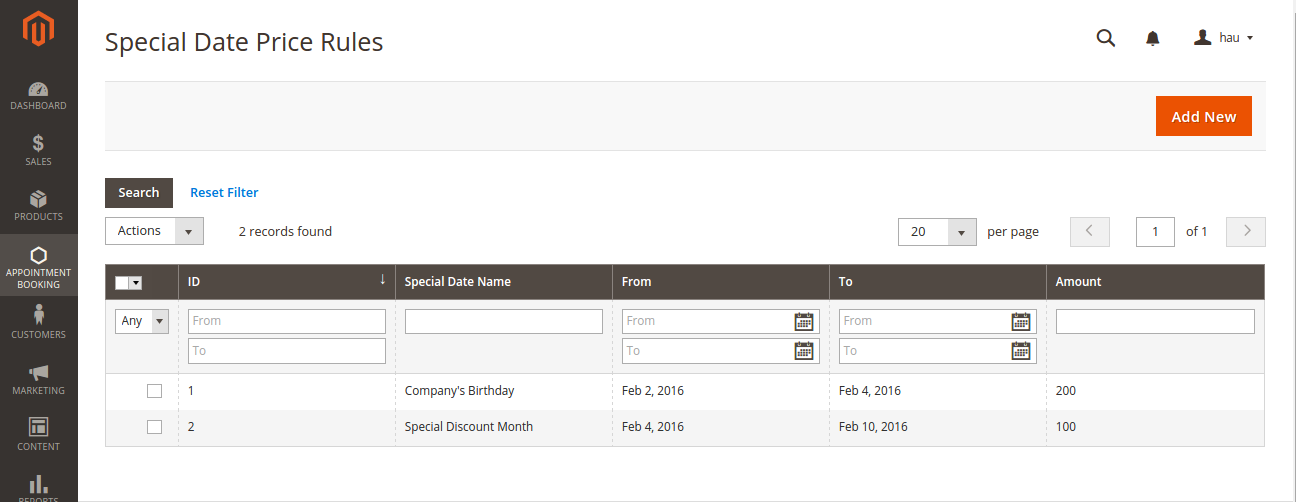
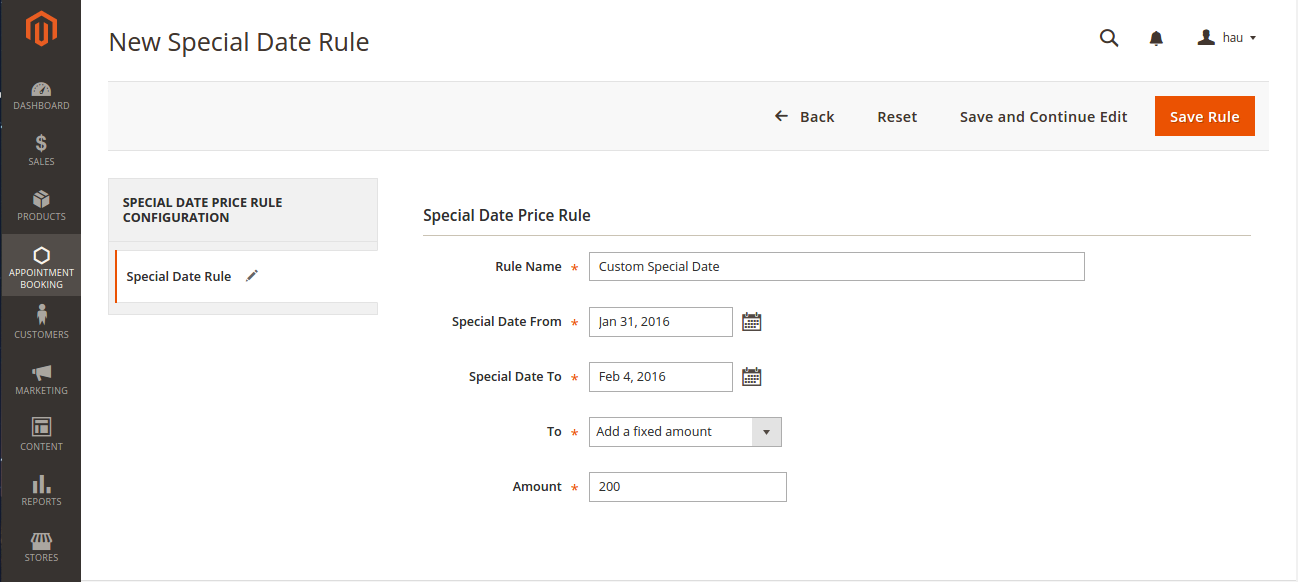
Then we have Special Date Amount, which will add or subtract a certain amount of money when a certain date is selected.
Another price rules - Recurring Price Rules allows admins to create recurring price rules for Time Activity such as every day, every week, every month, every year.


Main Features
Define Product Schedule
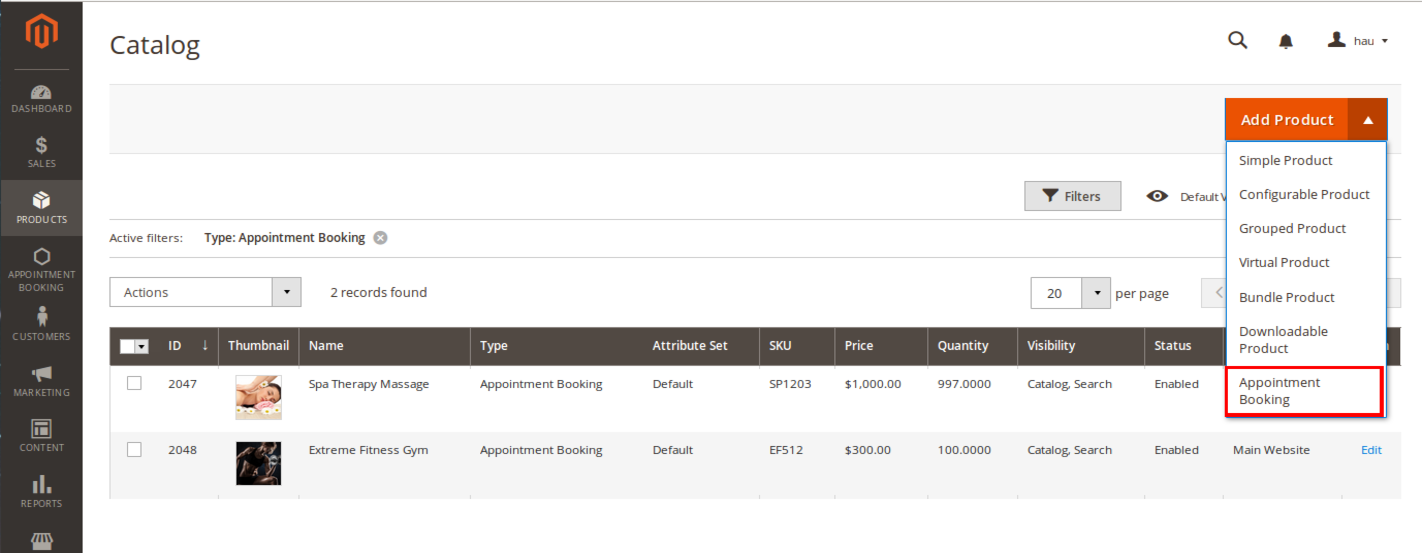
The extension added a new product type called Appointment Booking into the system, so you need to add a new product of type Appointment Booking to get started.
In the product detail page, go to Advanced Settings > Appointment Booking.
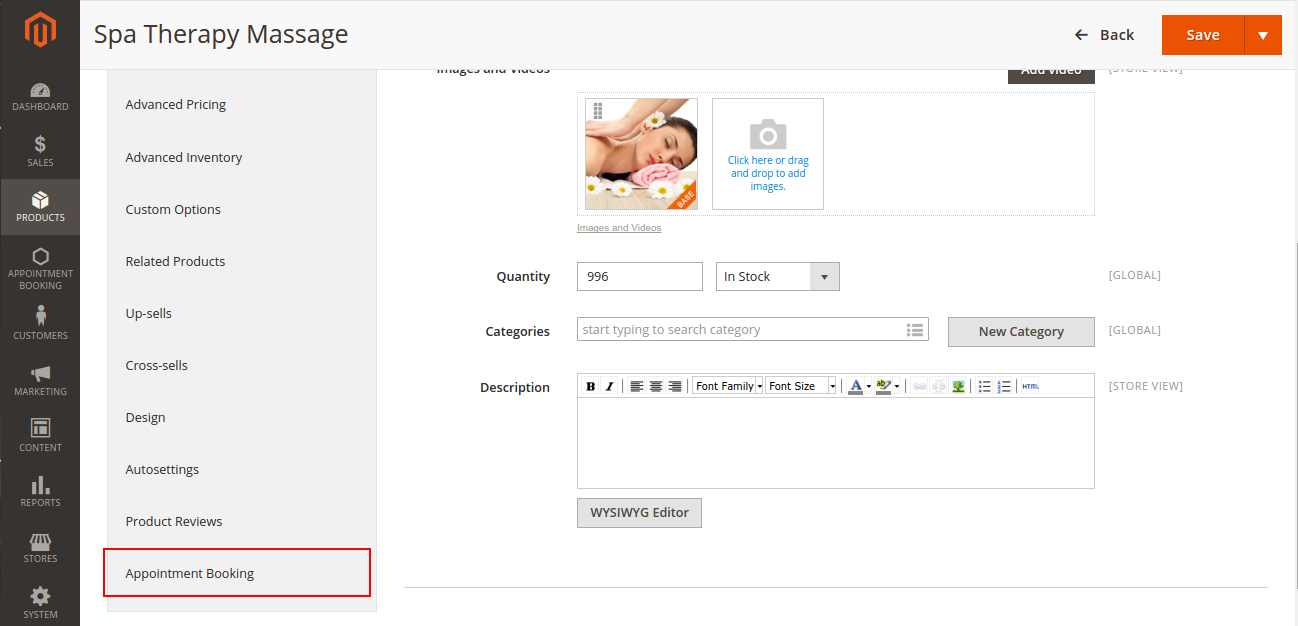
You will see a row of inputs which defines a schedule for the current product. You can click on Add Schedule to add a new schedule row. All saved schedules will be sorted by weekday, in ascending order.
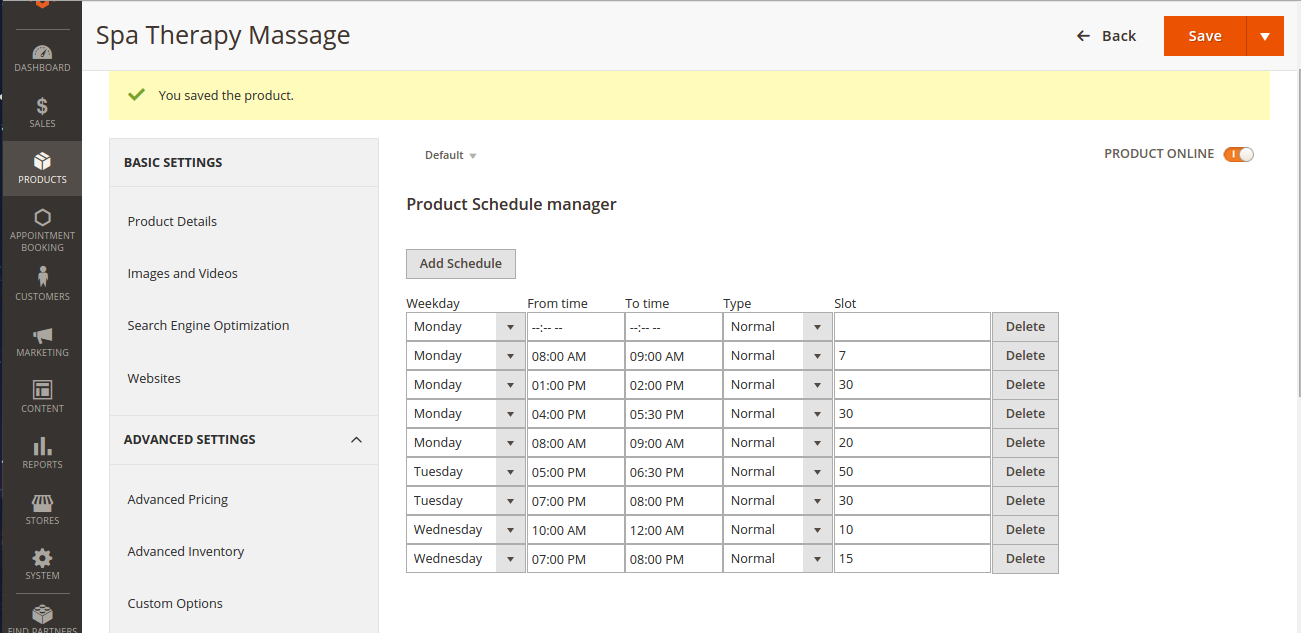
Click on Save and your newly filled schedules will be saved. You can also delete an existing schedule by clicking on the Delete button. One remind Oneremind here, the schedule will not be saved if one input is not properly filled.
Define Staff Information
Go to Backend of Magento 2 store > System > All Users > Add New User button to add staff into stores.
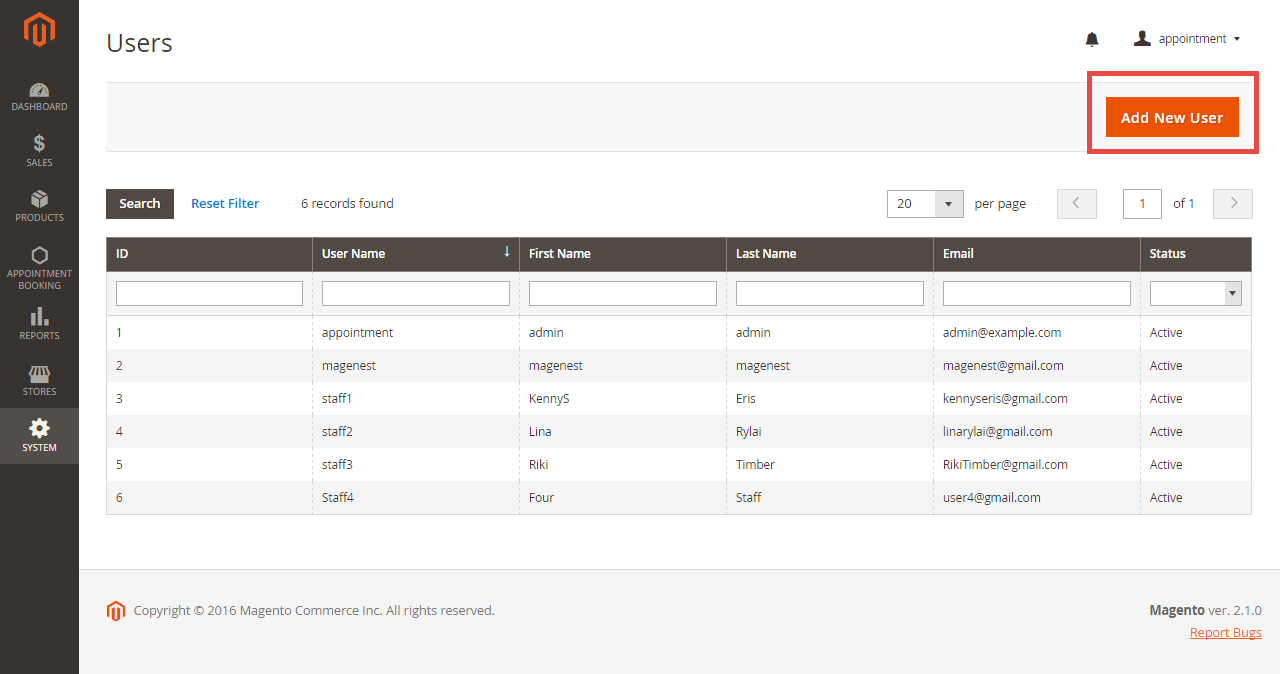
At Staff Management tab, you will be taken to the users list. From now on, you will be able to make an admin user a staff. In detail, you can add some information of informationof the staff as below.
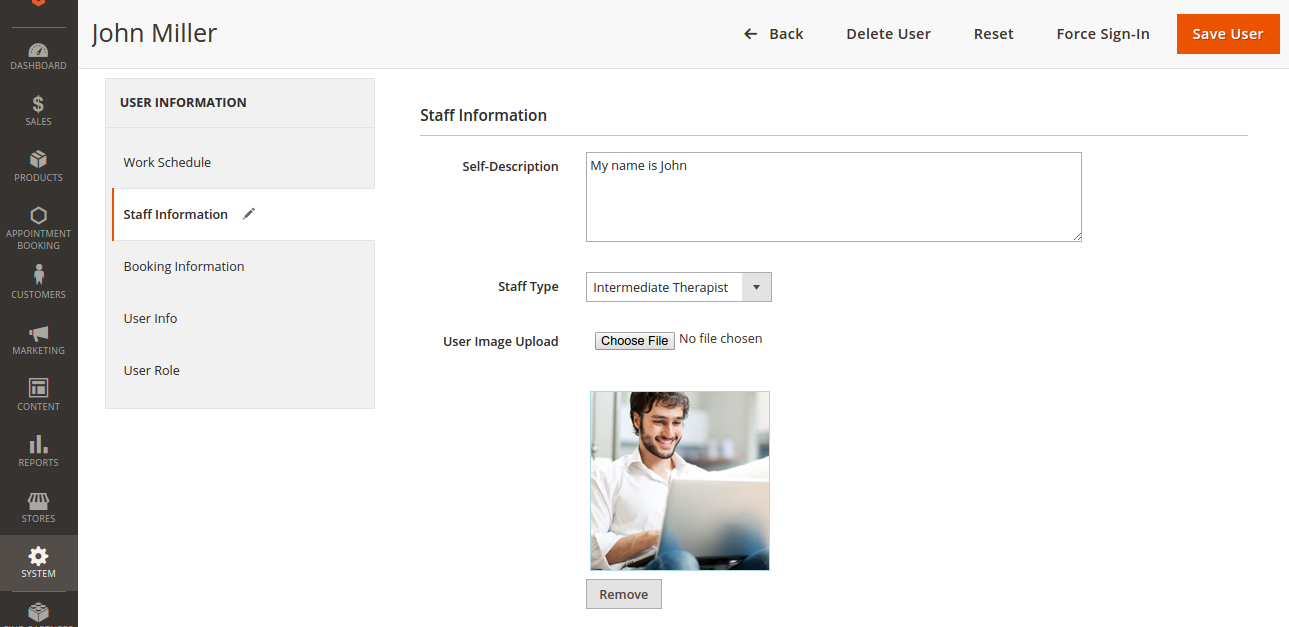
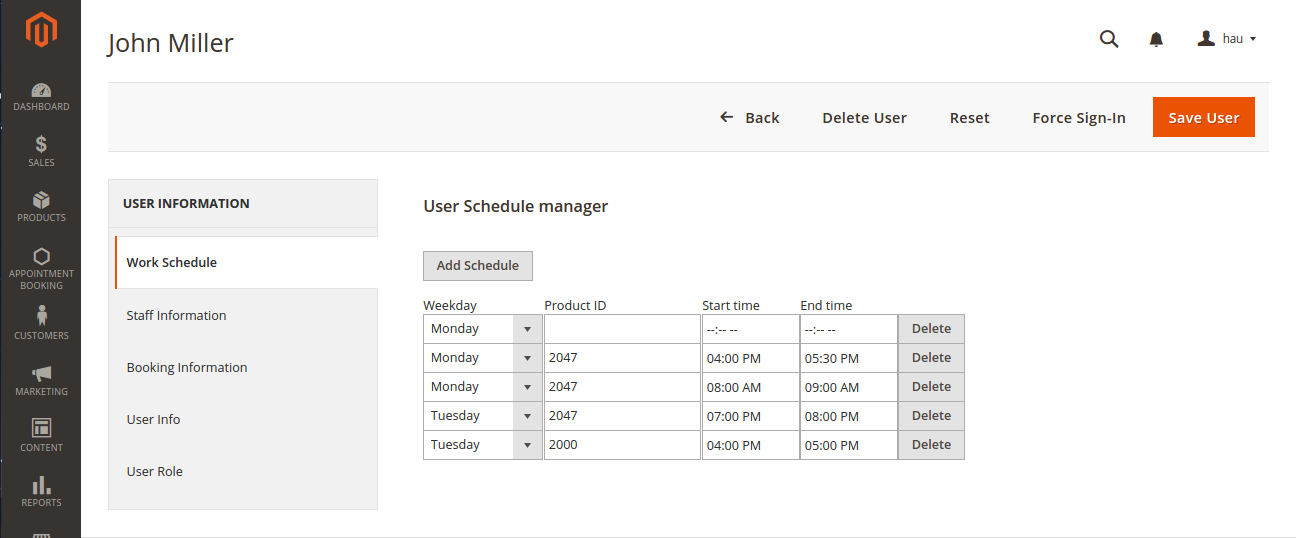
You can also add working schedule for the staff. This is nearly identical to the discussed product schedule.
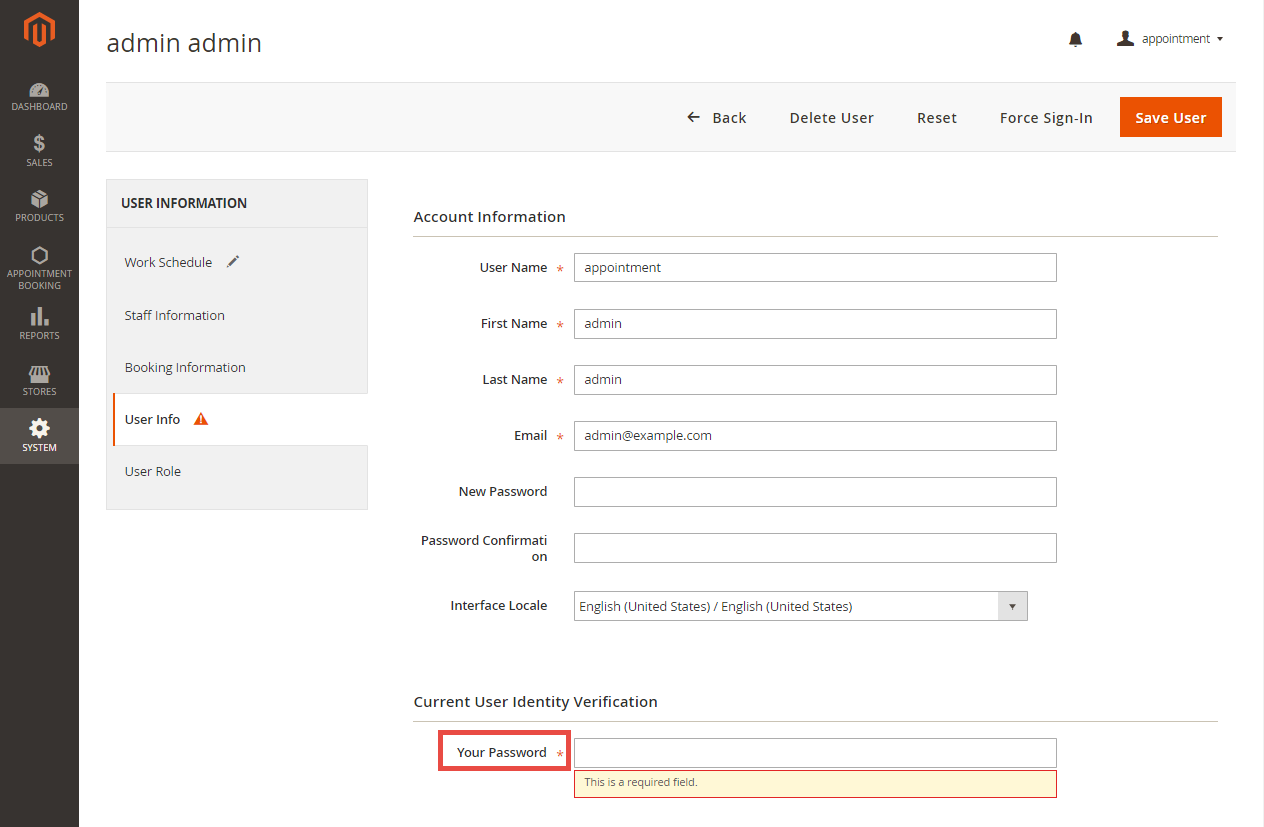
Note that, go to User info tab to reconfirm password when you make any changes.
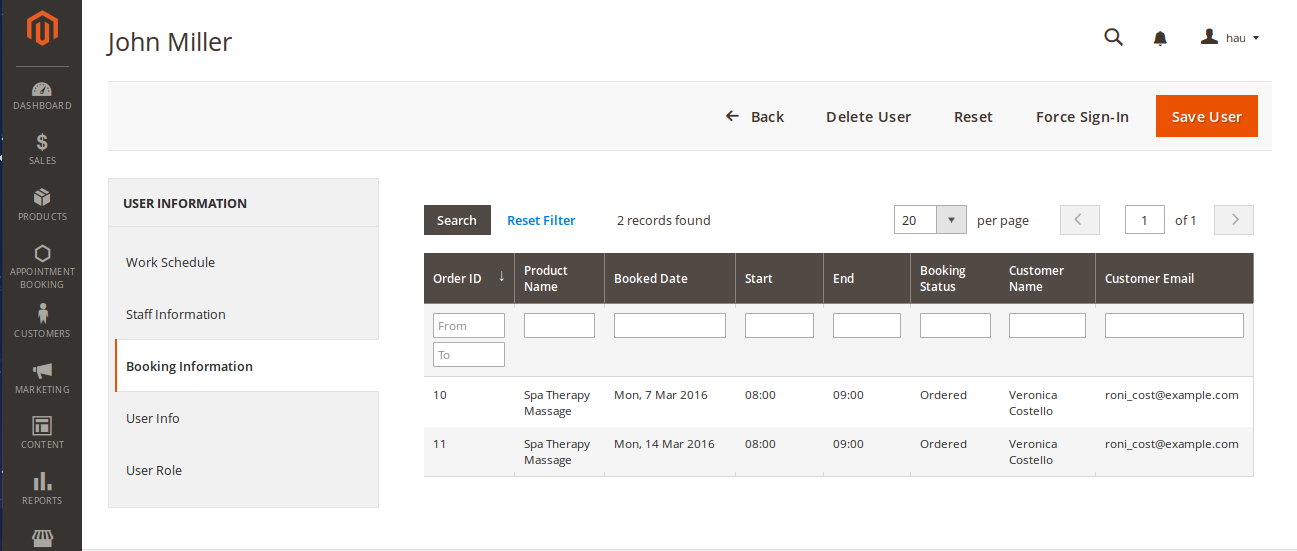
Lastly, the user can view booked orders in which the staff has been chosen.
Usage Procedure
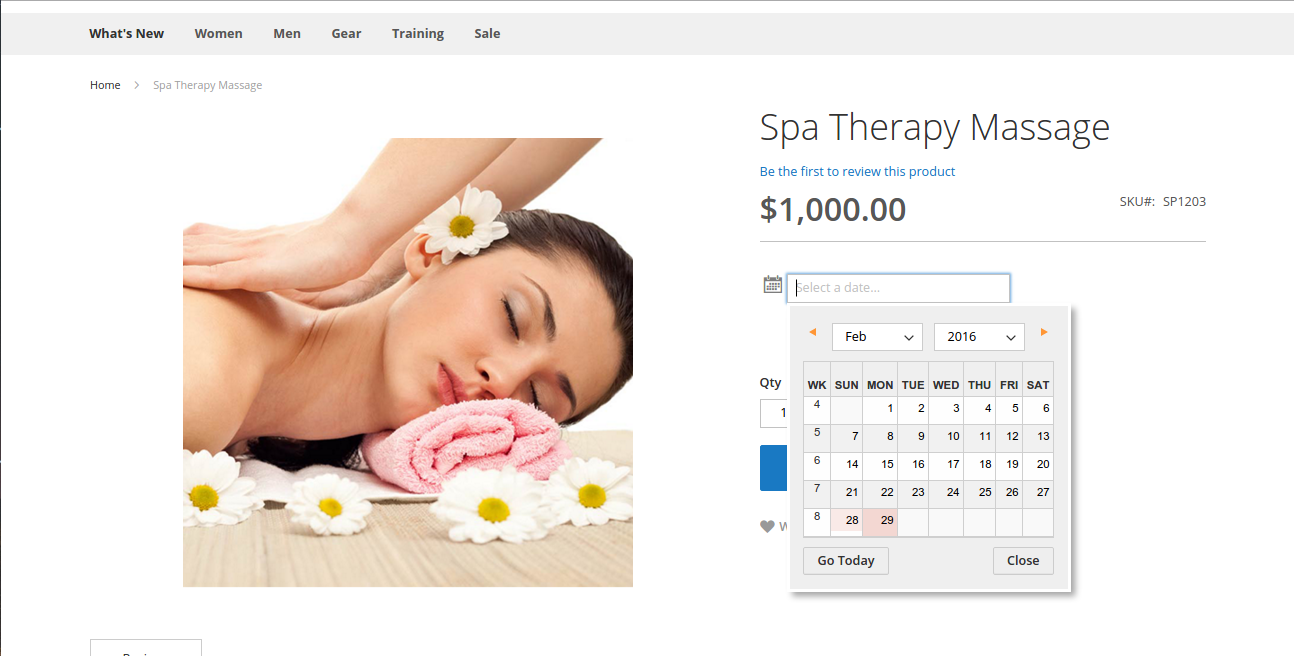
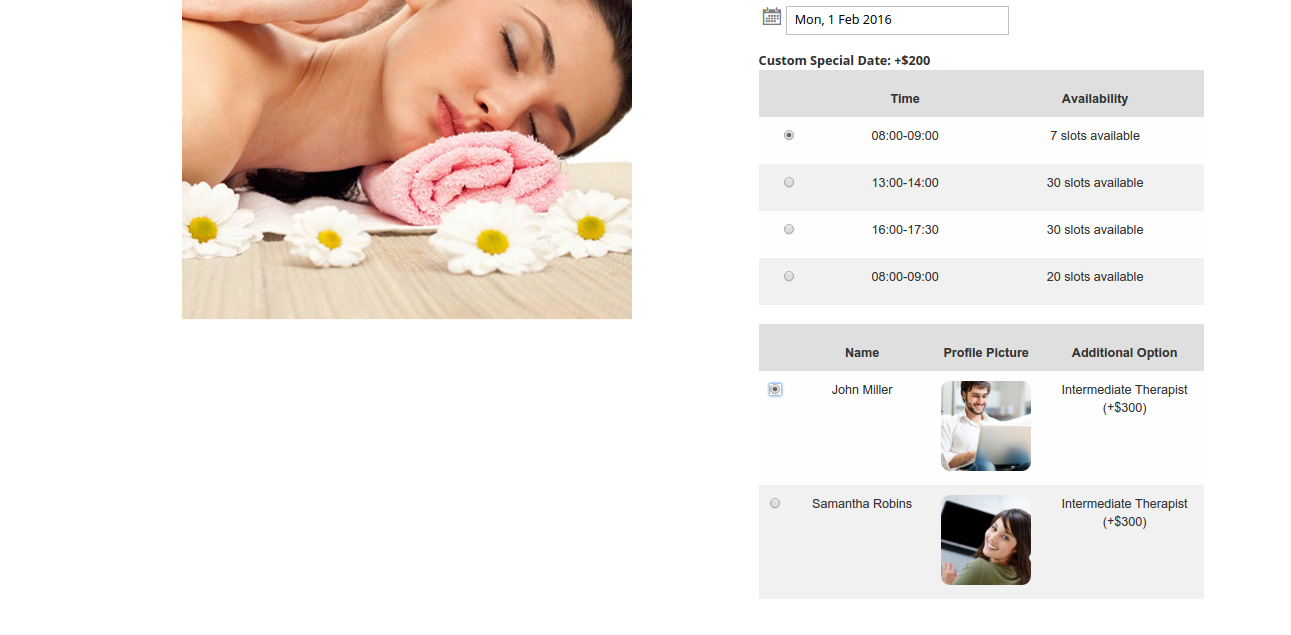
When a customer is on a frontend detail page of a product of type Appointment Booking, he will be able to select a date with a date picker input field as shown.
When a day is selected, the system will check if there is any thereisany product schedules available that day and display them. It will also check if the selected day is within a special date range as formerly specified.
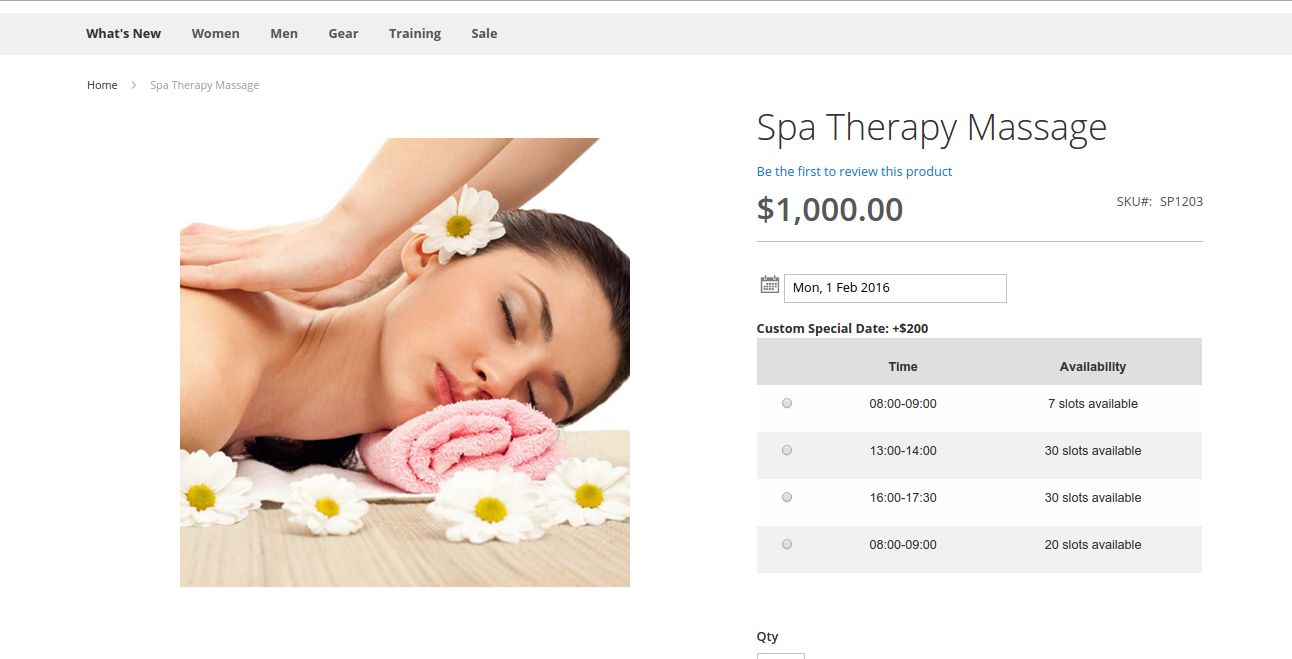
Then if a schedule is selected, the system will now check the staff with the corresponding schedule. Some information about the staff will also be displayed.
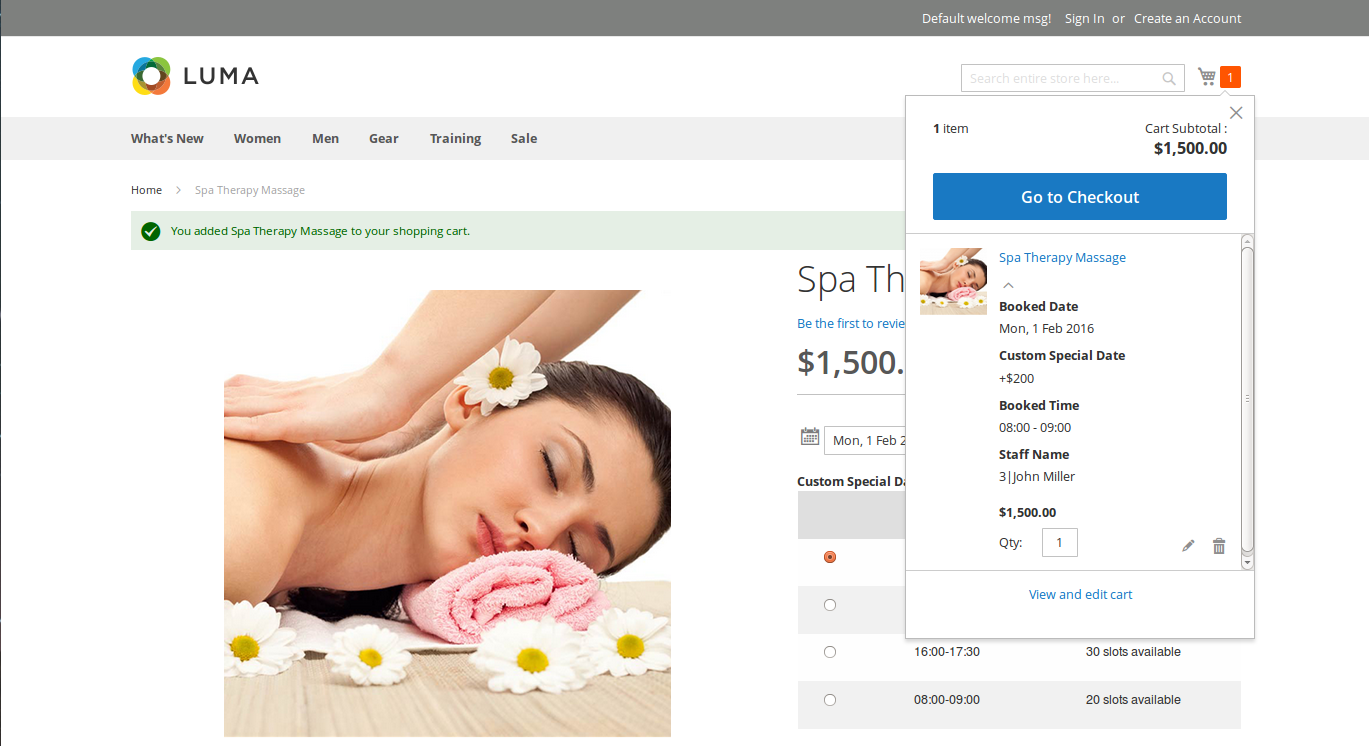
Then when the customer add the customeraddthe product to cart, he will be able to view the product options which are also booking options.
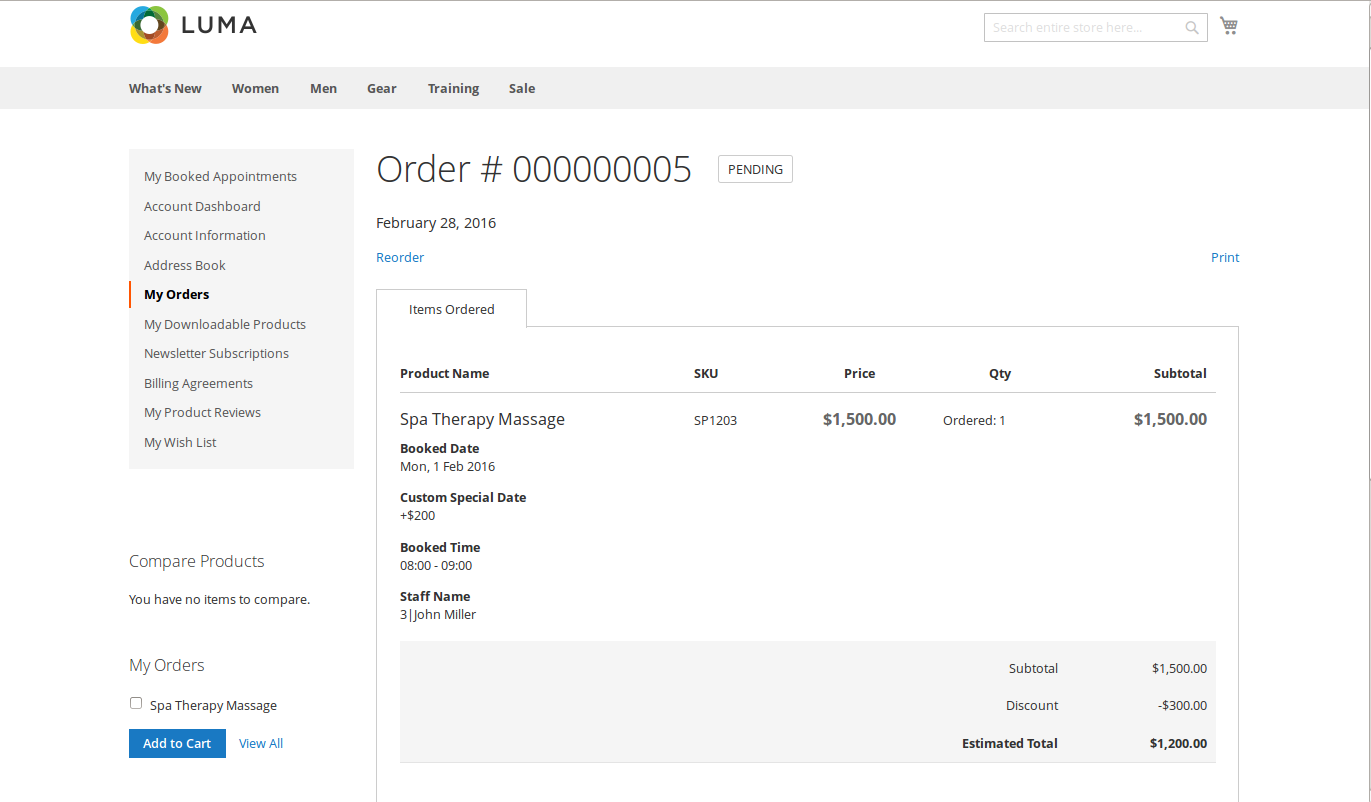
When the order is successfully placed, this is what it will looks like lookslike on My Orders page in customer's My Account.
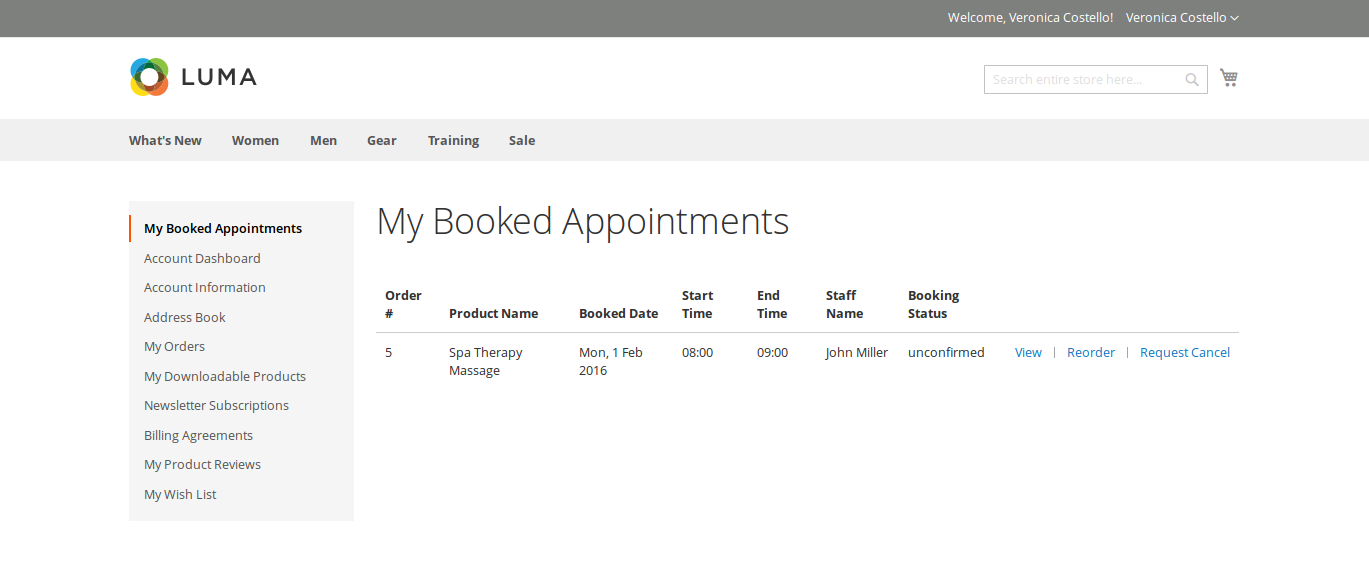
For easier management over booked appointmentsbookedappointments, the customer can also check the My Booked Appointments tab.
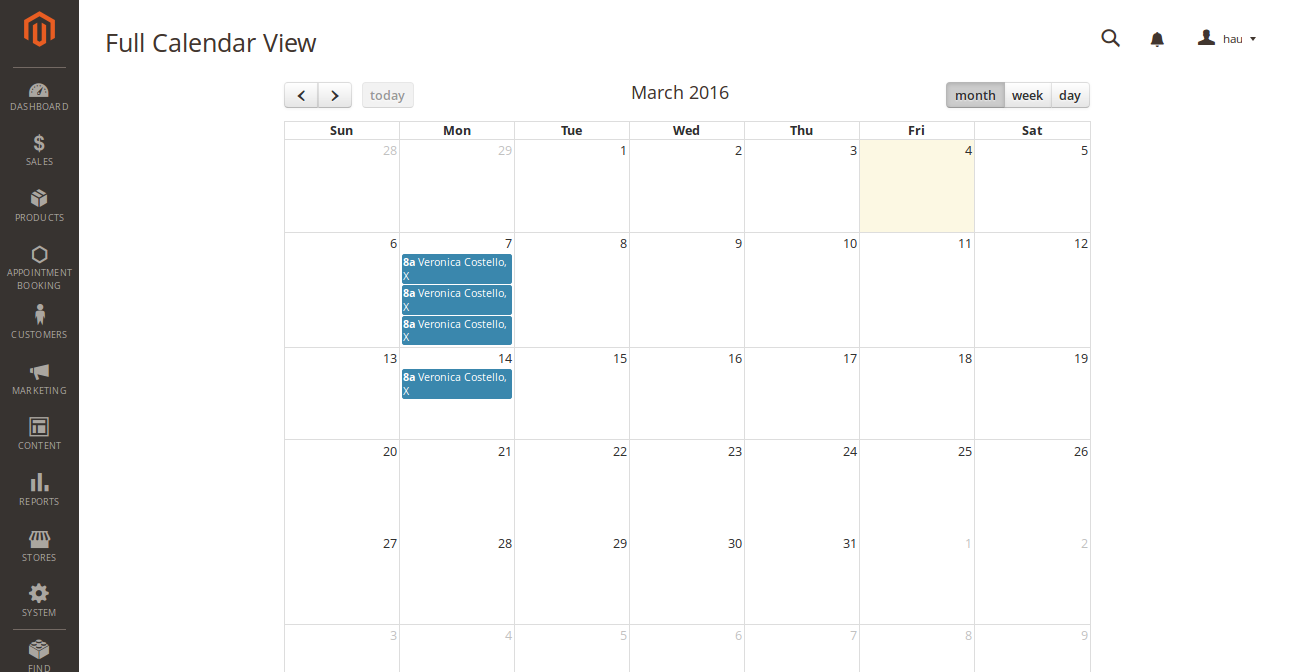
From admin's perspective, he can view all booked appointments in Booking Orders tab in Appointment Booking menu.

Now the admin can view all booked appointments in Full Calendar mode, just by pressing the View in Full Calendar button above.
...