...
When your account is activated, go to https://login.xero.com/ and login with your account.
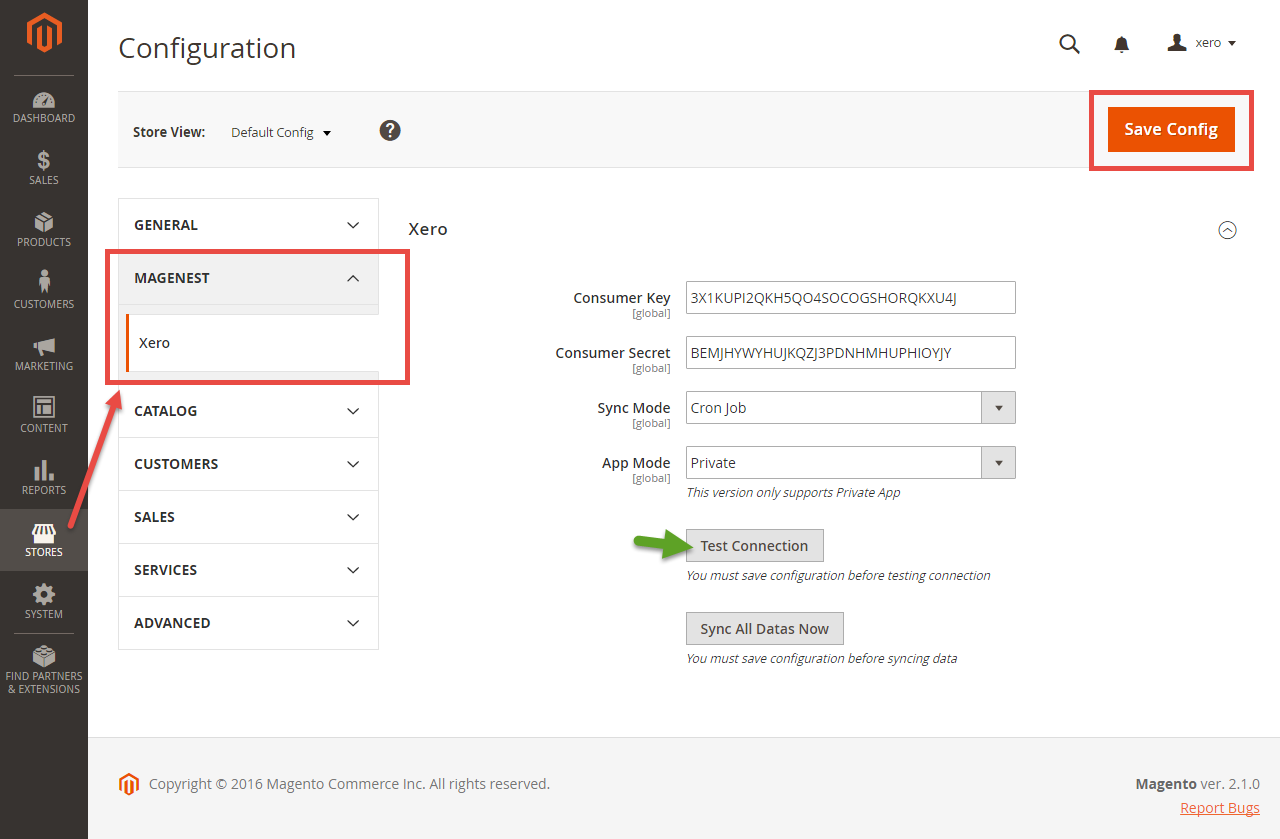
Copy and paste Consumer Key & Consumer Secret from above into Magento 2 backend configuration like in the picture.
Choose the Sync Mode (Cron Job or Immediately), you may want to consider the cron job mode
- Immediately mode: the data will be synced as soon as they're created or updated.
- Cron Job: the data will be queued and will be synced together every 30 minutes.
The immediately mode seems better than cron job mode, but some application mode (like private) only allowed 1000 requests a day. So choosing Cron Job will guarantee all data will be synced. Unless you're a partner to Xero and have an special Application, we suggest you choose Cron Job mode.
Press Save Config after you've done (refresh the cache if needed).
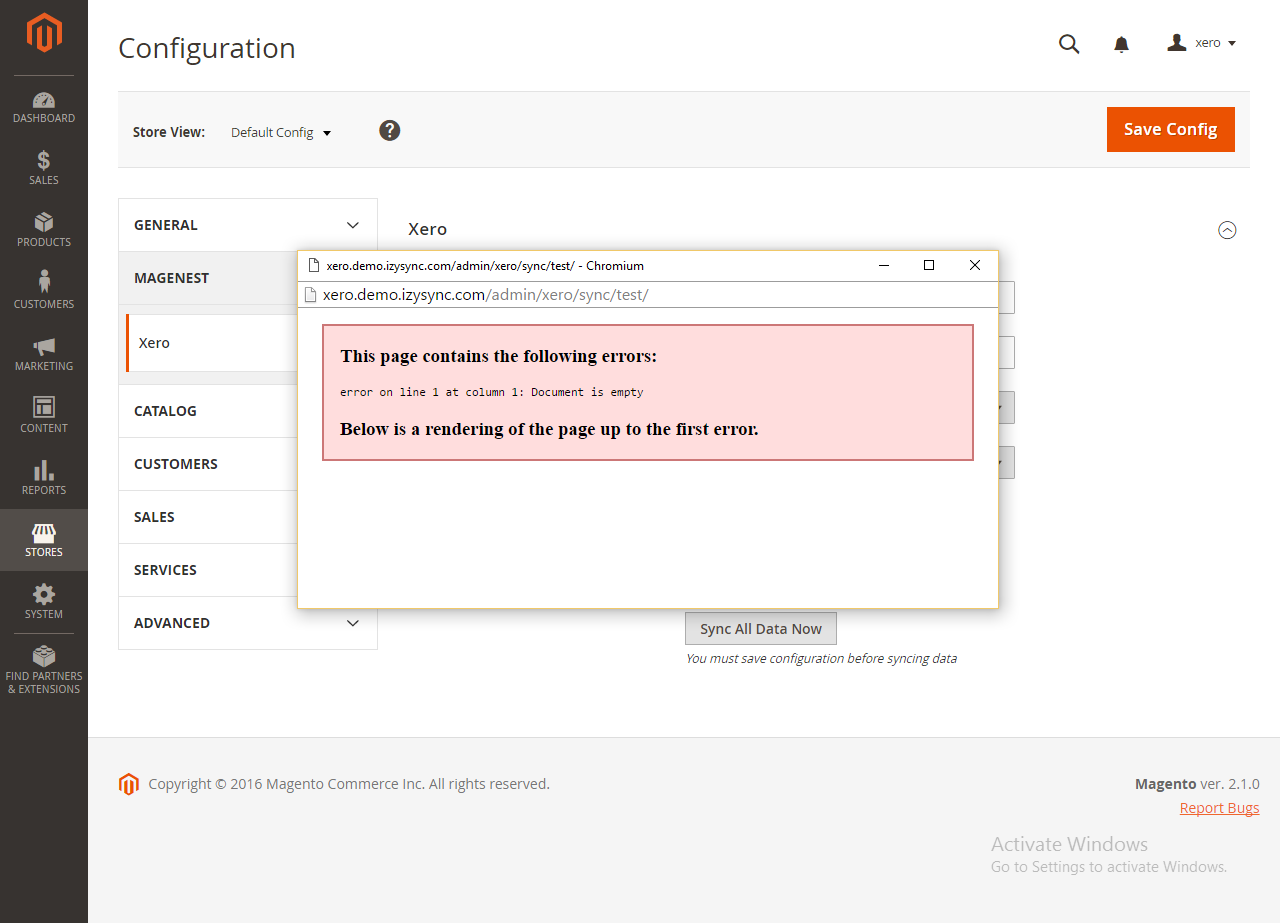
Click on Test Connection.
If everything is right, a window will show up and inform you like this.
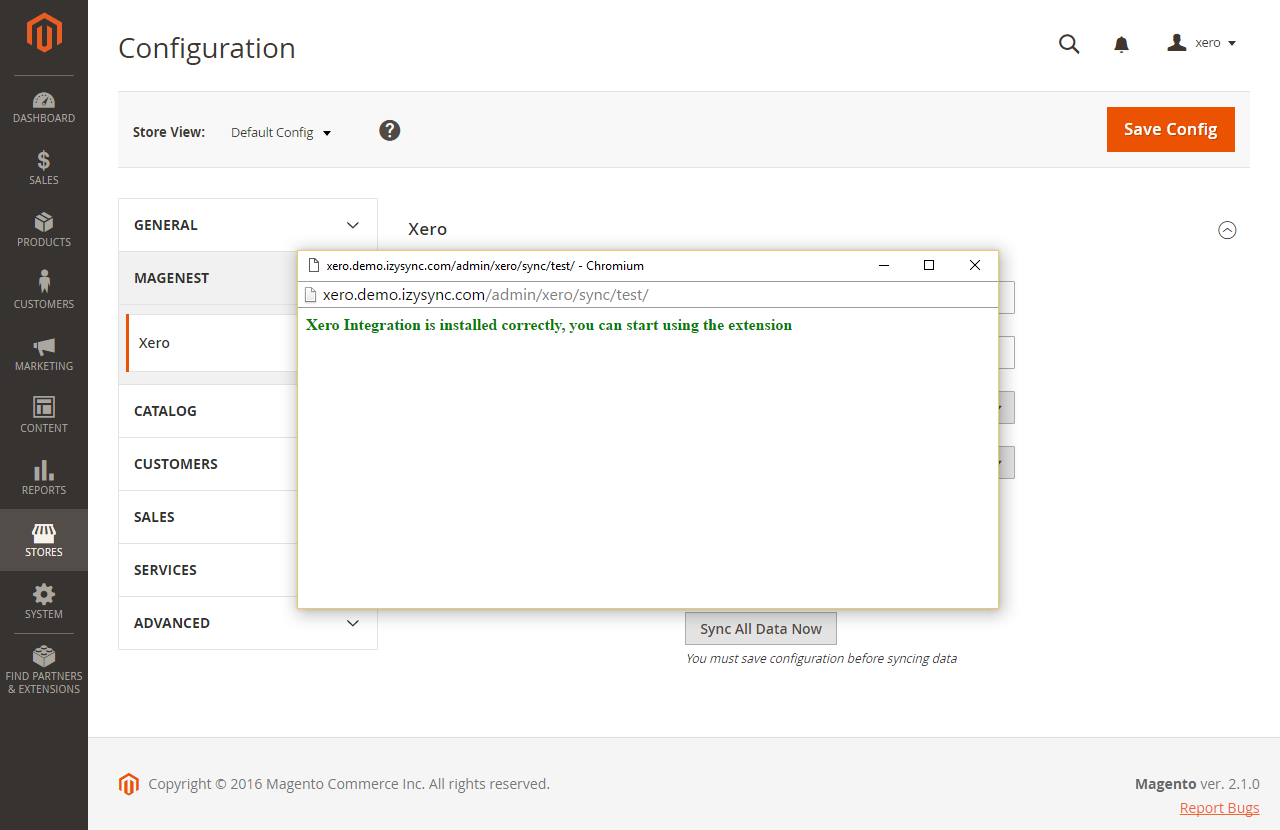
Else it will display the error.
Sync All Data
We placed the "Sync All Data Now" button in the configuration so if you wish to Sync All Data right away, you can press this button. (Notice that this will take some time, a few minutes depends on how large your data is)
...