...
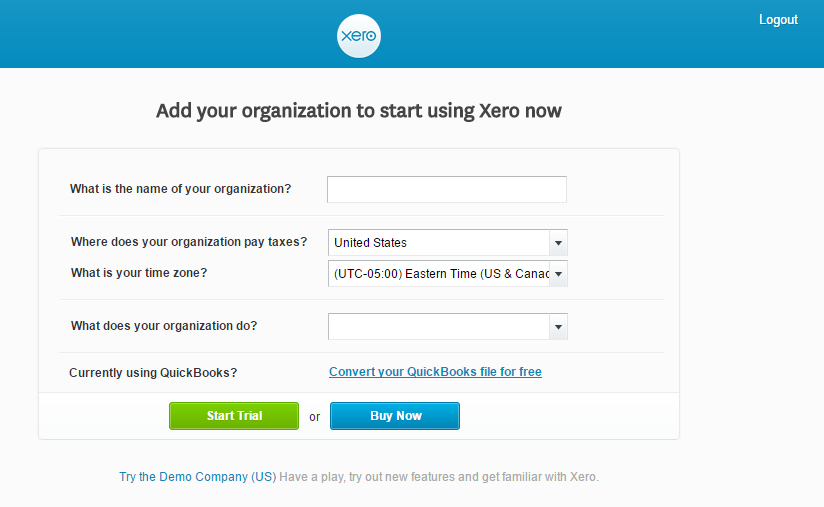
Fill in the form the information of your Organization and press "Get started". If everything is right, Xero will inform you to check your email and activate your account.

When your account is activated, go to https://login.xero.com/ and login with your account.
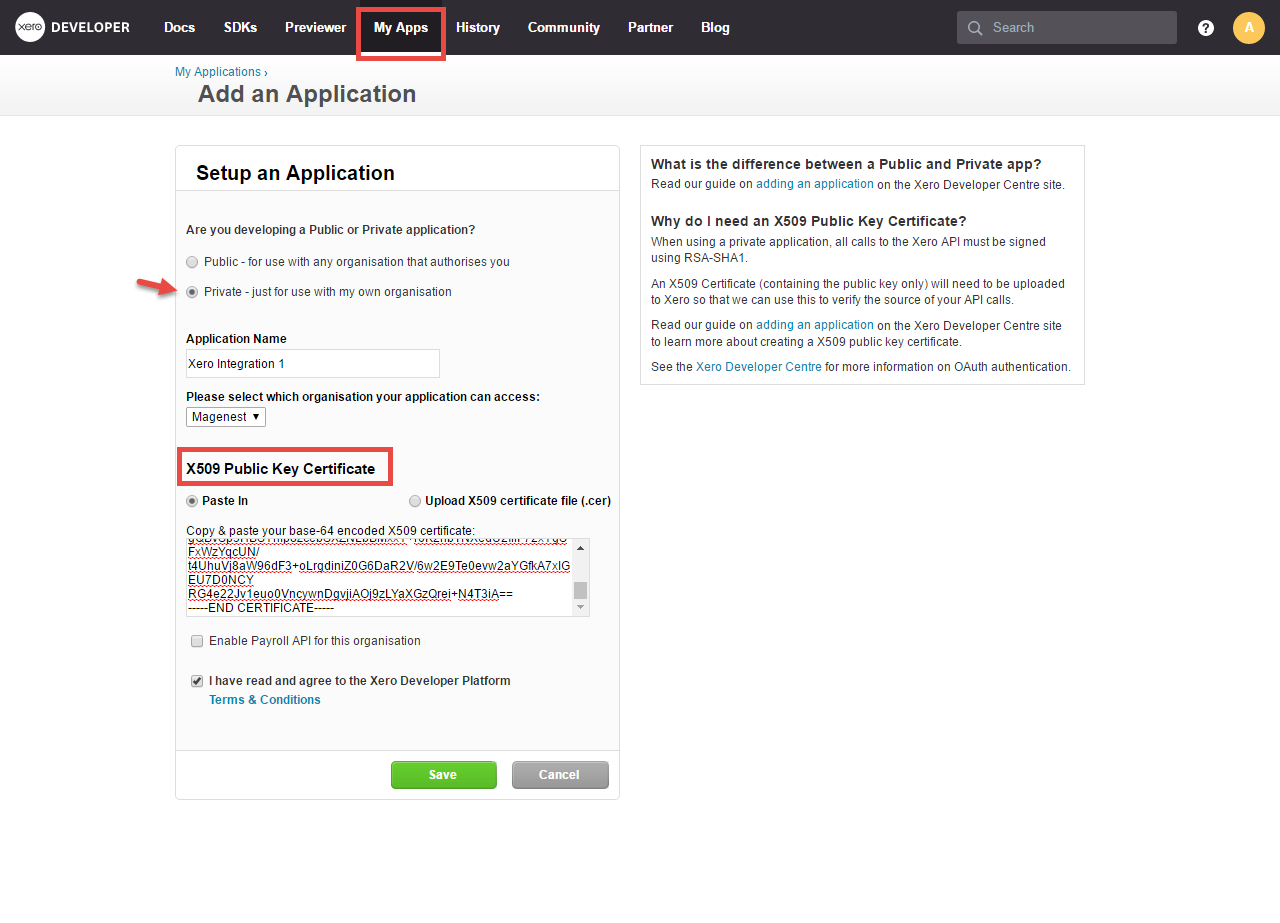
You will see the Xero accounting interface after you've done the last step but now we need to continue our setup, go to this site: https://app.xero.com/Application to create the Application.
Choose the application mode (usually is Private), application name (the name for the application is not very important), choose your organization (this is where the Magento 2 data will be synced into).
The next step is very important, you need to copy the content of the public key to X509 Public Key Certificate field. (If you don't have this, go to the Installation Guide, it's the content of the file Xero/etc/certs/magenest.cer, you can open it in any text editor).
After that, check the information again then check on "I have read and agree to the Xero Developer Platform" & click Save.
If everything goes right, you will see the following content. By now we have done everything on the Xero site, now move to your magento 2 backend but don't close this site.
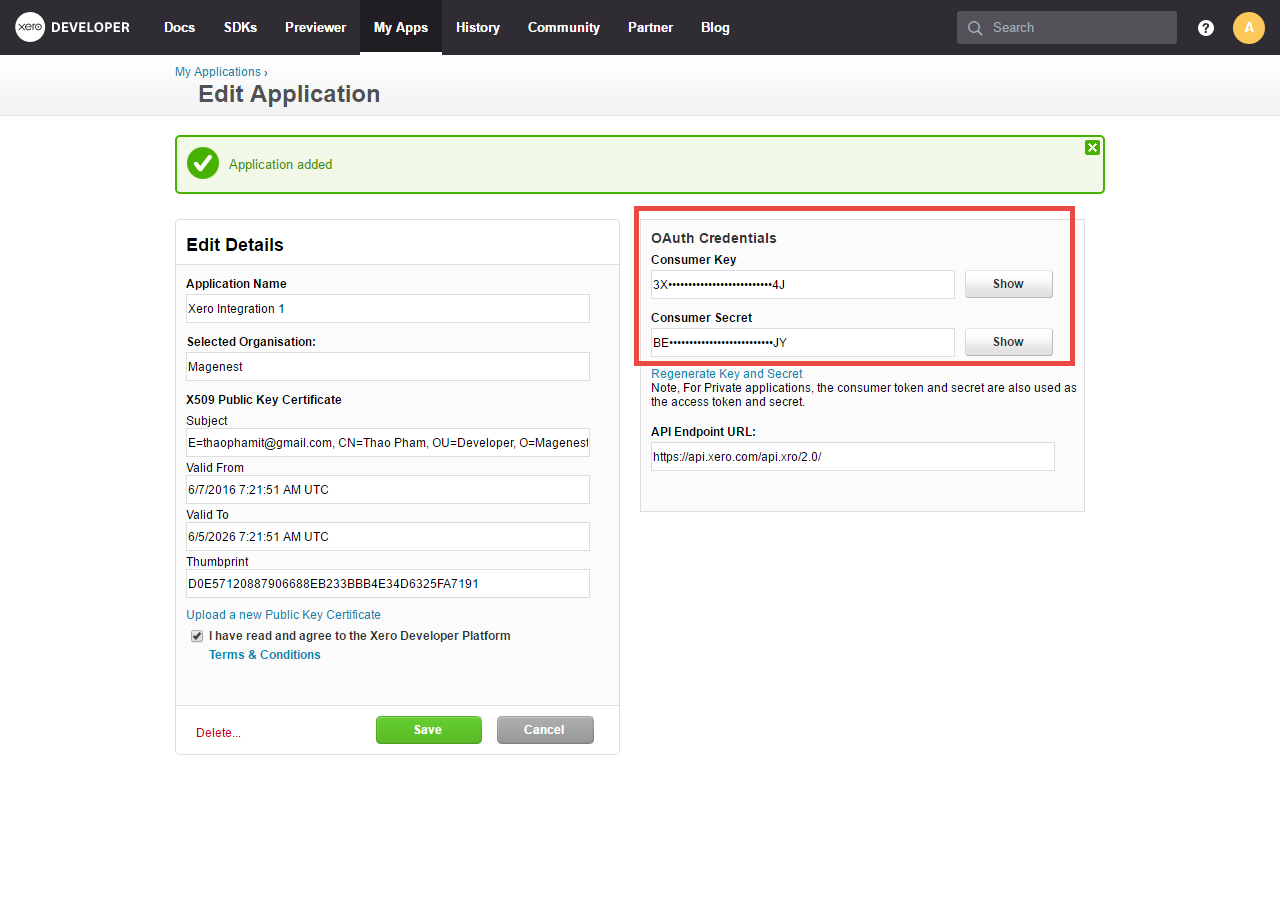
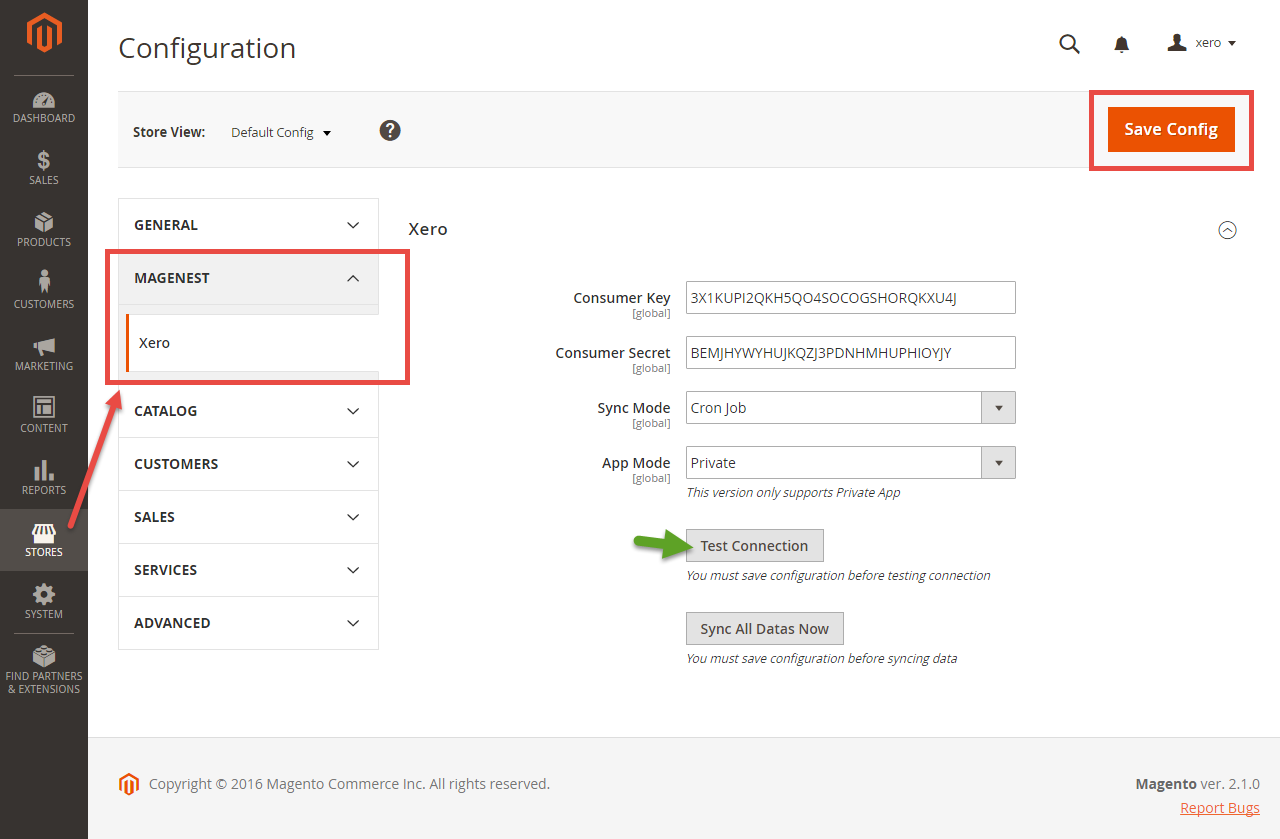
Click on "Show" to show the Consumer Key & Consumer Secret, copy and paste them to Magento 2 backend configuration like in the picture.
Choose the Sync Mode (Cron Job or Immediately), you may want to consider the cron job mode
- Immediately mode: the data will be synced as soon as they're created or updated.
- Cron Job: the data will be queued and will be synced together every 30 minutes.
The immediately mode seems better than cron job mode, but some application mode (like private) only allowed 1000 requests a day. So choosing Cron Job will guarantee all data will be synced. Unless you're a partner to Xero and have an special Application, we suggest you choose Cron Job mode.
Press Save Config after you've done (refresh the cache if needed).
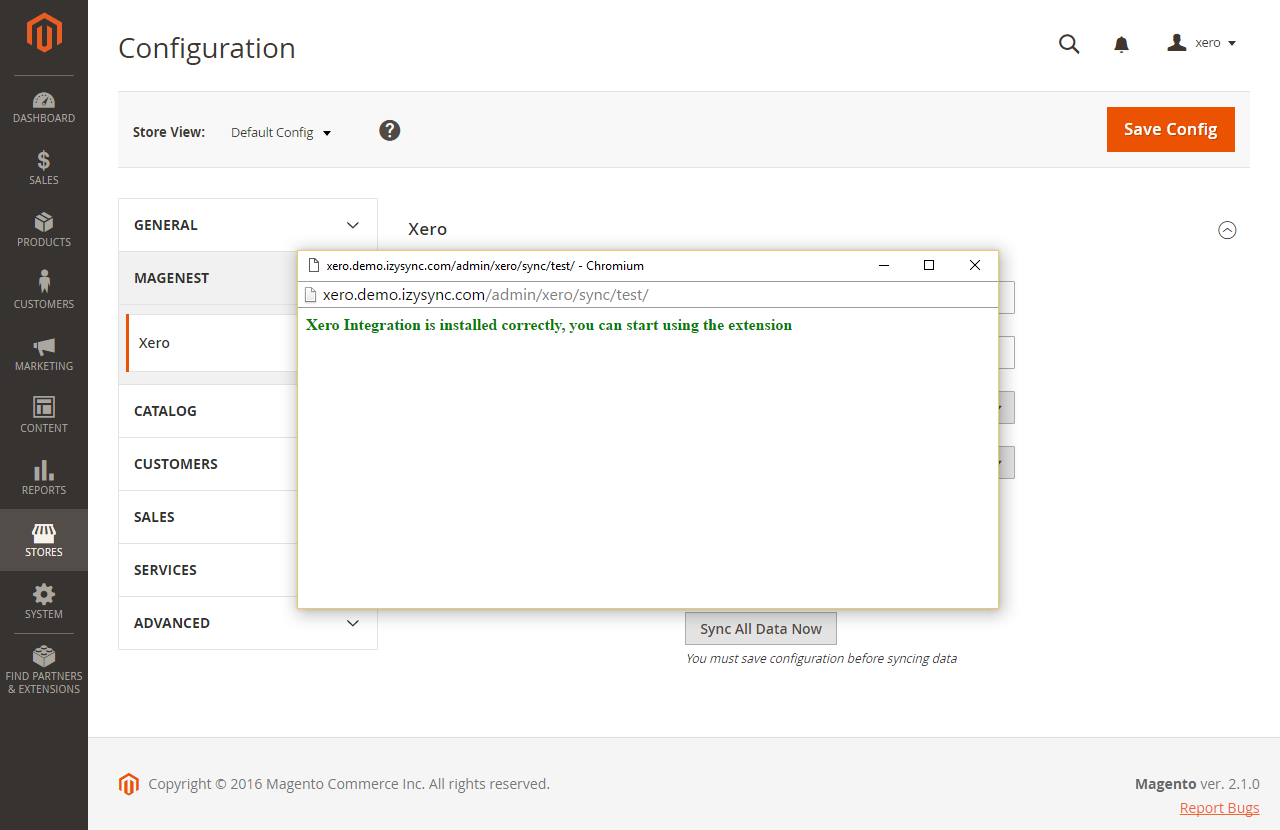
Click on Test Connection.
If everything is right, a window will show up and inform you like this.
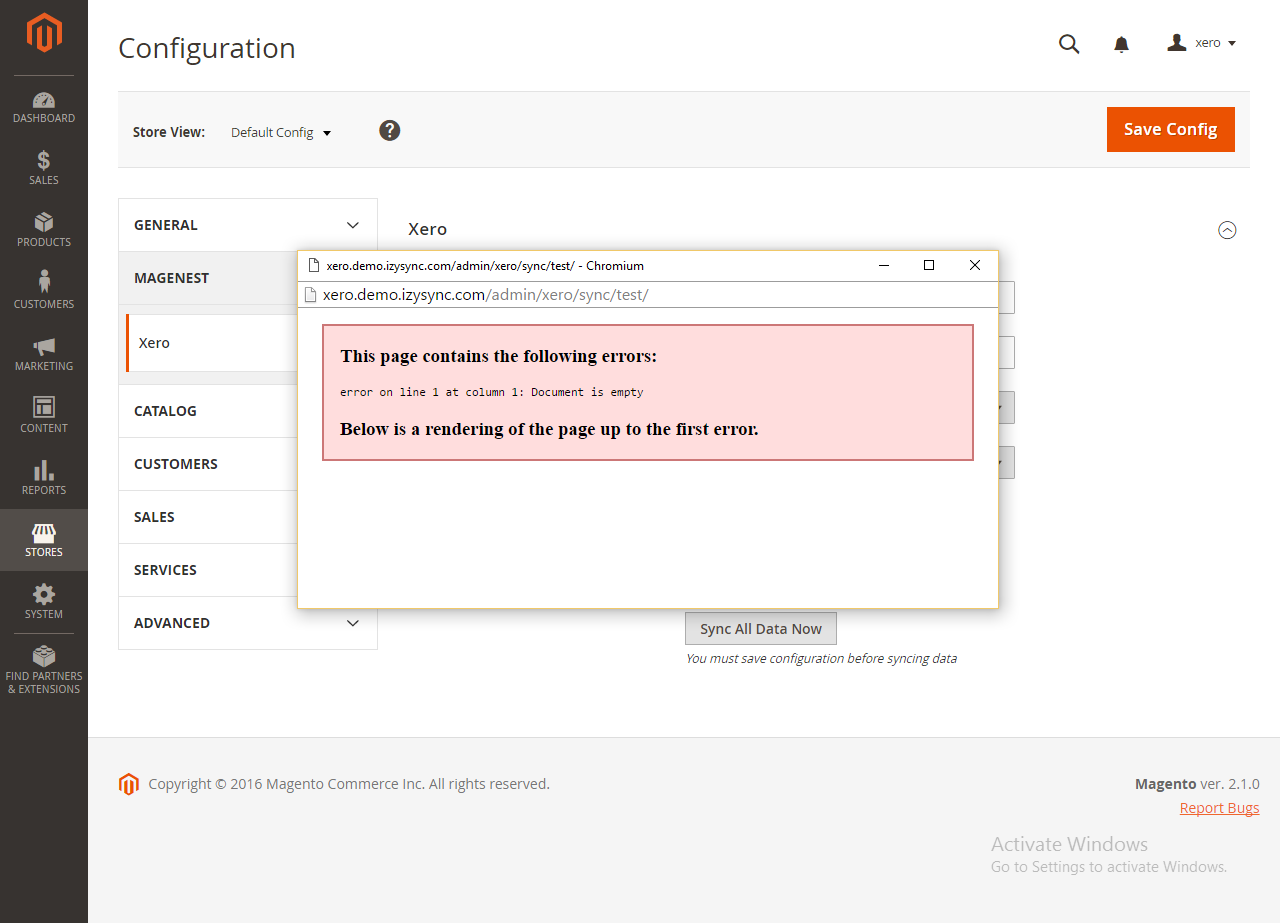
Else it will display the error.
...
Sync All Data
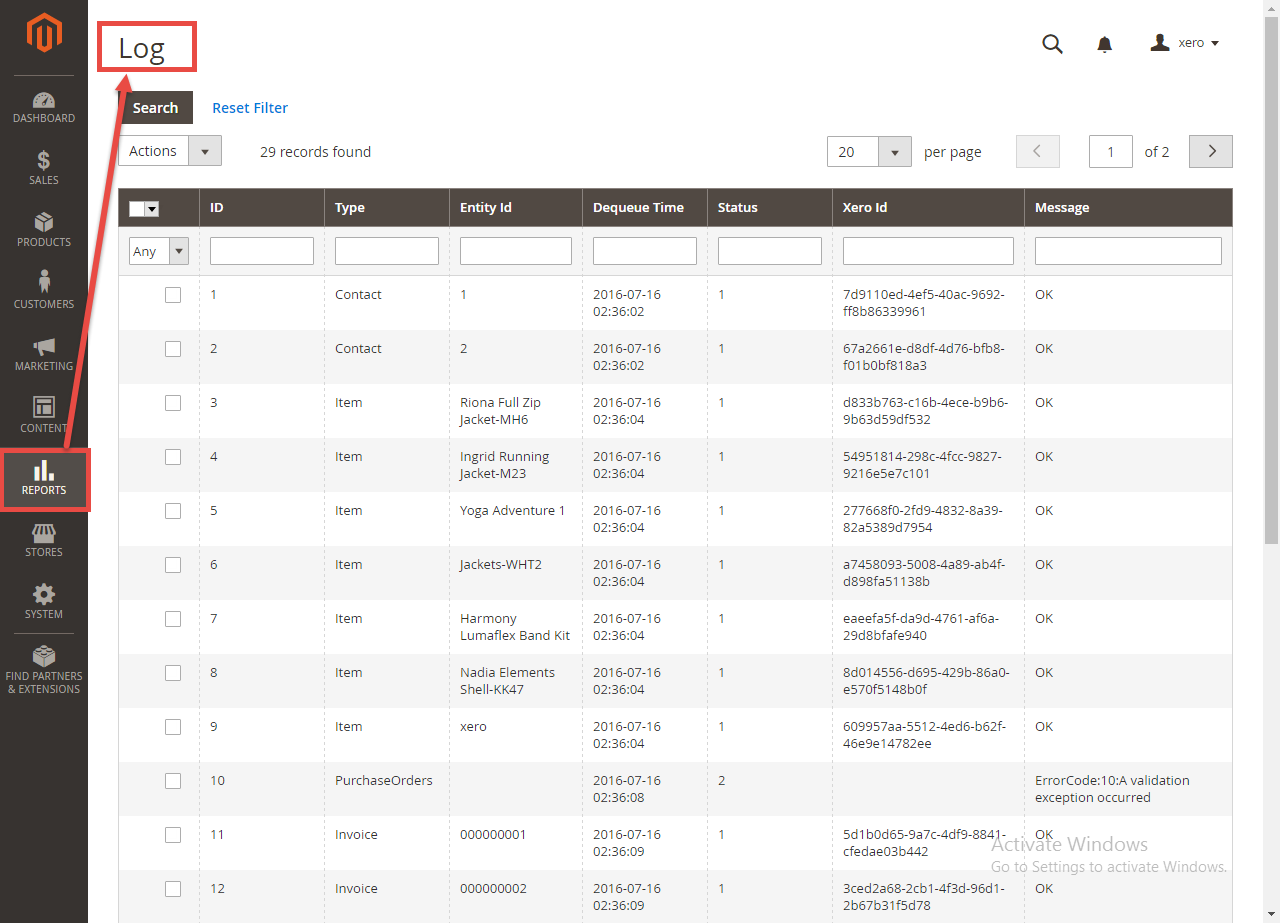
We placed the "Sync All Data Now" button in the configuration so if you wish to Sync All Data right away, you can press this button. (Notice that this will take some time, a few minutes depends on how large your data is)
...
- If the data is synced right, the Status will be set to 1 and the Message will be "OK"
- If there's a problem during syncing process, the Status will be set to 2 and the Message will contain the Error (like in the 10th record) below.
...
Main Functions
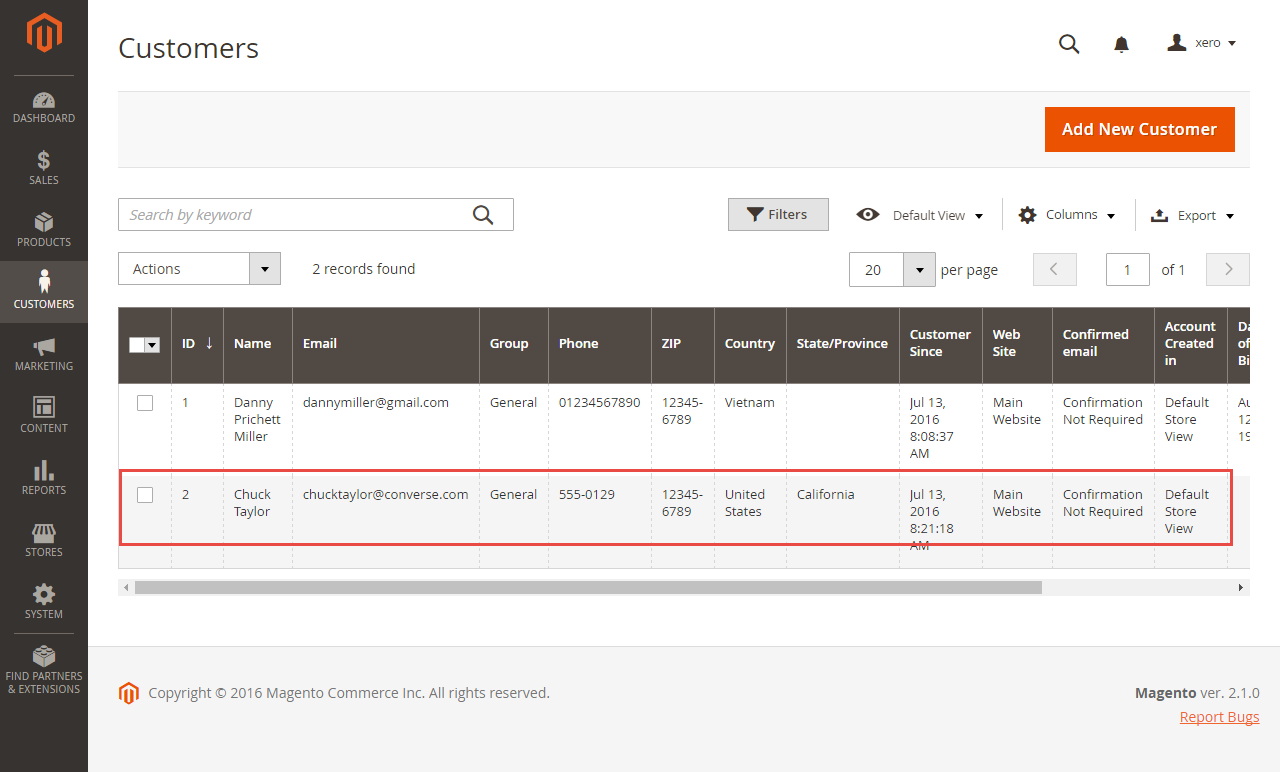
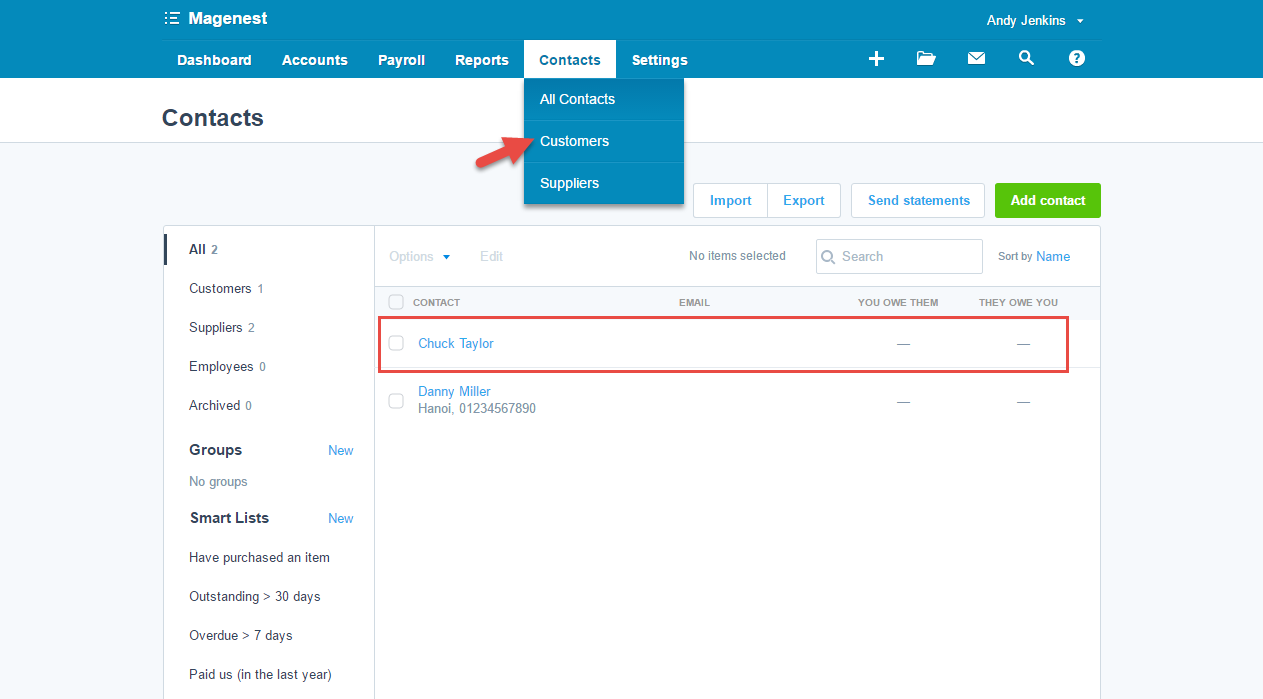
- When a new account is registered in frontend of Magento 2, Xero Integration extension will automatically add a new record of this account on Xero site.

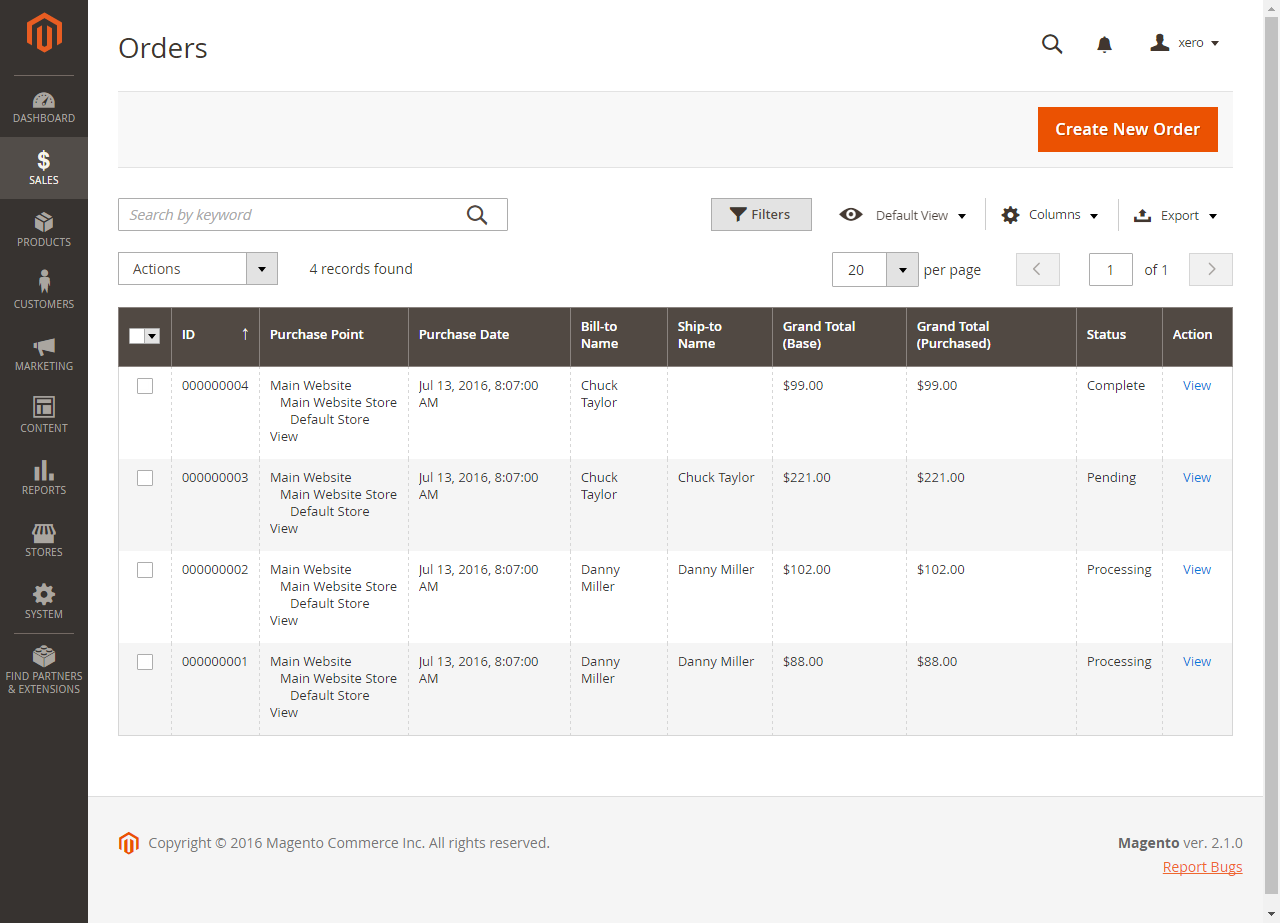
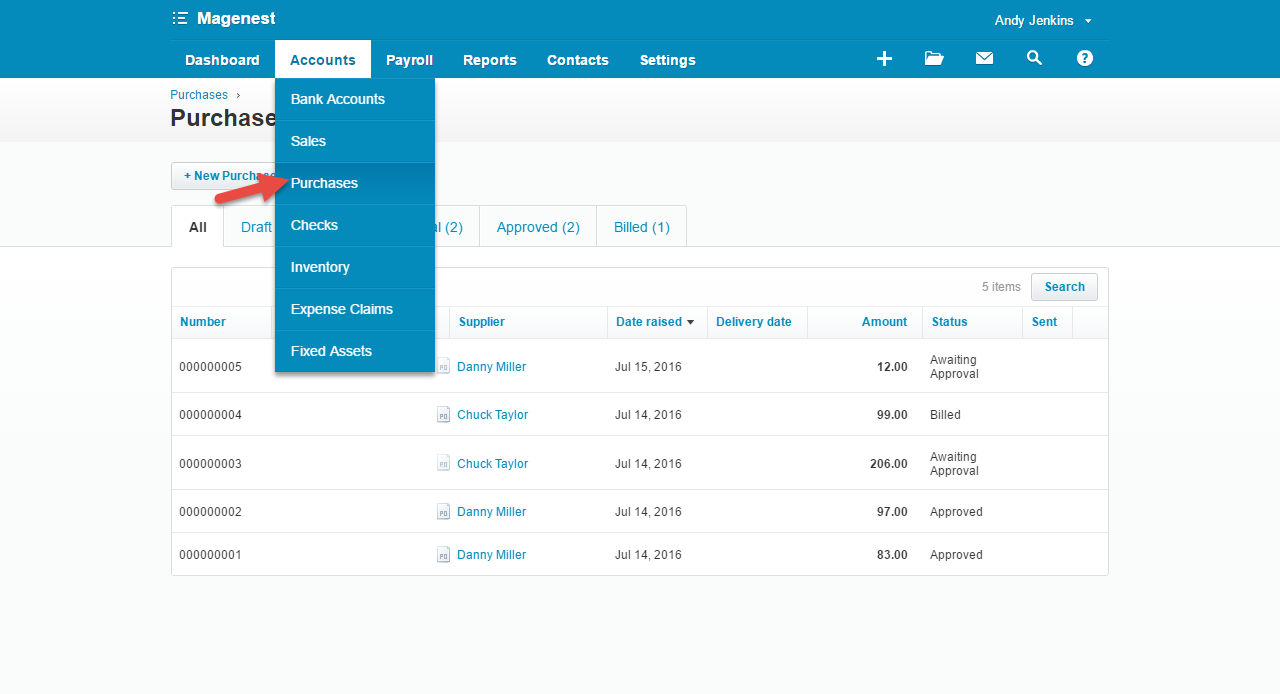
- When admins save information of orders (or products, invoices), the data will be synced automatically to Xero.
- Orders
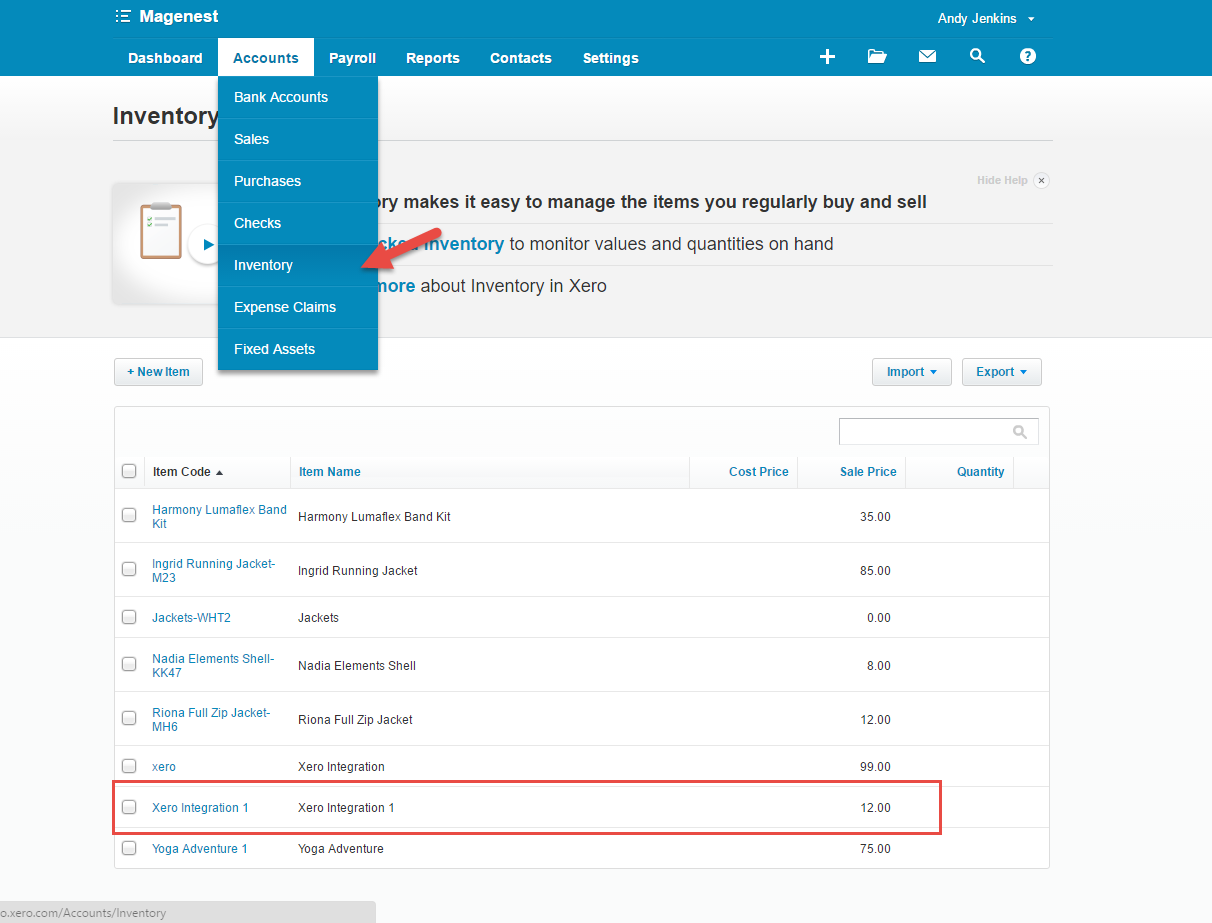
- Products

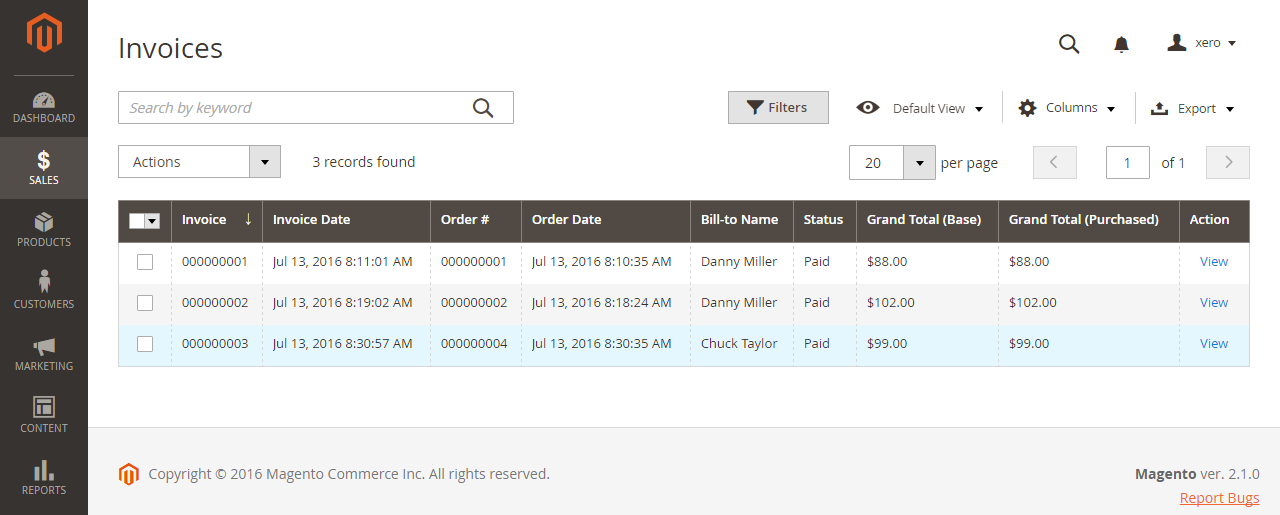
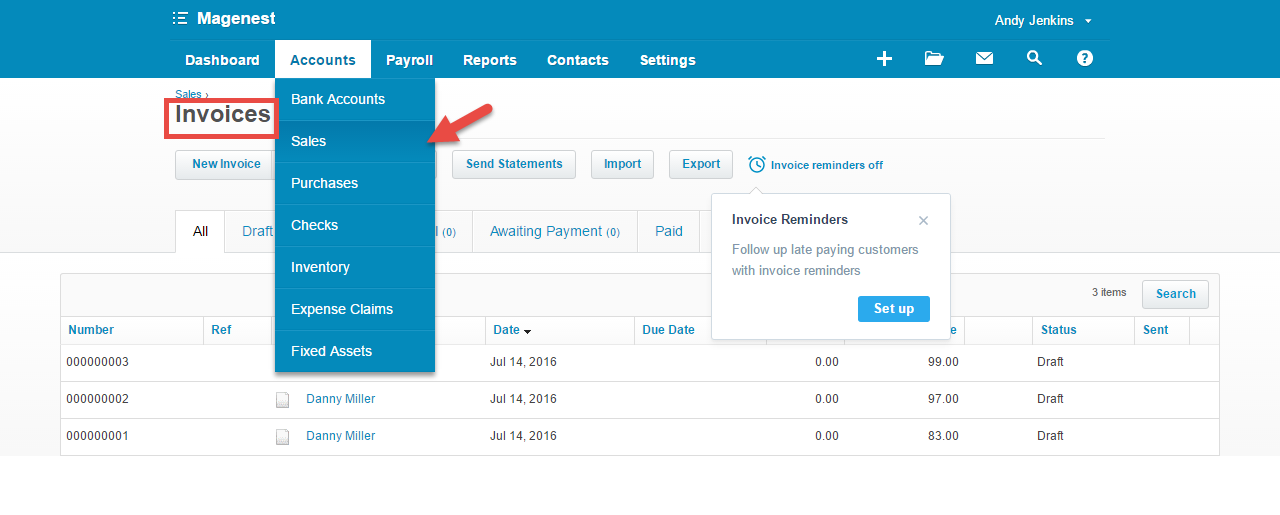
- Invoices
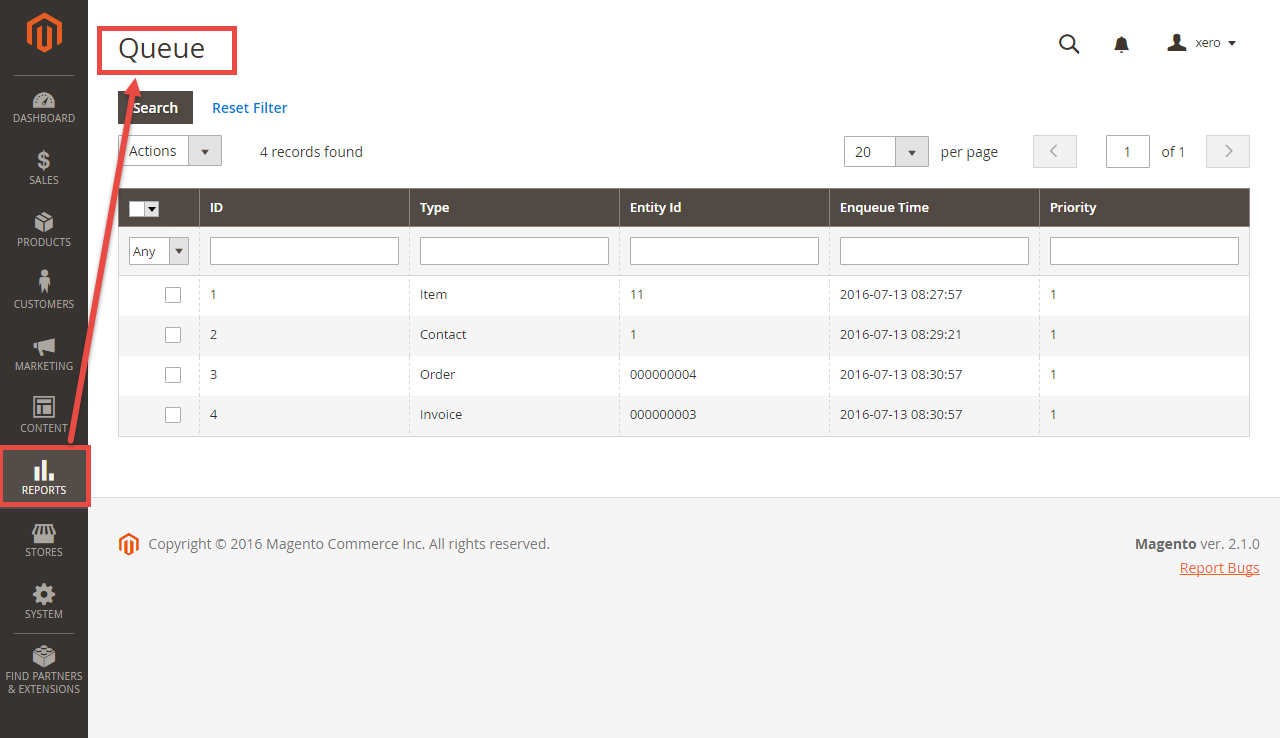
- If the App mode is Cron Job, this is where the created, updated data is stored and are waiting to be synced.
...
...
Update
- When a new update is available, we will provide you with a new package containing our updated extension.
- You will have to delete the module directory and repeat the installing steps above.
- Flush the config cache. Your store and newly installed module should be working as expected.
...