Thank you for purchasing our extension. If you have any questions that are beyond the scope of this document, do not hesitate to leave us an email via our email [email protected].
Edited: 27/05/2021 | By: Magenest | Support Portal: http://servicedesk.izysync.com/servicedesk/customer/portal/29
| Table of Contents | ||||
|---|---|---|---|---|
|
...
Introduction
PDF Invoice for Magento 2 enables merchants to create beautiful and professional invoices that replace the default template in Magento. The extension comes with GrapeJS, the user-friendly template editor so that admin can simply drag and drop to add multiple elements such as text, image, shape, discount code, etc.
Feature
For Admin
...
Your store should be running on Magento Community Edition version 2.2.x or 2.3.x.
...
1. Configuration
![]() On Admin sidebar, go to Marketing > PDF Invoice > Settings.
On Admin sidebar, go to Marketing > PDF Invoice > Settings.
...
- Enable PDF Invoice: choose Yes to activate the extension.
- Allow printing PDF from backend: If choose Yes, it will allow admin to print the PDF from the backend.
- Allow customer to print the PDF: If choose Yes, it will allow the customer to print the PDF from the frontend.
Set configuration for the PDFStatus subtle true colour Green title 2
...
- Allow attaching PDF to email: choose Yes to attach the PDF files to the transaction emails.
- Select PDF Template: choose a template on the drop-down list for the attached PDF.
2. Manage PDF Template
This section allows editing the available PDF template or creating new template.
...
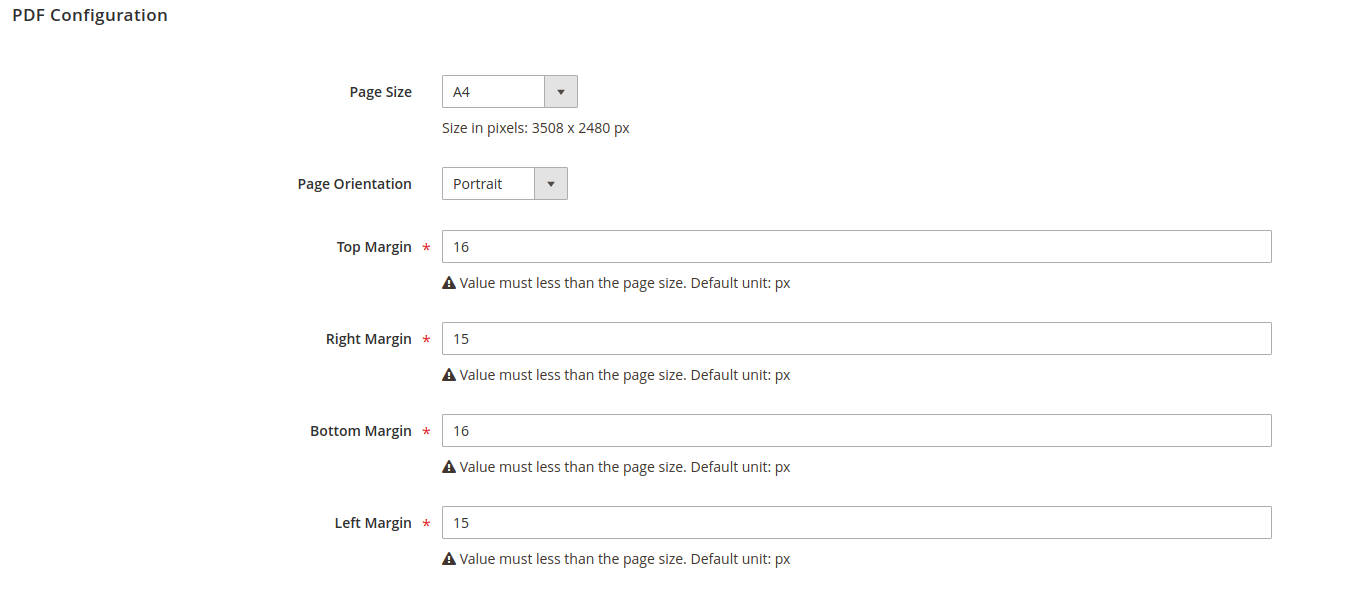
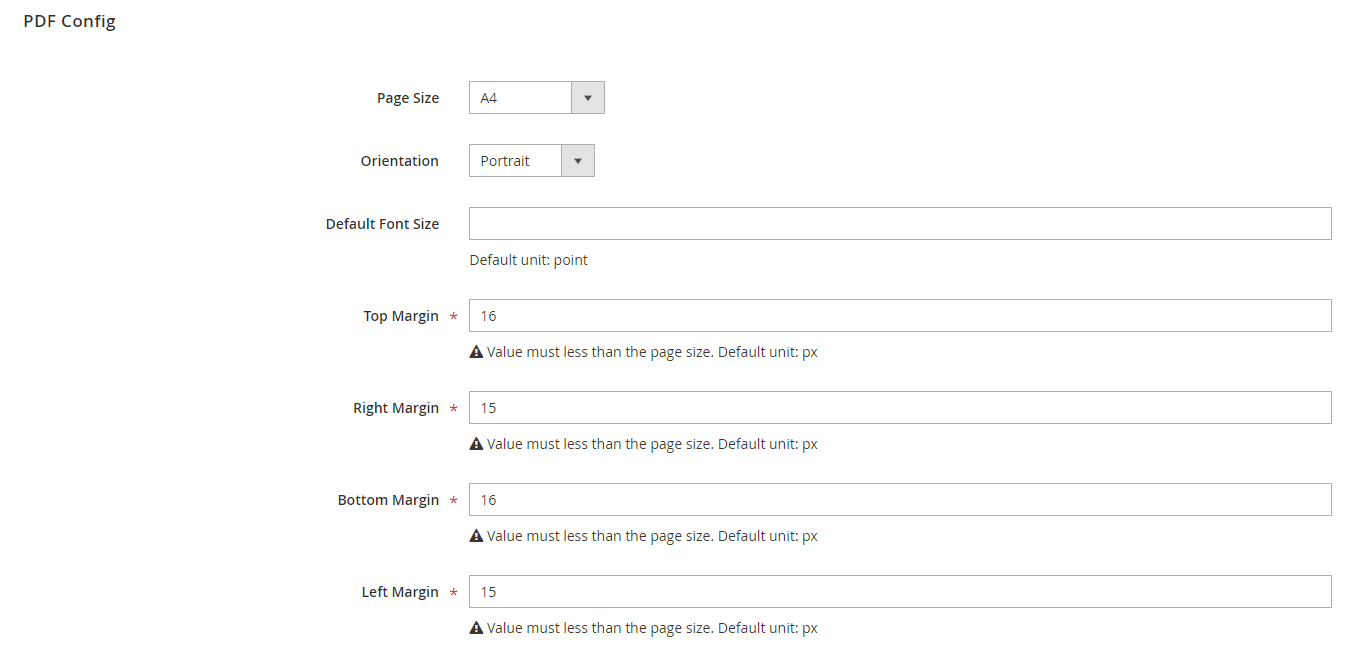
PDF Configuration
In this section, the admin can configure the layout for the PDF template.
- Select the Page Size and Orientation for the template.
- Set the Default Font Size for the text.Set the margins for the template on the Top Margin, Right Margin, Bottom Margin and Left Margin field.
PDF Content
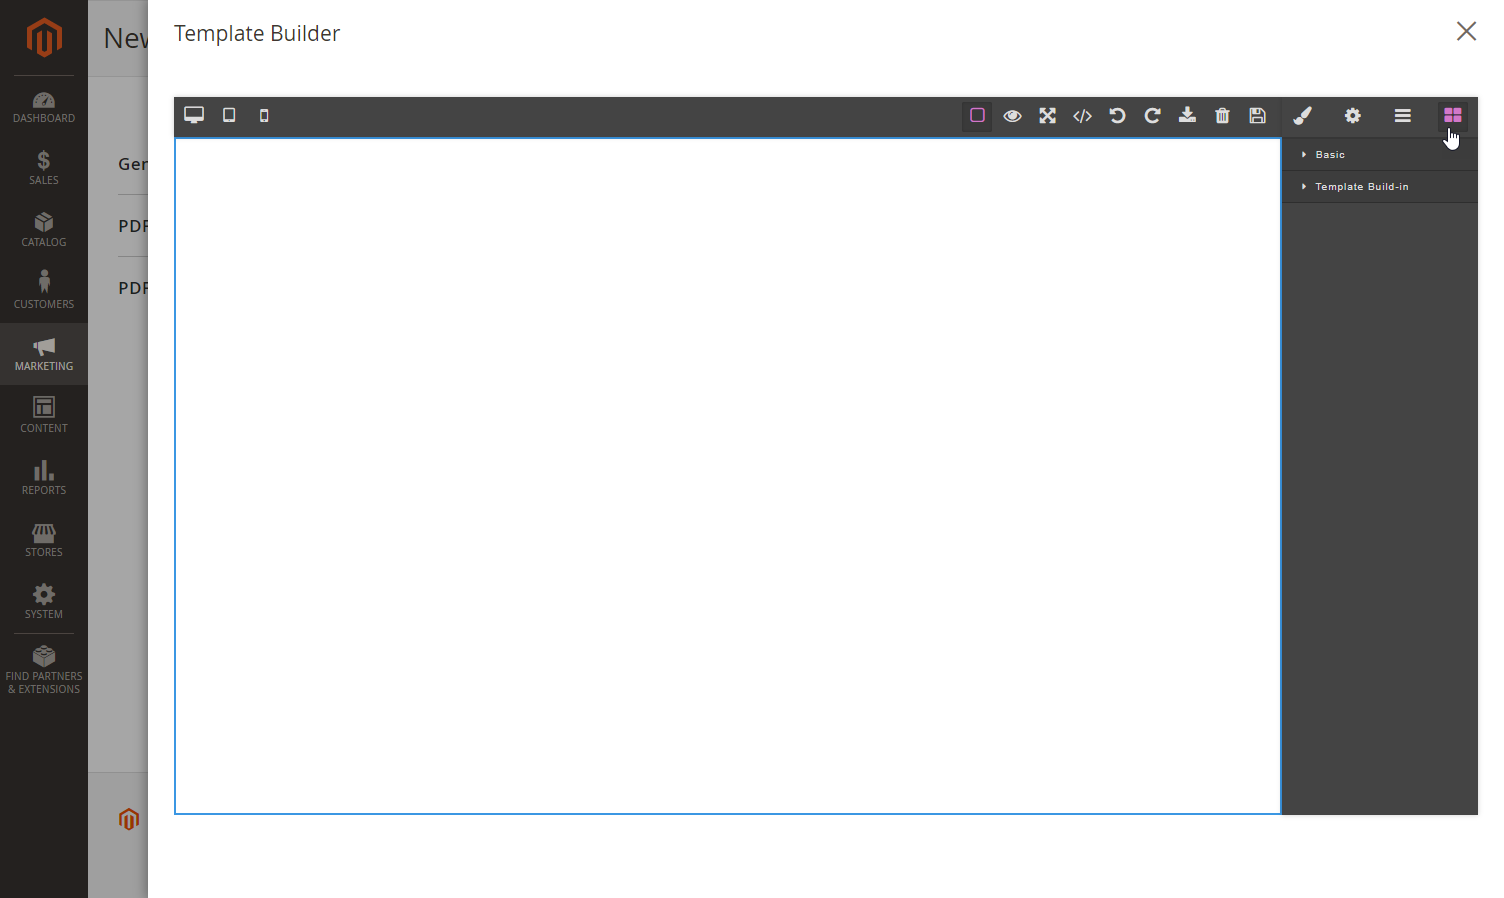
Admin can build a new template or create a new template base on an available template.
...
- Click on the last icon on the toolbar and expand the Basic and Template Build-in section. Then drag and drop the items in these sections to the building section.
- Click on each item and set the display for it with the edit table on the right.
...
| Store Information | {{store_name}} {{store_phone}} {{store_hours}} {{store_street_line1}} {{store_street_line2} {{store_postcode}} {{store_city}} {{store_country}} {{store_region}} {{vat_number}} |
| Shipping Information | {{shipping_method}} {{shipping_name}} {{shipping_first_name}} {{shipping_last_name}} {{shipping_street1}} {{shipping_street2}} {{shipping_company}} {{shipping_region}} {{shipping_phone_number}} {{shipping_post_code}} {{shipping_country}} {{shipping_city}} |
| Payment Information | {{payment_method}} {{payment_name}} {{payment_first_name}} {{payment_last_name}} {{payment_street1}} {{payment_street2}} {{payment_company}} {{payment_region}} {{payment_phone_number}} {{payment_post_code}} {{payment_country}} {{payment_city}} |
| Order Information | {{order_id}} {{status}} {{invoice_id}} {{shipment_id}} {{creditmemo_id}} |
| Order Items | {{product_name}} {{sku}} {{qty}} {{price}} {{subtotal}} {{discount_amount}} {{rowtotal}} |
Order Totals | {{order_subtotal}} {{order_shippingAndHandling}} {{order_tax}} {{order_grandtotal}} {{order_discount_amount}} |
...