...
Your store should be running on Magento Community Edition version 2.0.0 and more.
Installation
Here we will guide you through the installation process of our extension. First off, open FileZilla, log in to your host as follows:

In the above example we switched the local site to the
moduleextension directory, and the remote site to the code directory. Now on the remote site window, inside app/code directory, create a folder named Magenest and go inside it. Now on your local site window, right click on Wrapper extension and click Upload. The extension will be uploaded onto your host in a few minutes.
The second method will require you to compress the extension into .zip or .tar.gz format, then execute the following command in your Command Line/Terminal:
scp <path to your extension> <ssh server>:<path to Magenest directory>Then Now, using your Command line/Terminal, log into your ssh server, go to Magenest directory and execute the following command to decompress the module:
unzip <.zip compressed extension> Or
tar -xzvf <.tar.gz compressed extension> Now go to your Magento root directory, say it's named magento2, and execute the following commands:
cd ..sudo chmod -R 755 magento2
cd magento2. php bin/magento setup:upgradephp bin/magento setup:upgradestatic-content:deploy
sudo chmod -R 777 var pub

After running all these, your Command line/Terminal window might look like this:
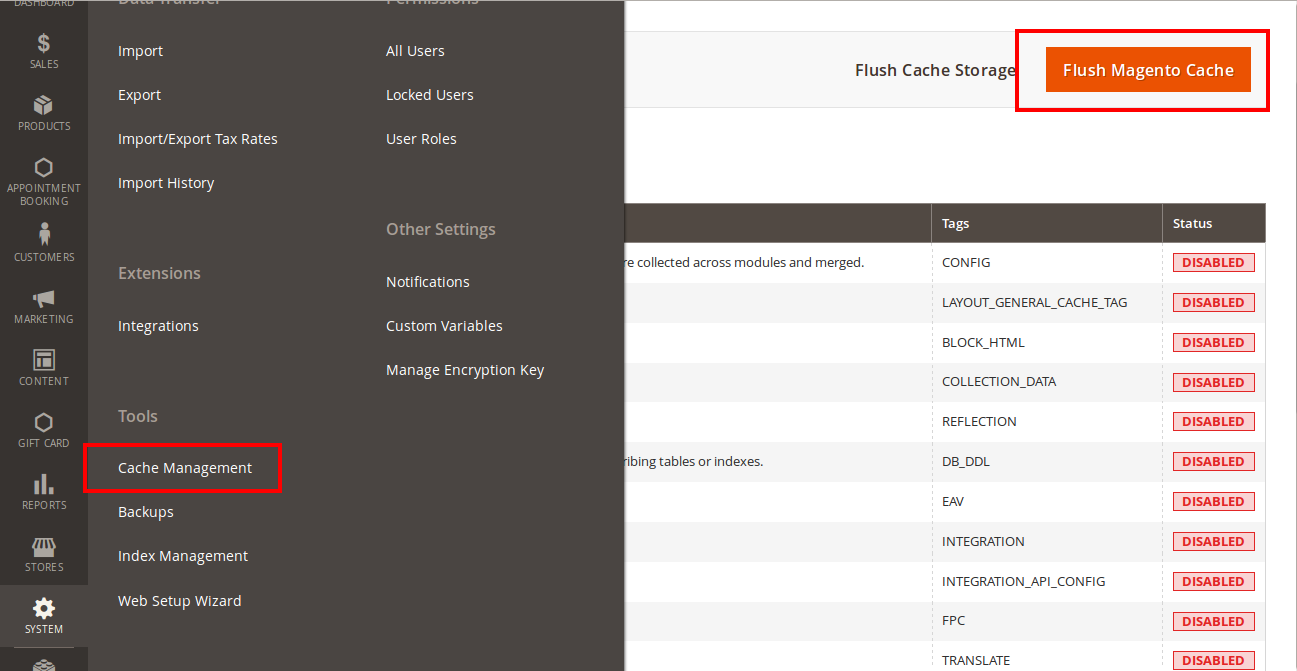
Finally, you need to flush the cache by either type this into the Command Line/Terminal:
php bin/magento cache:flushOr go Afterwards, go to your backend site, go to System > Cache Management and flush all cachesclick Flush Magento Cache
Now you can go to your store and check if the extension is working as expected. We are sure it is!
Configuration
Getting Vtiger Access Key

Scroll to bottom of the page, you can see the Access Key in User Advanced Options
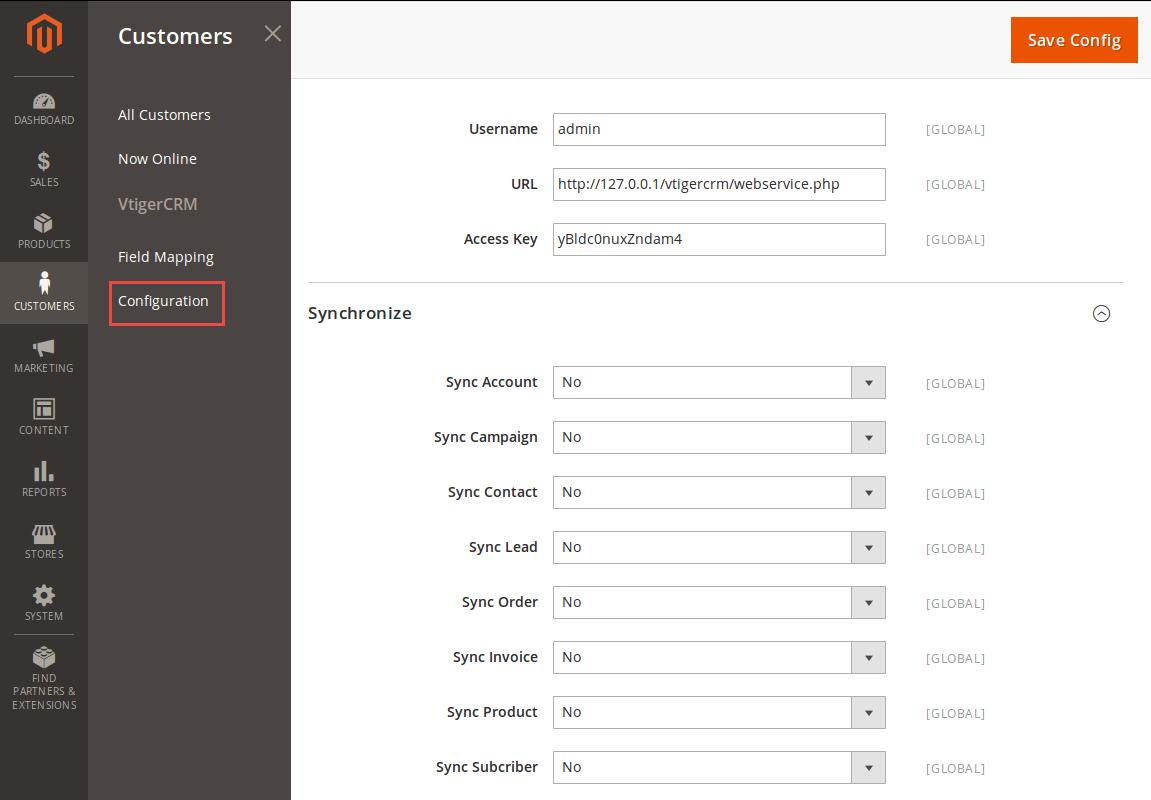
Filling in information
- Username: your Vtiger username
- Url: has the format of your_vtiger_site/webservice.php
- Access Key: Fill in your access key
- Turn on sync operations of your choice
When done, hit Save Config, your configuration is ready to use.
Data Integration Settings
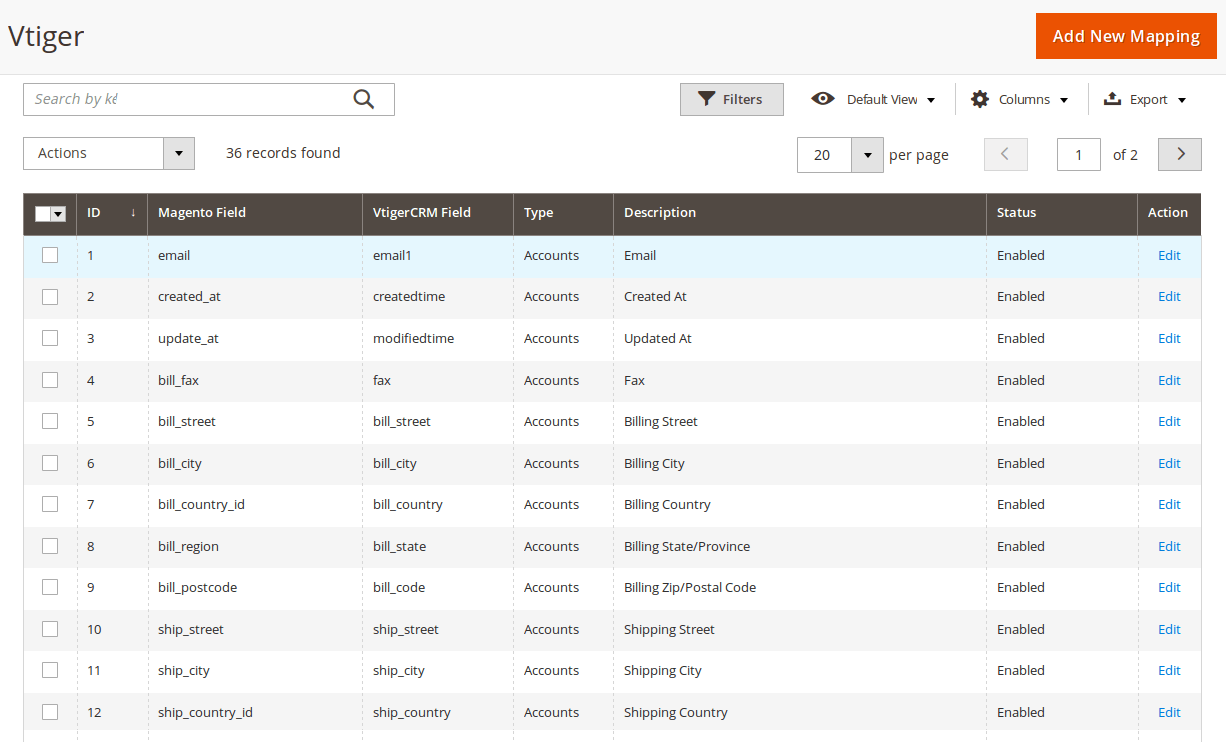
Click on VtigerIntegration > Field Mapping.You can define field mappings between Magento and VtigerCRM easily.
To add a new mapping, click on Add button, Add New Mapping page will show up
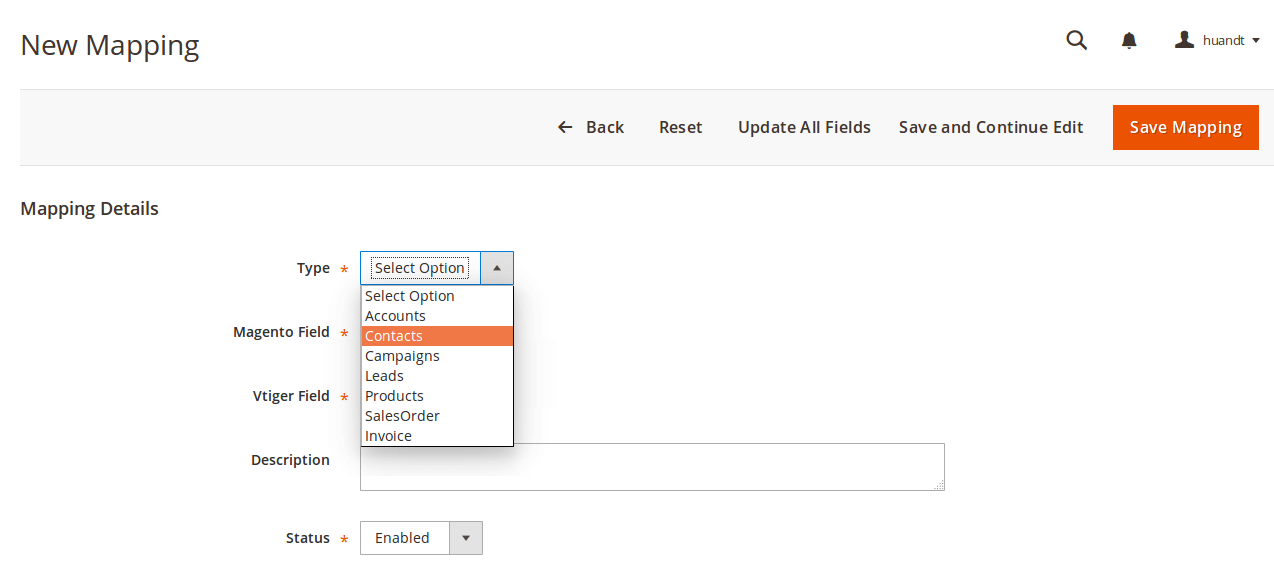
- Type: Choose table you want to map
- Vtiger Field: Choose Vtiger Field
- Magento Field: Choose corresponding Magento Field
- Status: Inactive or active
- Description: Describe your mapping
Hit Save when done, your mapping is ready for the next sync.
Main Functions
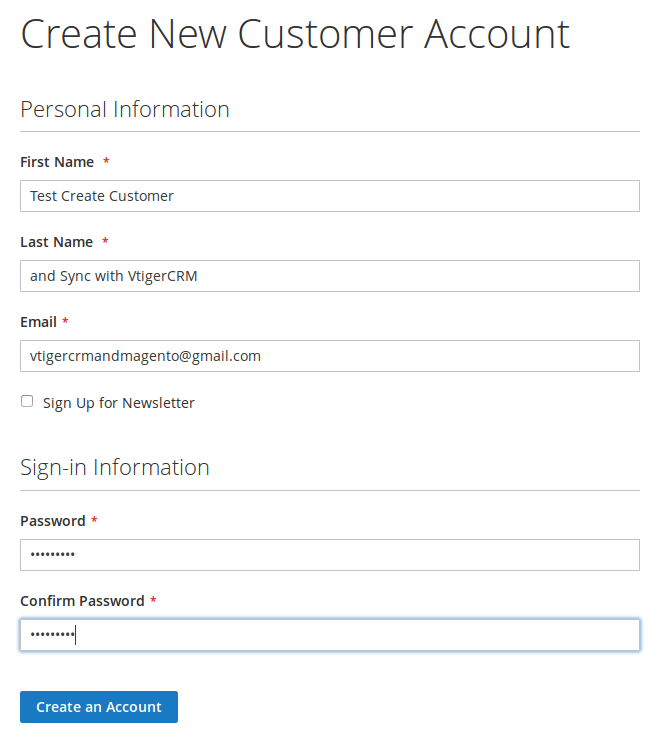
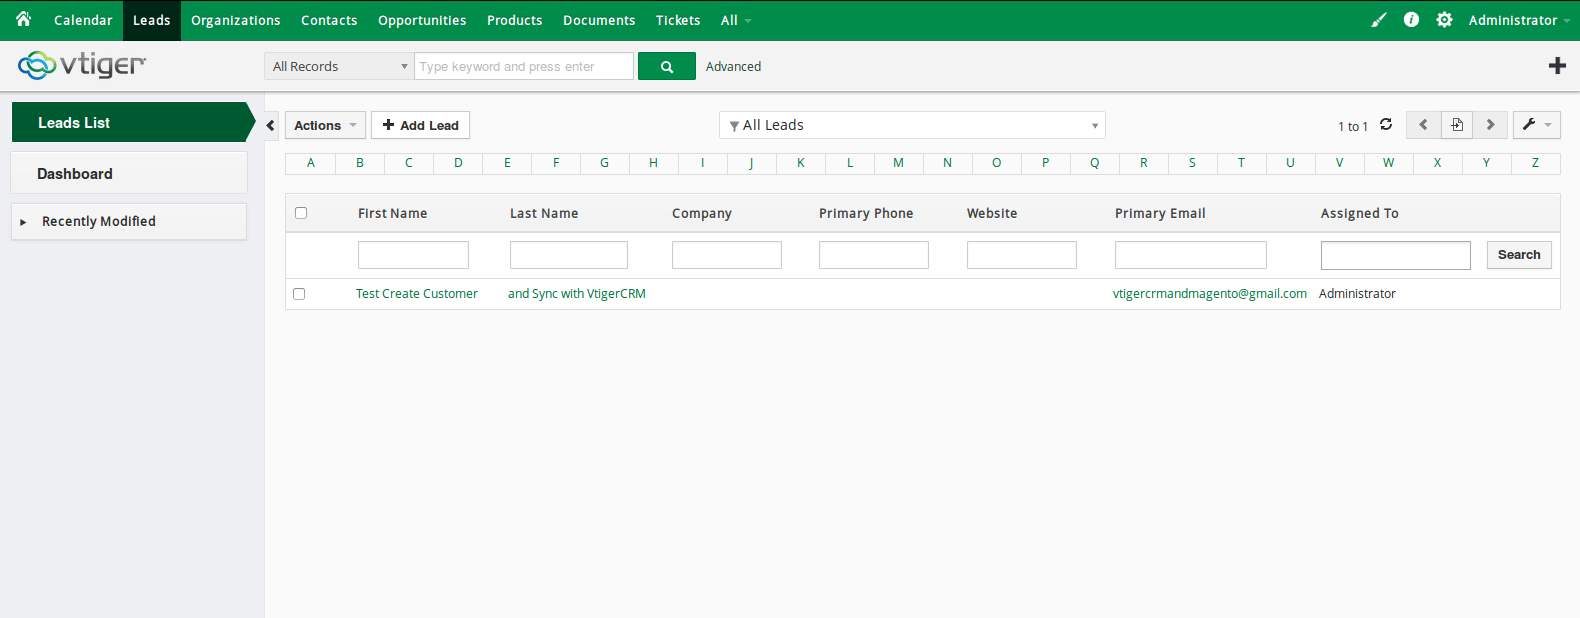
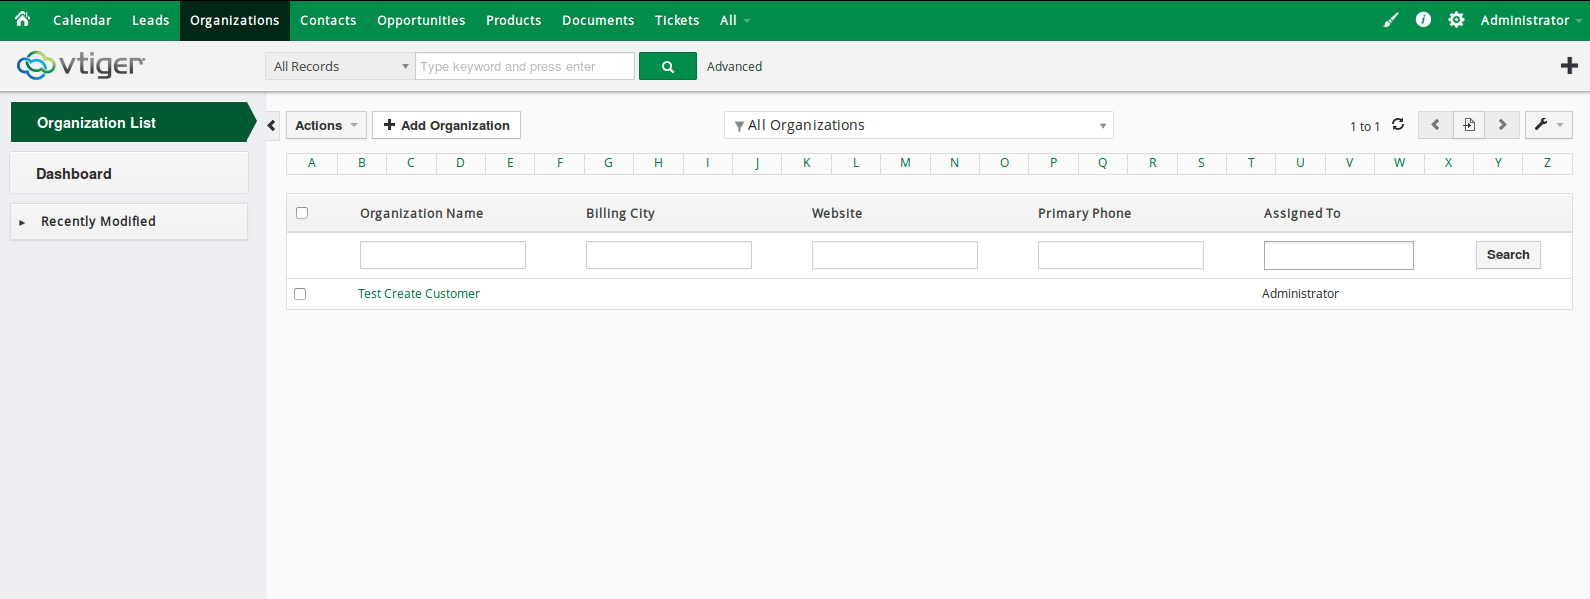
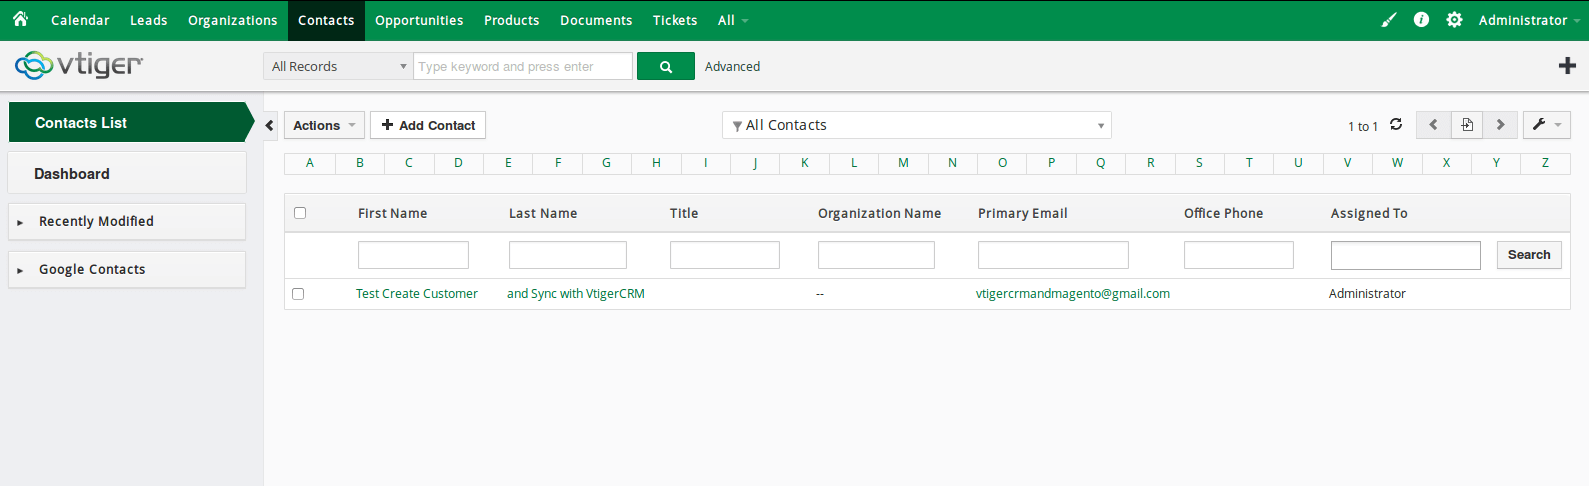
- When a new account is registered in Magento 2, Vtiger will automatically add a new record of this account in Leads, Organizations, Contacts.
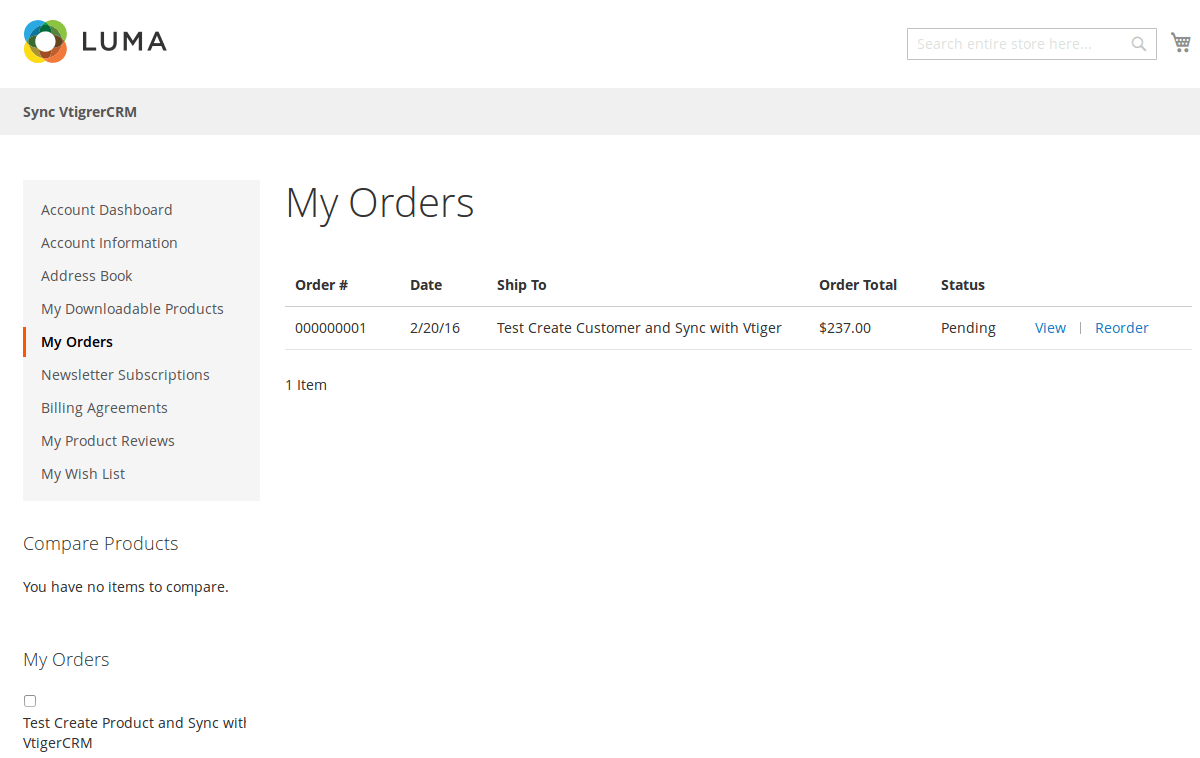
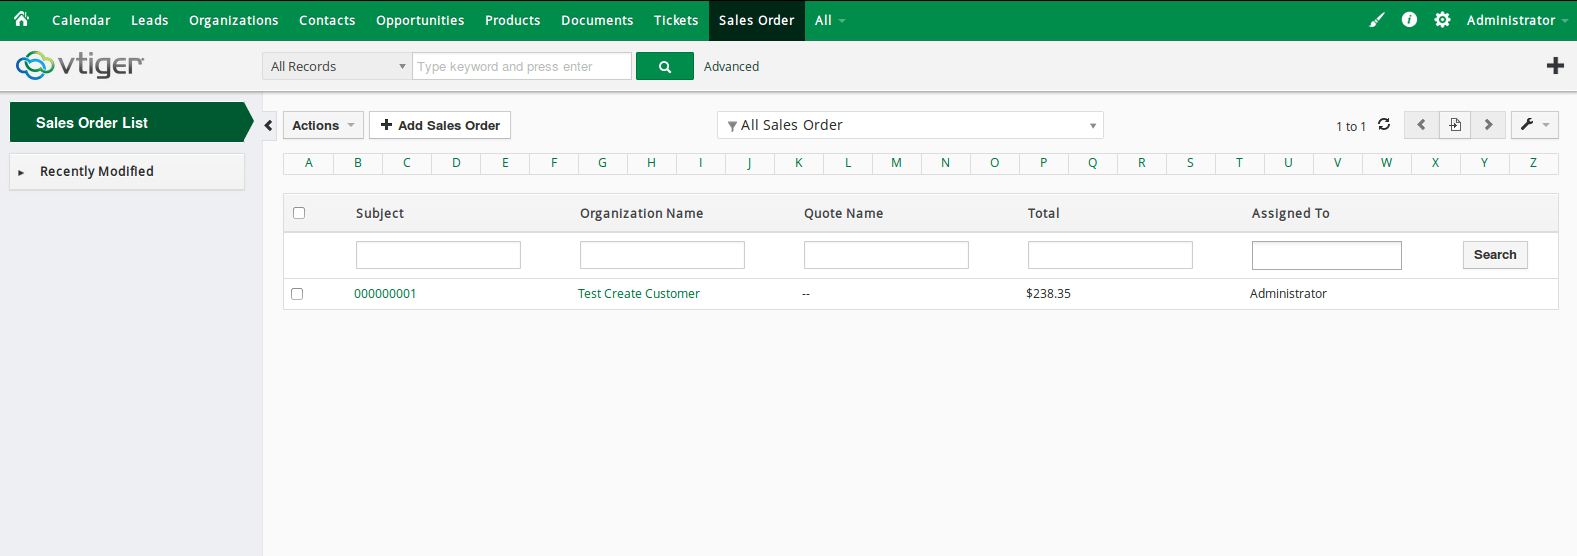
- When a customer adds items to cart then check out, Sales Orders in Vtiger will be auto synced.
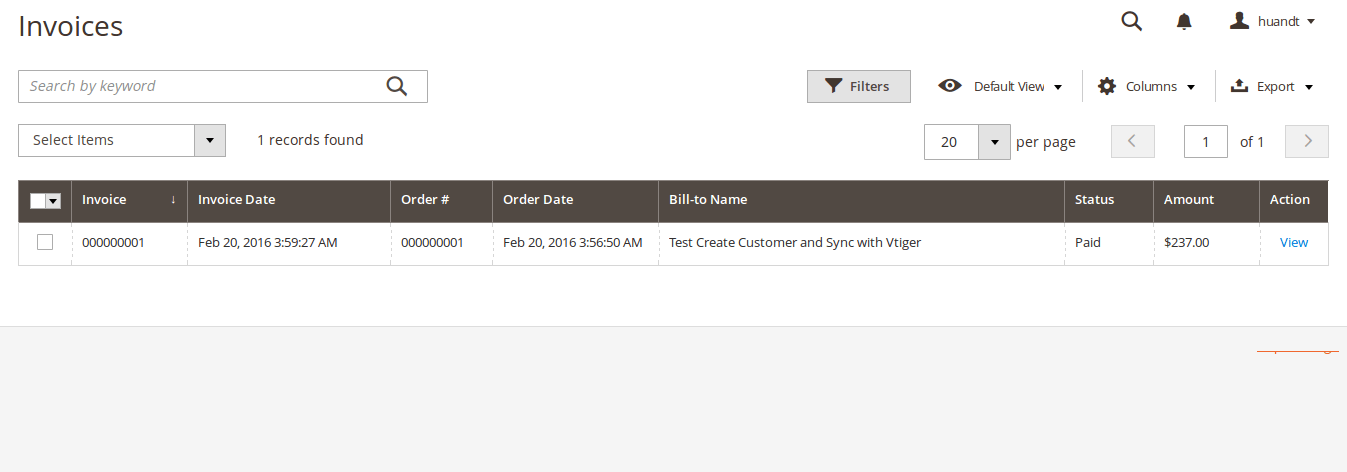
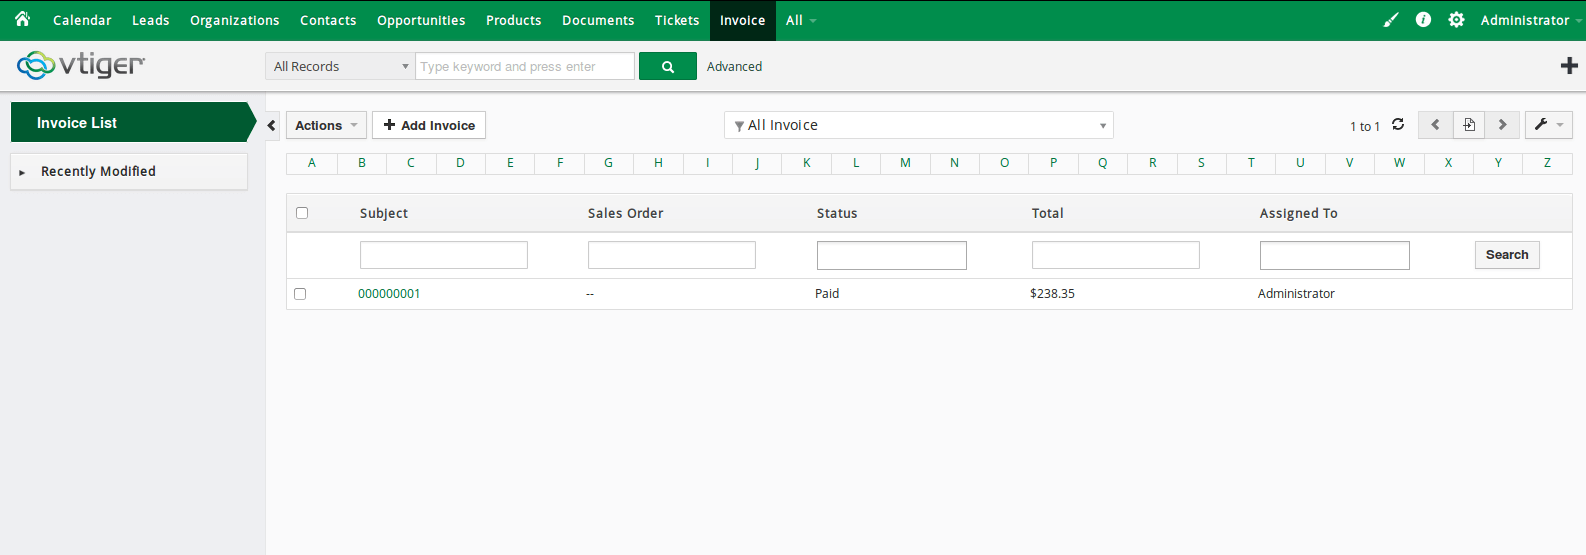
- When an invoice is made by admin in Magento 2, Invoice in Vtiger will be synced.
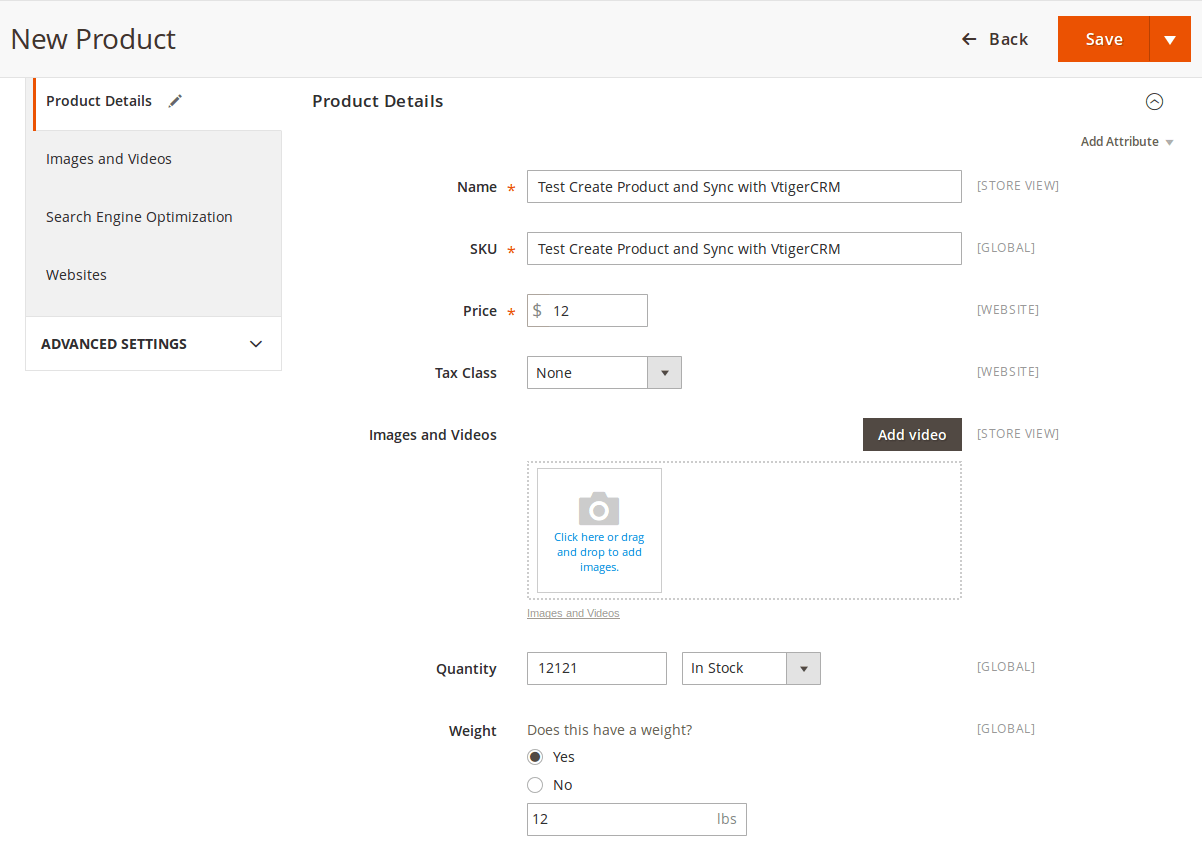
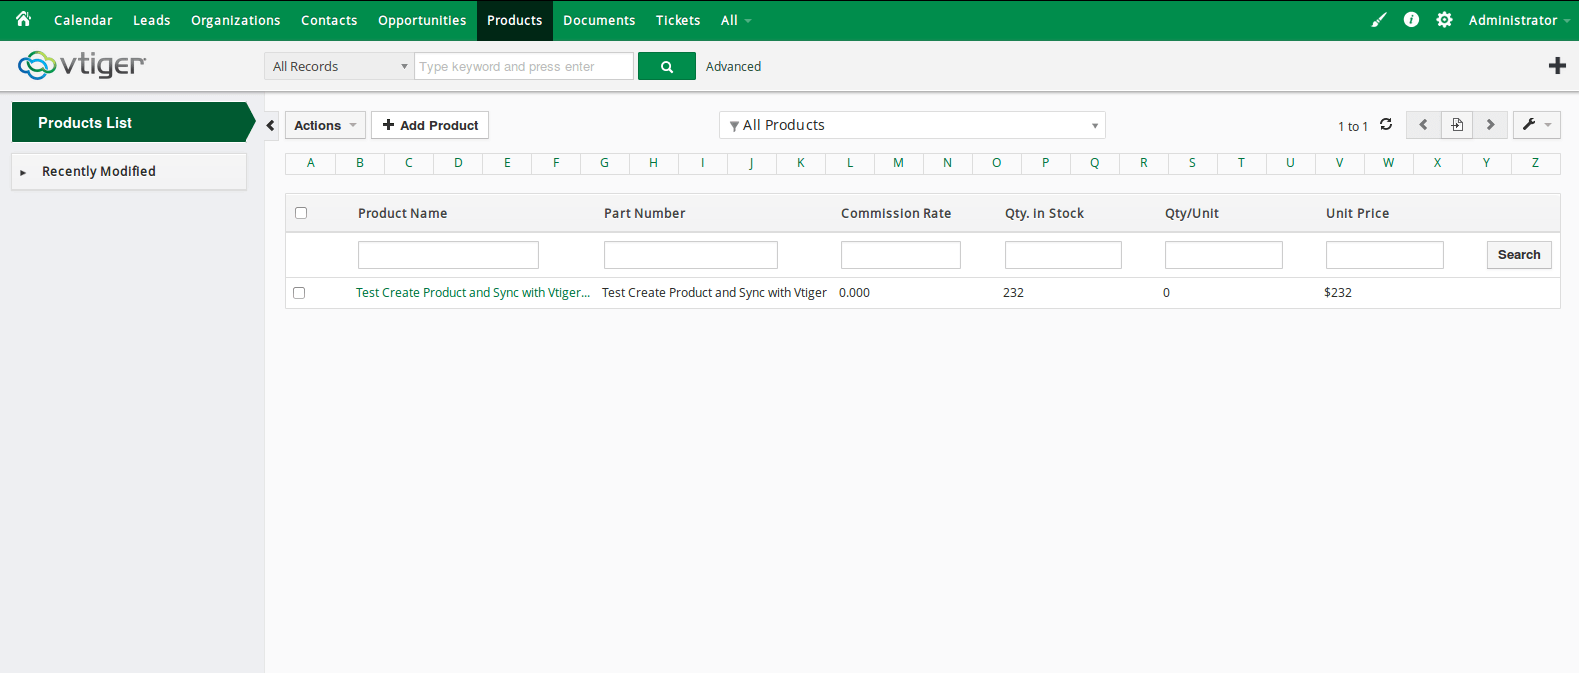
- When admin add a new product in Magento 2, Vtiger will auto sync data about that product.
- When admin edits a customer account/product in Magento 2, that customer/product will also be changed from Leads, Organizations and Contacts, products in Vtiger.
...