...
- Press the Save → Register buttons in order to proceed with the successful configuration.
- After a successful key configuration, Apple will generate a new private key for you. You will be offered to download the Key file in the '*.p8' format.
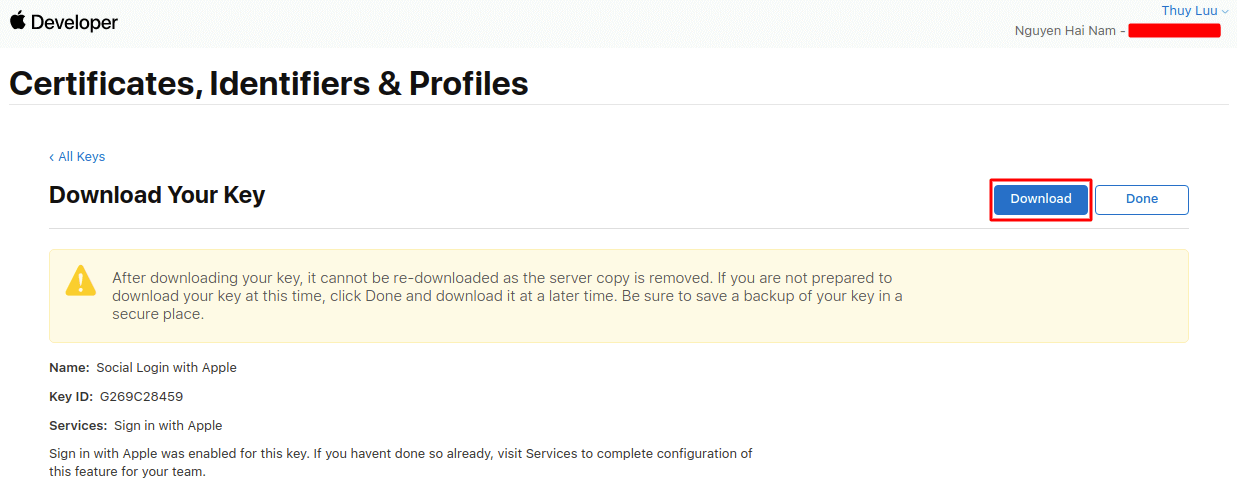
- Please keep in mind that you can download the Key file ONLY ONCE. Make sure you saved the file in a secured place so that you can get back to it later if necessary.
- Lastly, check the key information to find your Key ID which you'll need to configure the extension in the Magento 2 backend.
- After a successful Key ID verification, the file will no longer be stored at your Magento server. This is to prevent creating excessive files on a server.
- Please take into consideration that all Apple Developer credentials that you have created will be valid for 6 months, as designed by Apple guidelines. Please timely update all necessary API credentials to guarantee proper add-on functioning.
...
How to set Client ID and Client Secret of Google+
![]() Go to the Google Developers Console – https://console.developers.google.com/
Go to the Google Developers Console – https://console.developers.google.com/
Select an existing project, or create a new project by clicking Create Project:
In the Project name field, type in a name for your new project.
In the Project ID field, the console has created a project ID.
Click on the Create button and the project to be created within some seconds.
In the left sidebar, select APIs under the APIs & auth section.
Find the Google+ API service and set its status to Enable.
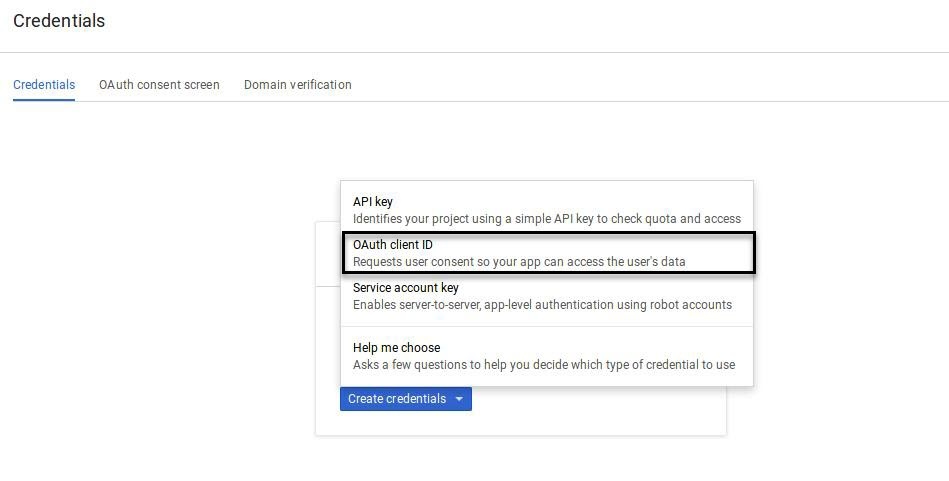
Click Create Credentials select OAuth Client ID.
Create Client ID dialog box would be appearing for choosing the application type.
In the Application type section of the dialog, select Web application and click on the Configure consent screen button.
Choose Email address, enter the Product name, and save the form.
In the Authorized JavaScript origins field, enter your app origin. If you want to allow your app to run on different protocols, domains, or subdomains, then you can enter multiple origins.
In the Authorized redirect URI field, enter the redirect URL.
Click on Create.

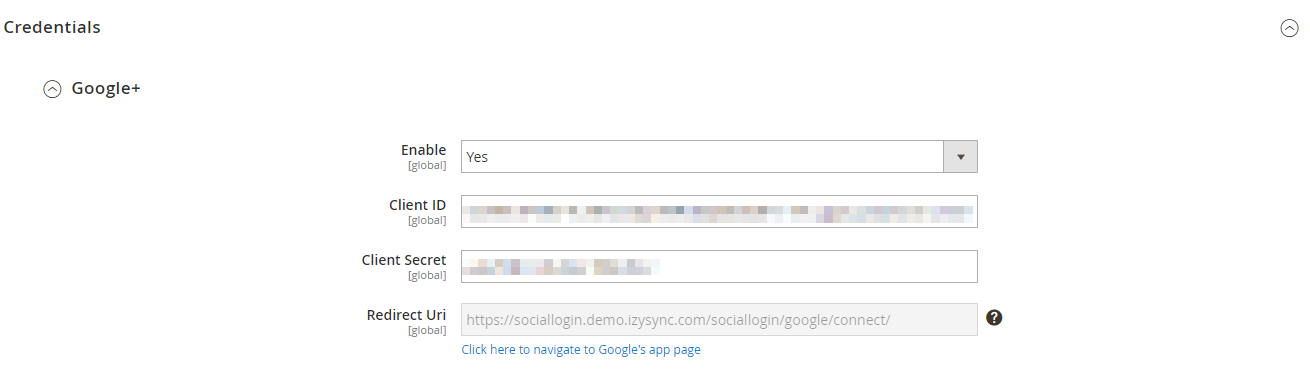
Now you can see the Client ID for web application section. Select Client ID and Client Secret then fill in Configuration of Google in Backend of Magento 2 store.

- Enable: To enable Google login and sharing option
- Client ID: Google+ application ID
- Client Secret: Google+ application secret
- Redirect URI: You will use this URL in Google to connect the app
...
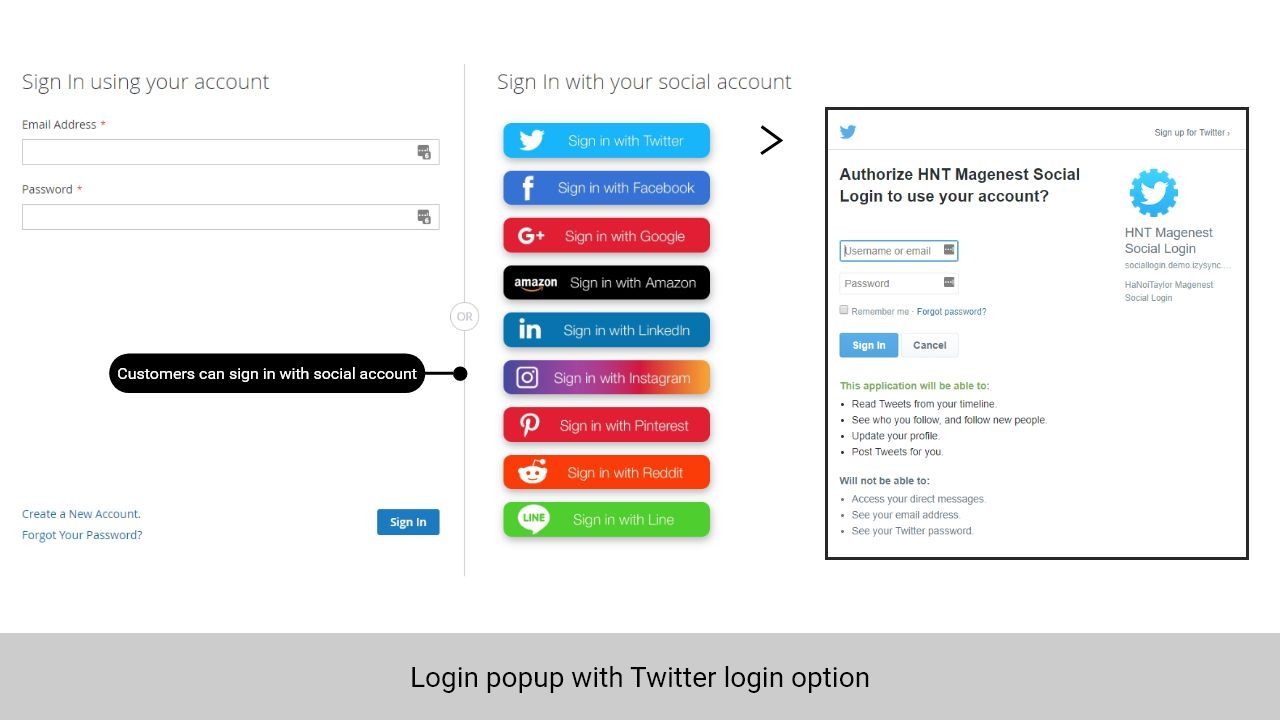
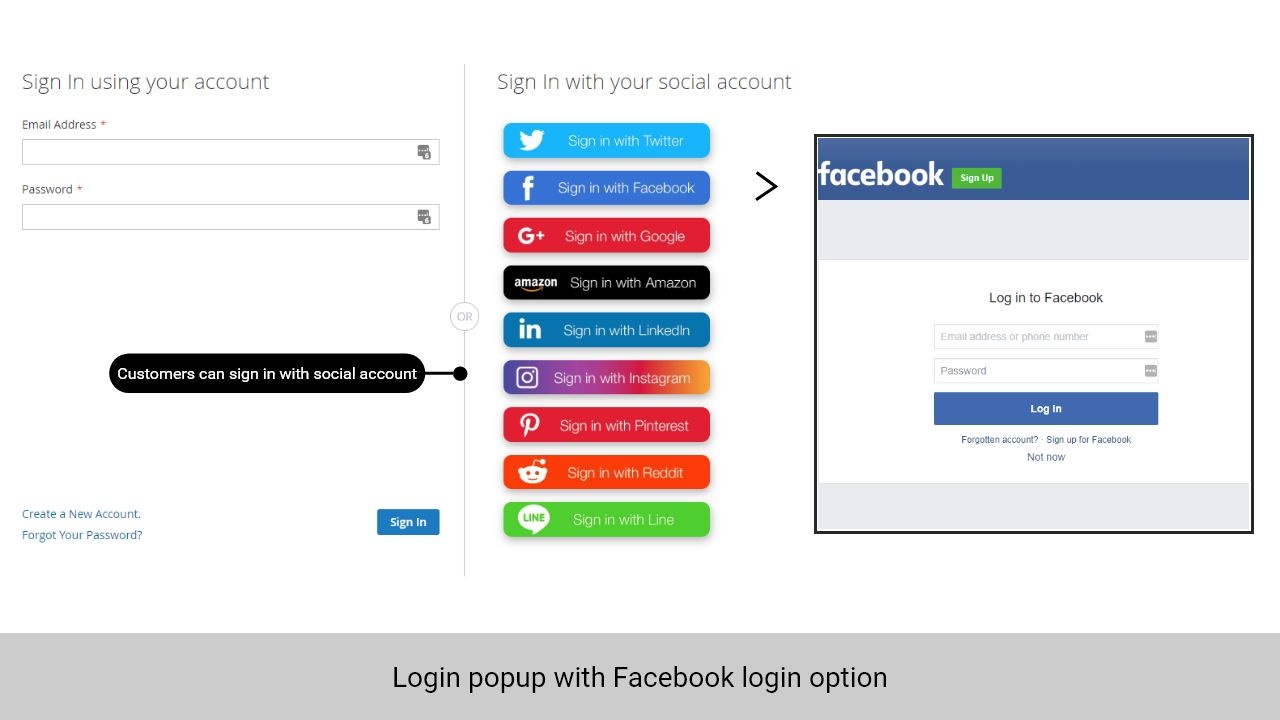
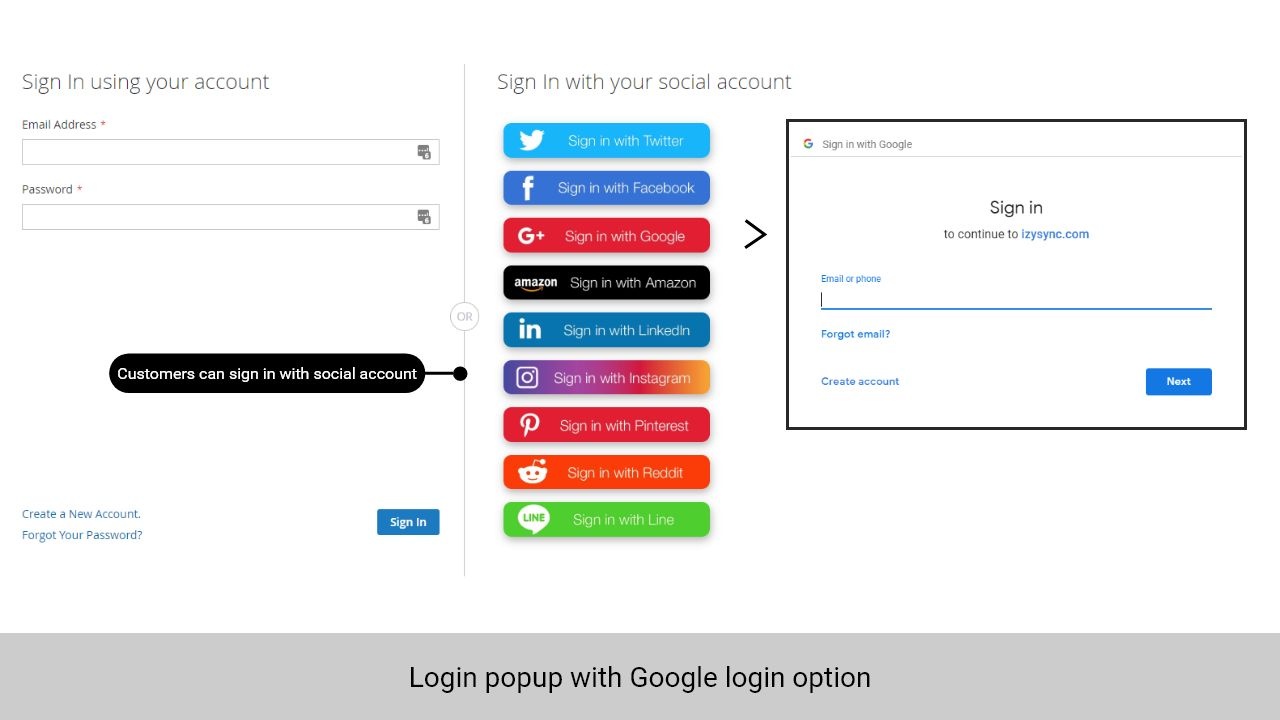
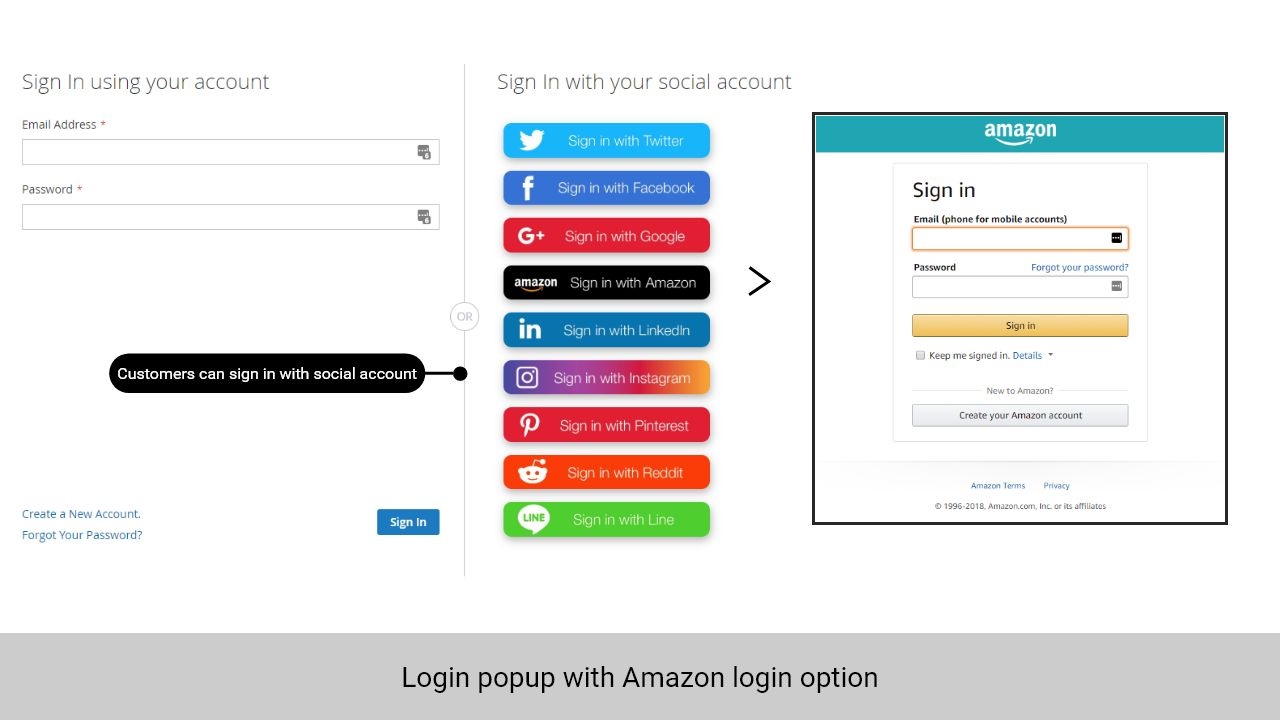
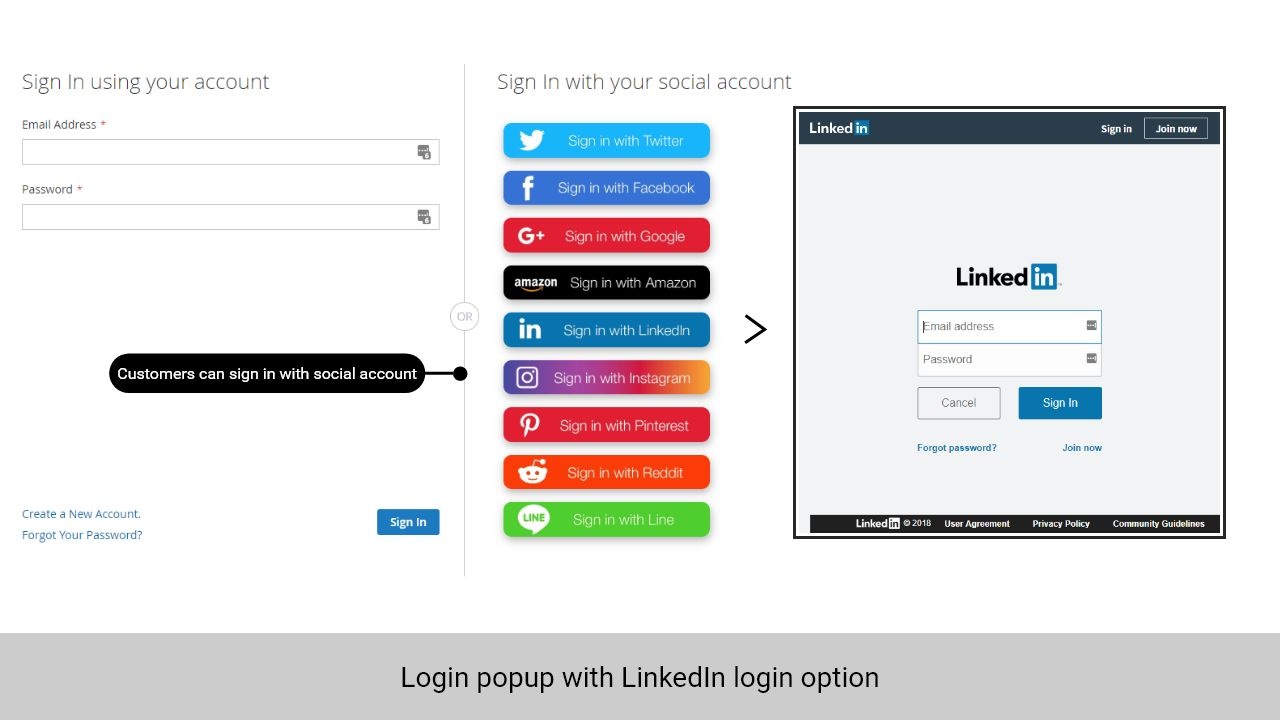
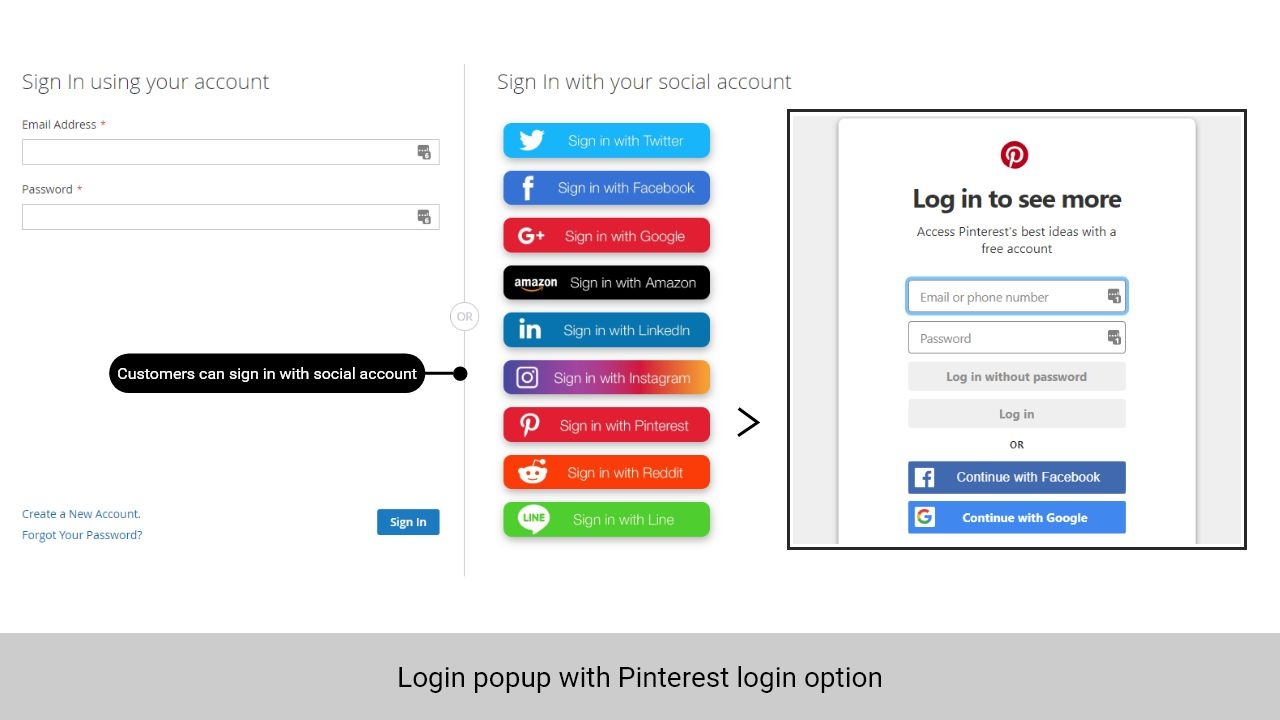
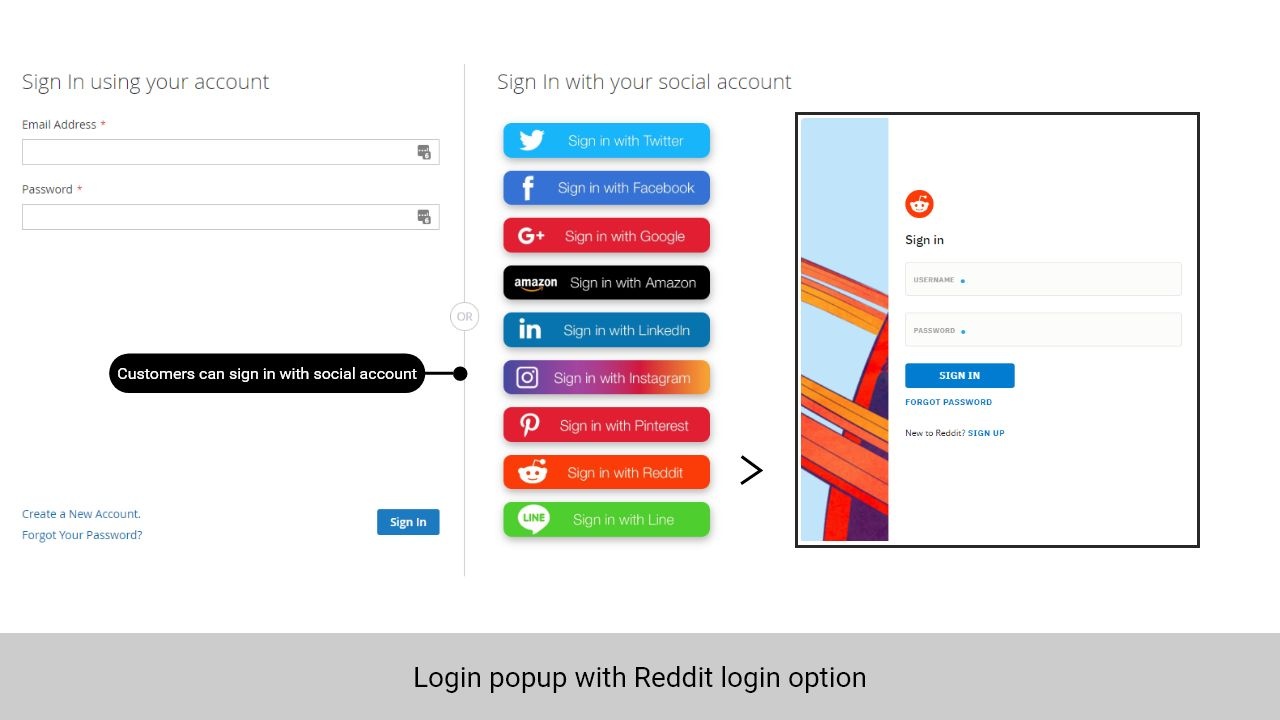
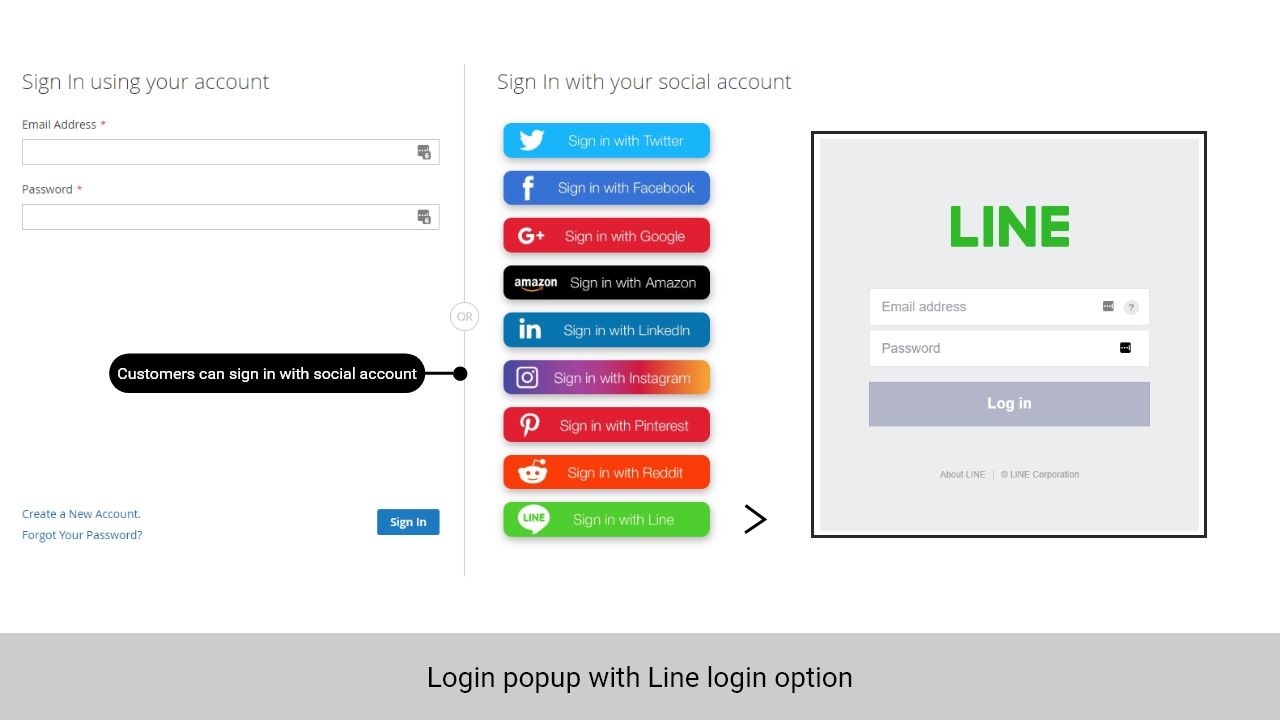
- Show popup with social login options when clicking on Sign In
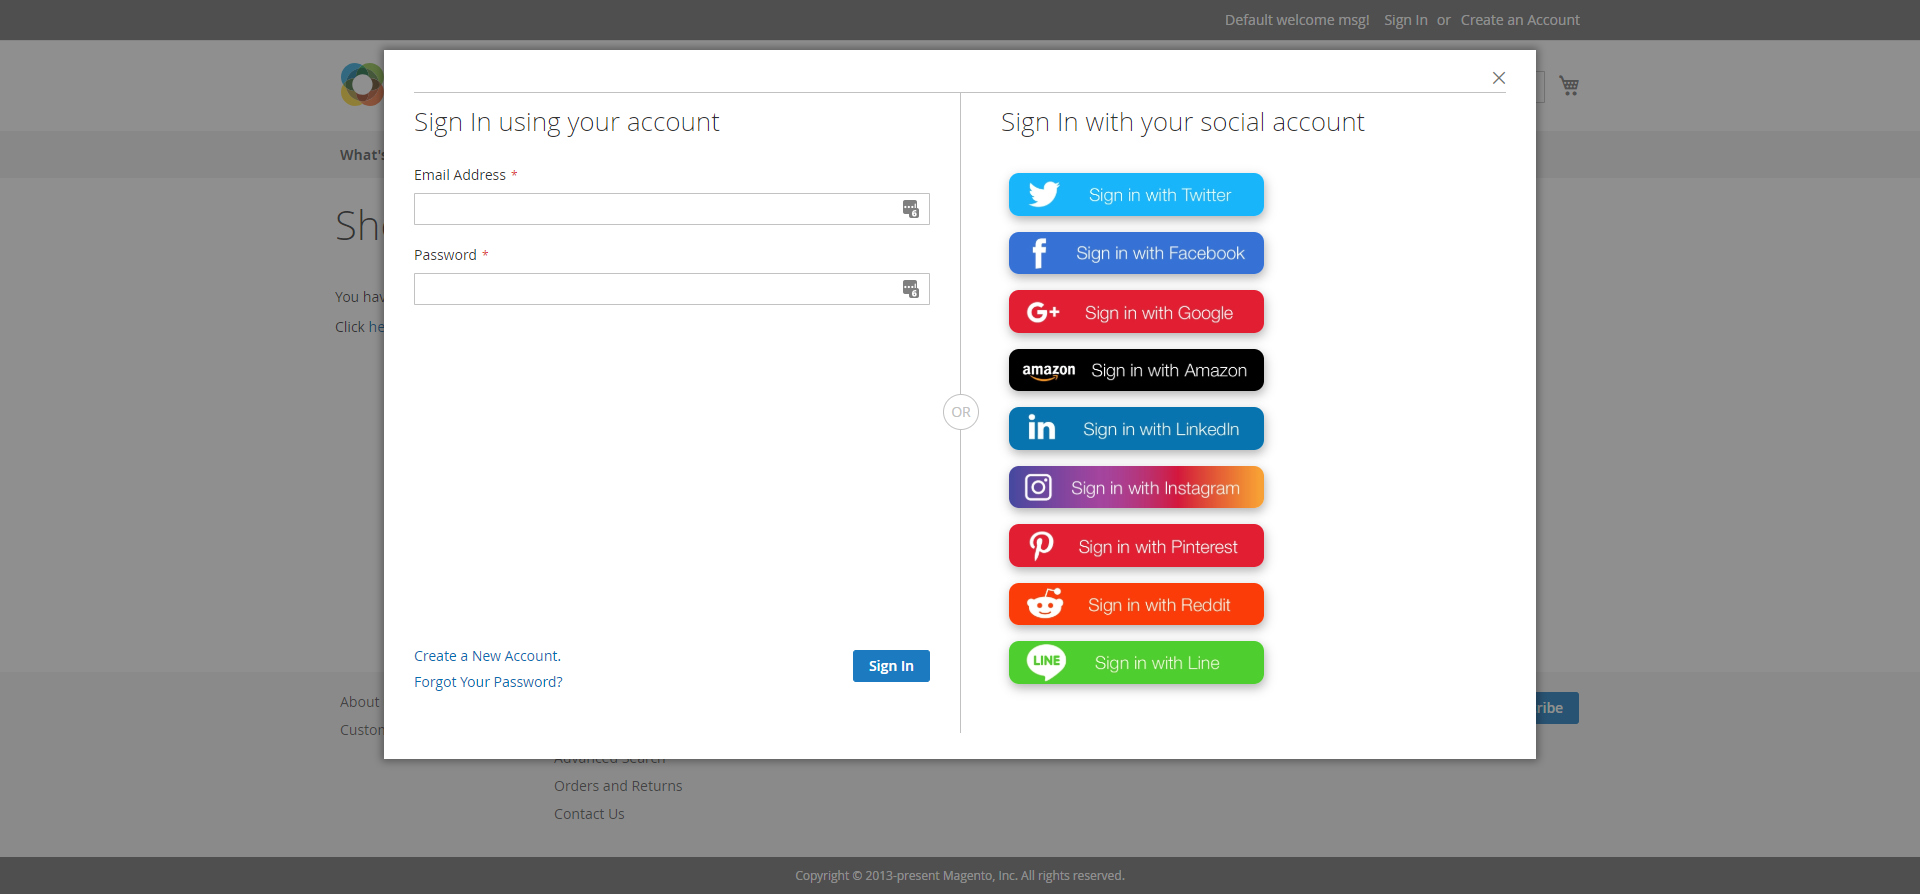
- Twitter login
- Facebook login
- Google login
- Amazon login
- LinkedIn login
- Instagram login

- Pinterest login
- Reddit login
- LINE login
- Apple ID login


Sharing on social networks
...