| Table of Contents |
|---|
...
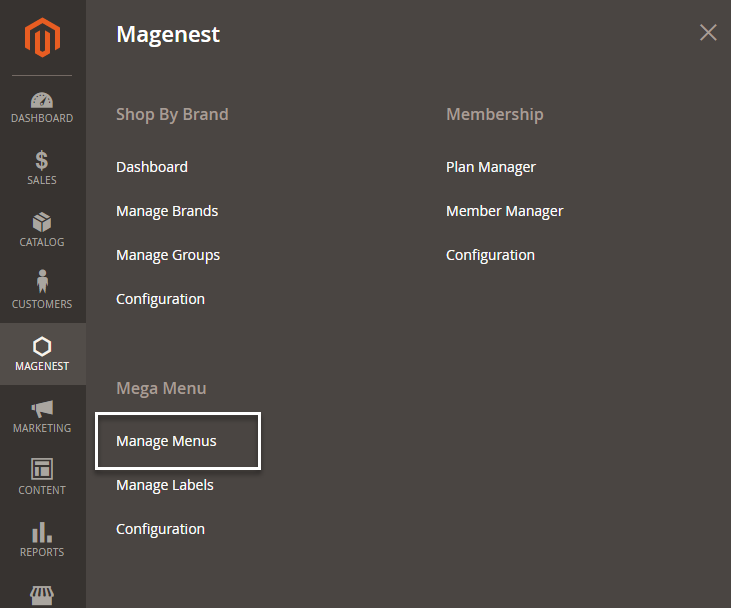
![]() On the admin sidebar, go to Magenest > Mega Menu > Manage Menus.
On the admin sidebar, go to Magenest > Mega Menu > Manage Menus.
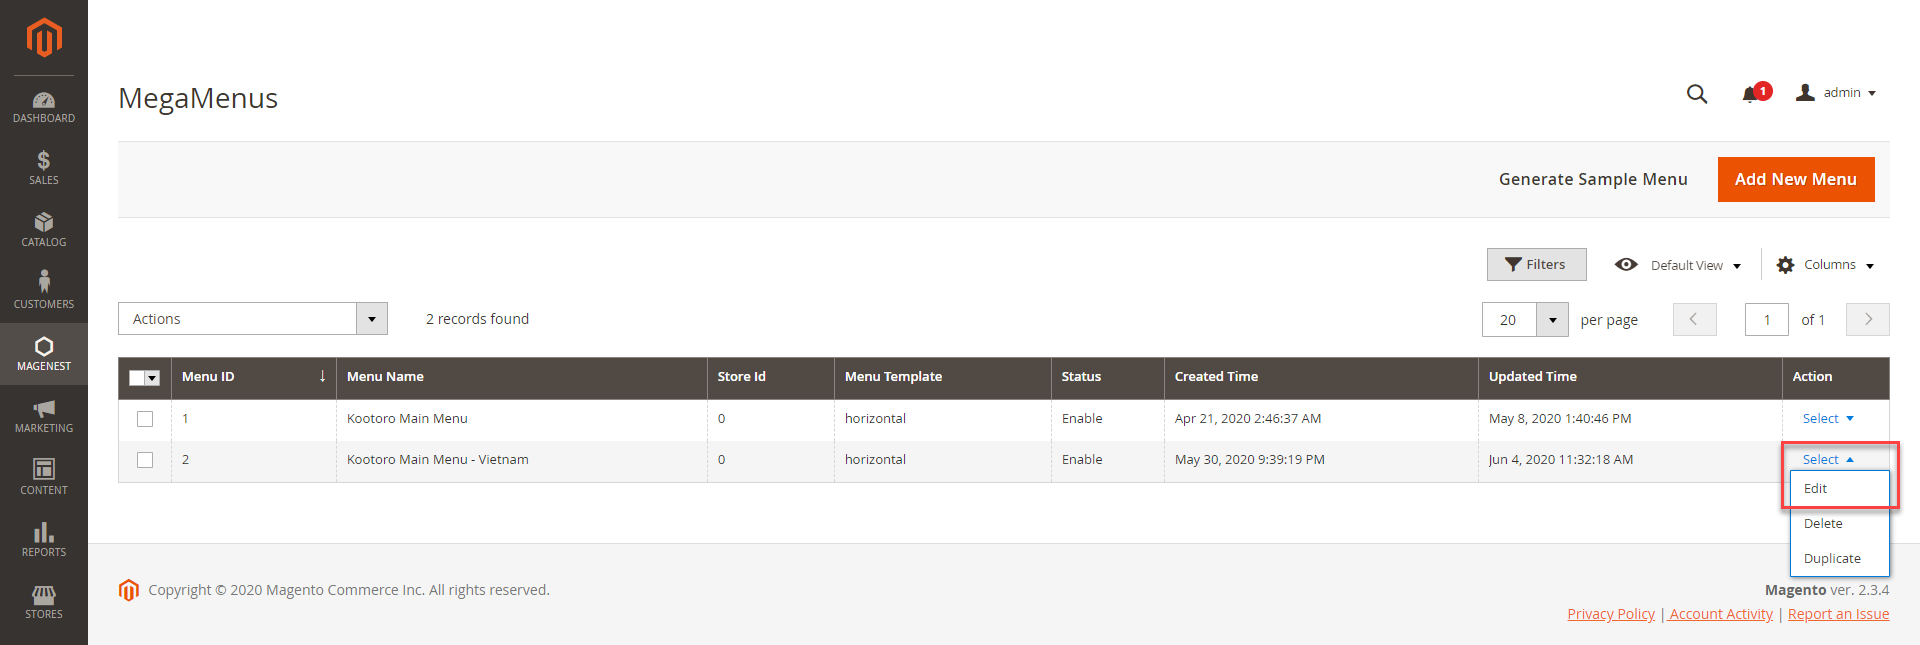
![]() On the MegaMenus page, select the menu to edit. On the Action column, click on Select > Edit.
On the MegaMenus page, select the menu to edit. On the Action column, click on Select > Edit.
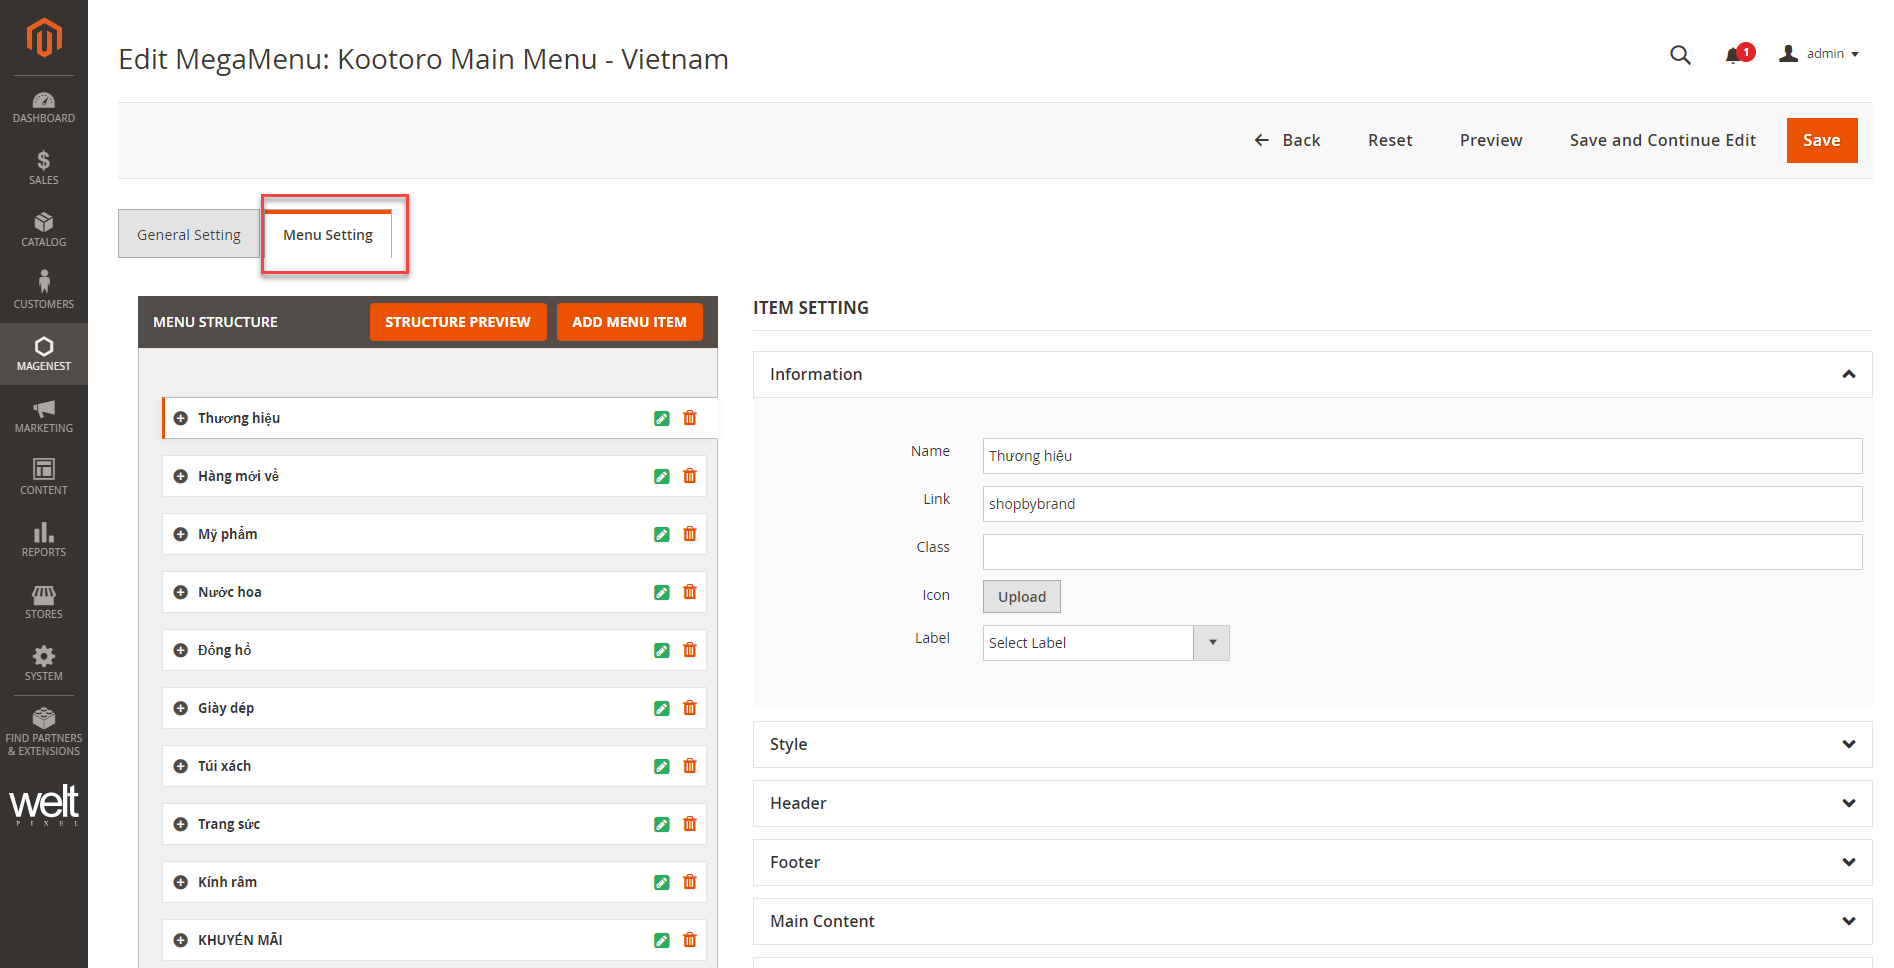
![]() On the menu details page, open Menu Setting section to edit.
On the menu details page, open Menu Setting section to edit.
Edit brands menu
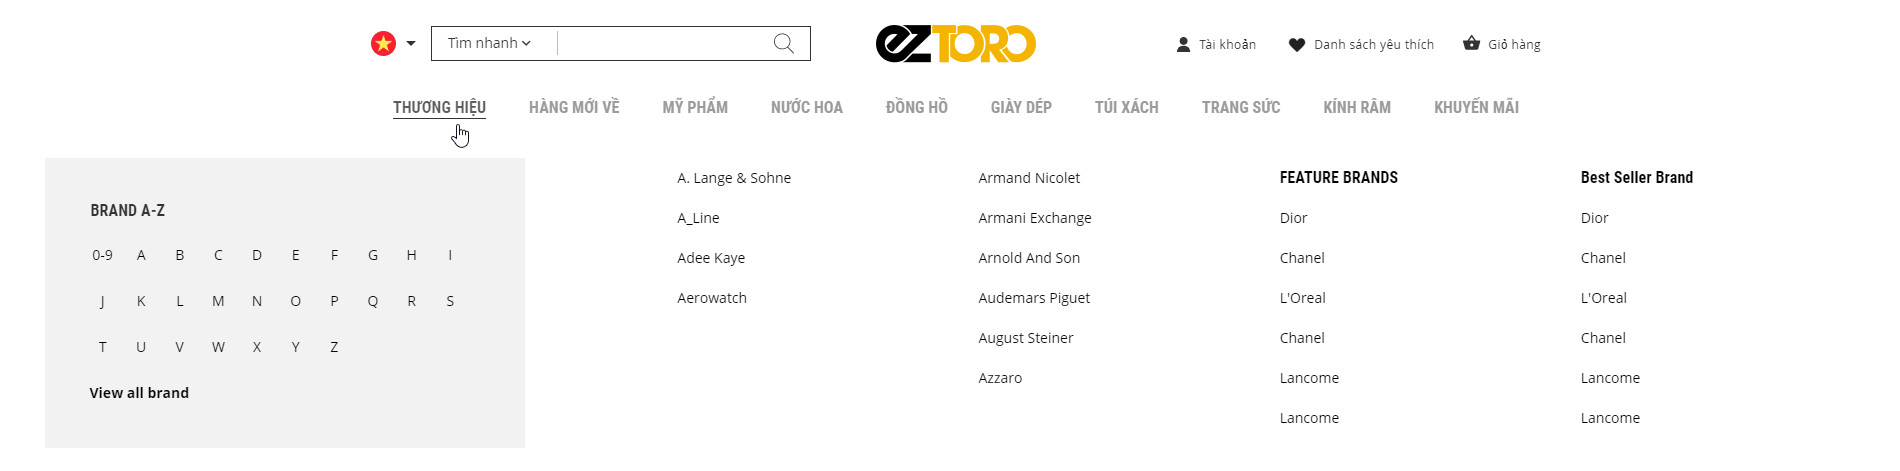
 Inset link in Brand A-Z section
- On the menu items list, find brand menu, then click on Edit icon.
- Expand Left Block section, double click on HTML Content, open the content-edit pop-up.
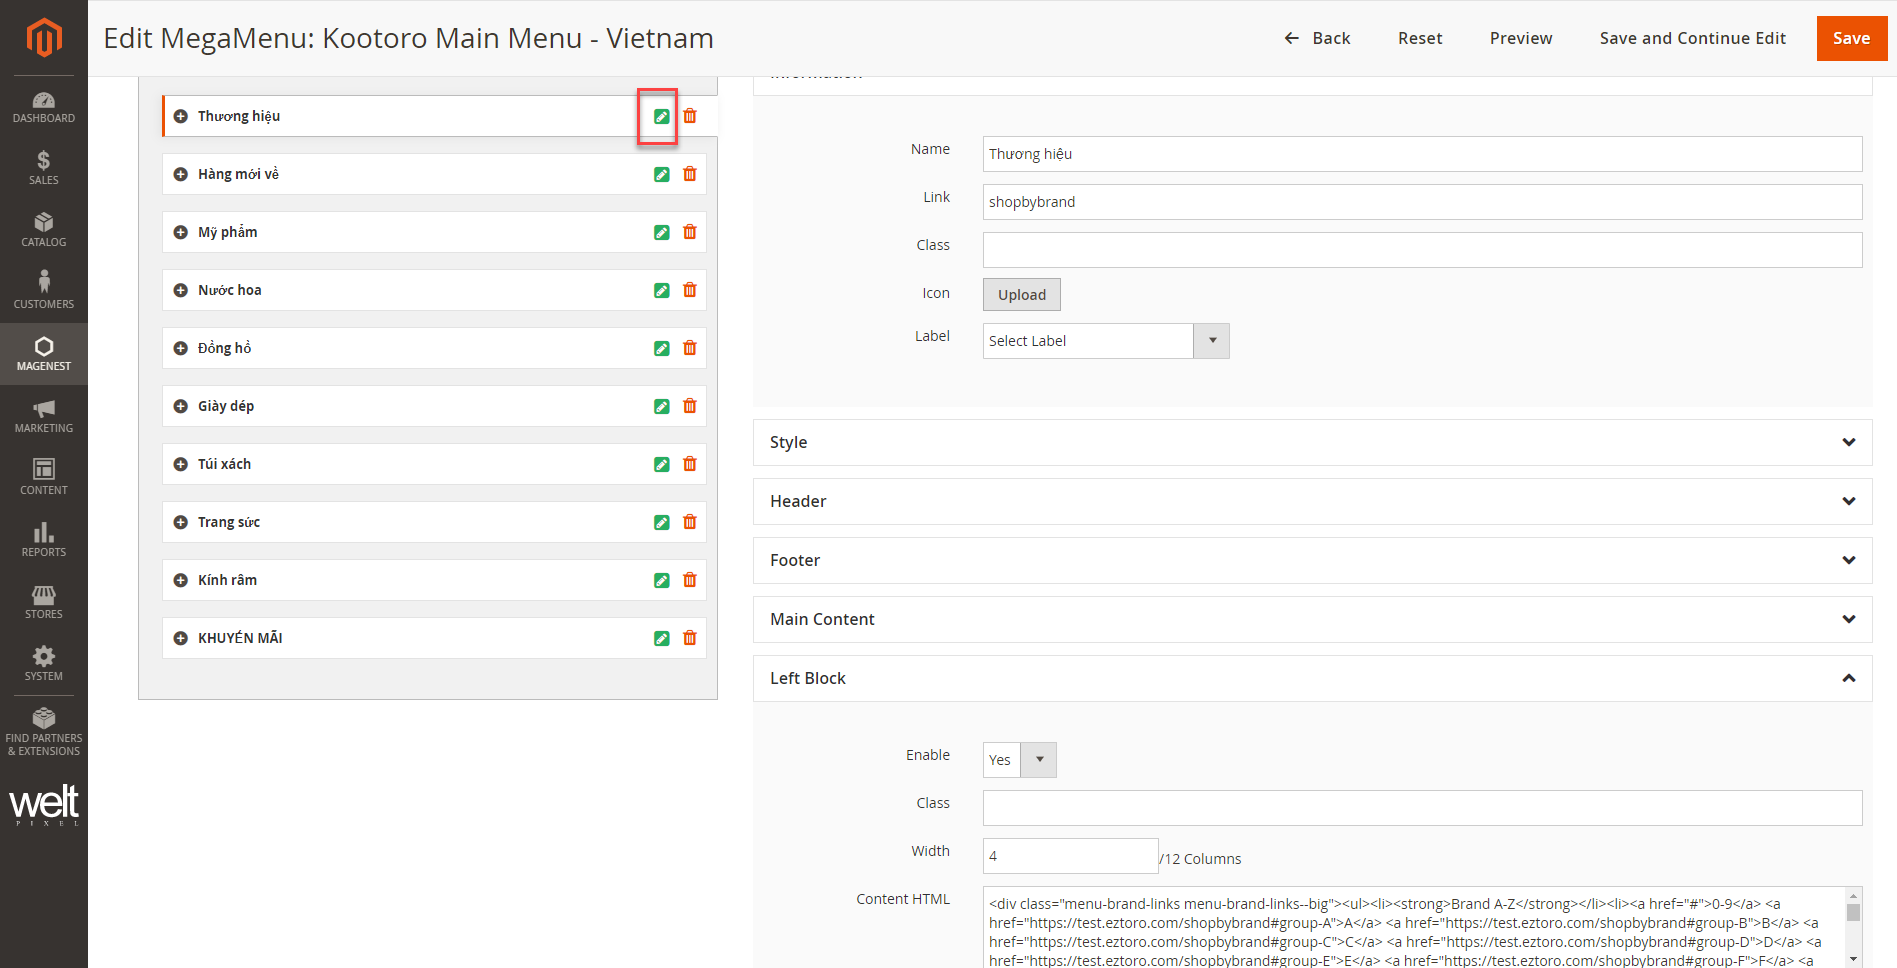
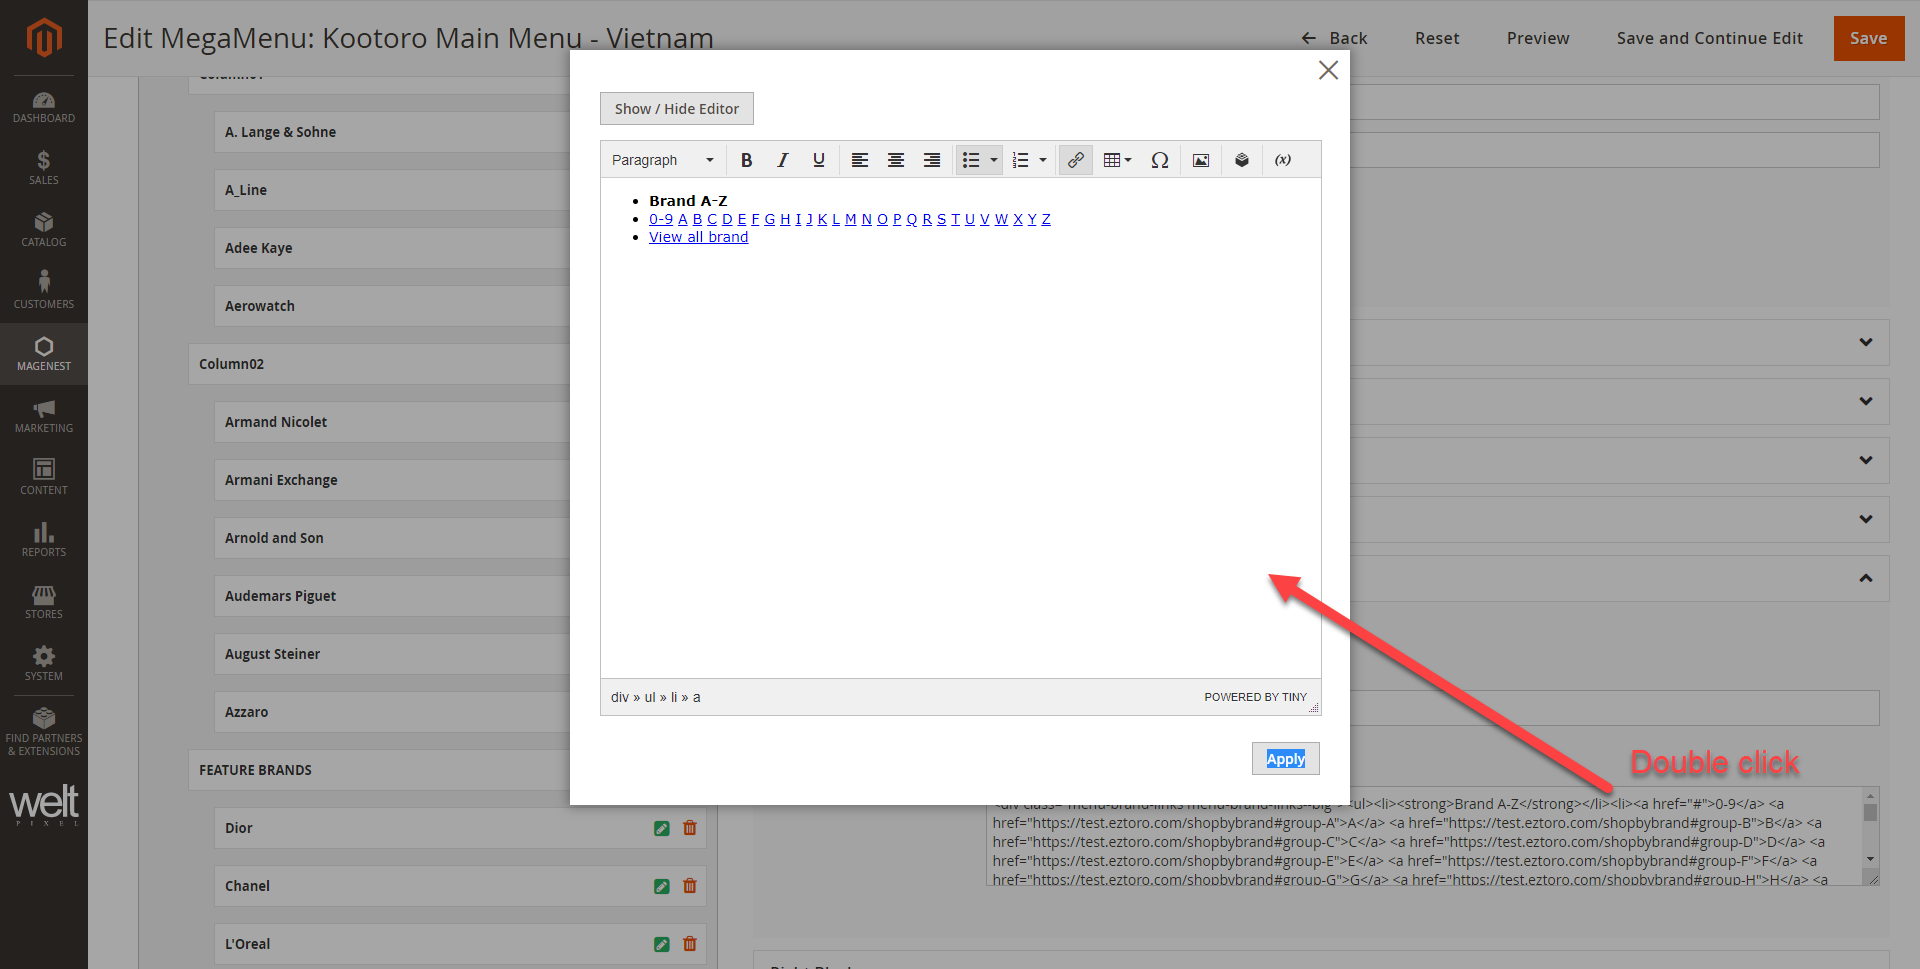
- Click on a character > then click on Link icon > enter the URL > OK > Apply.
- Do the same for the other characters.
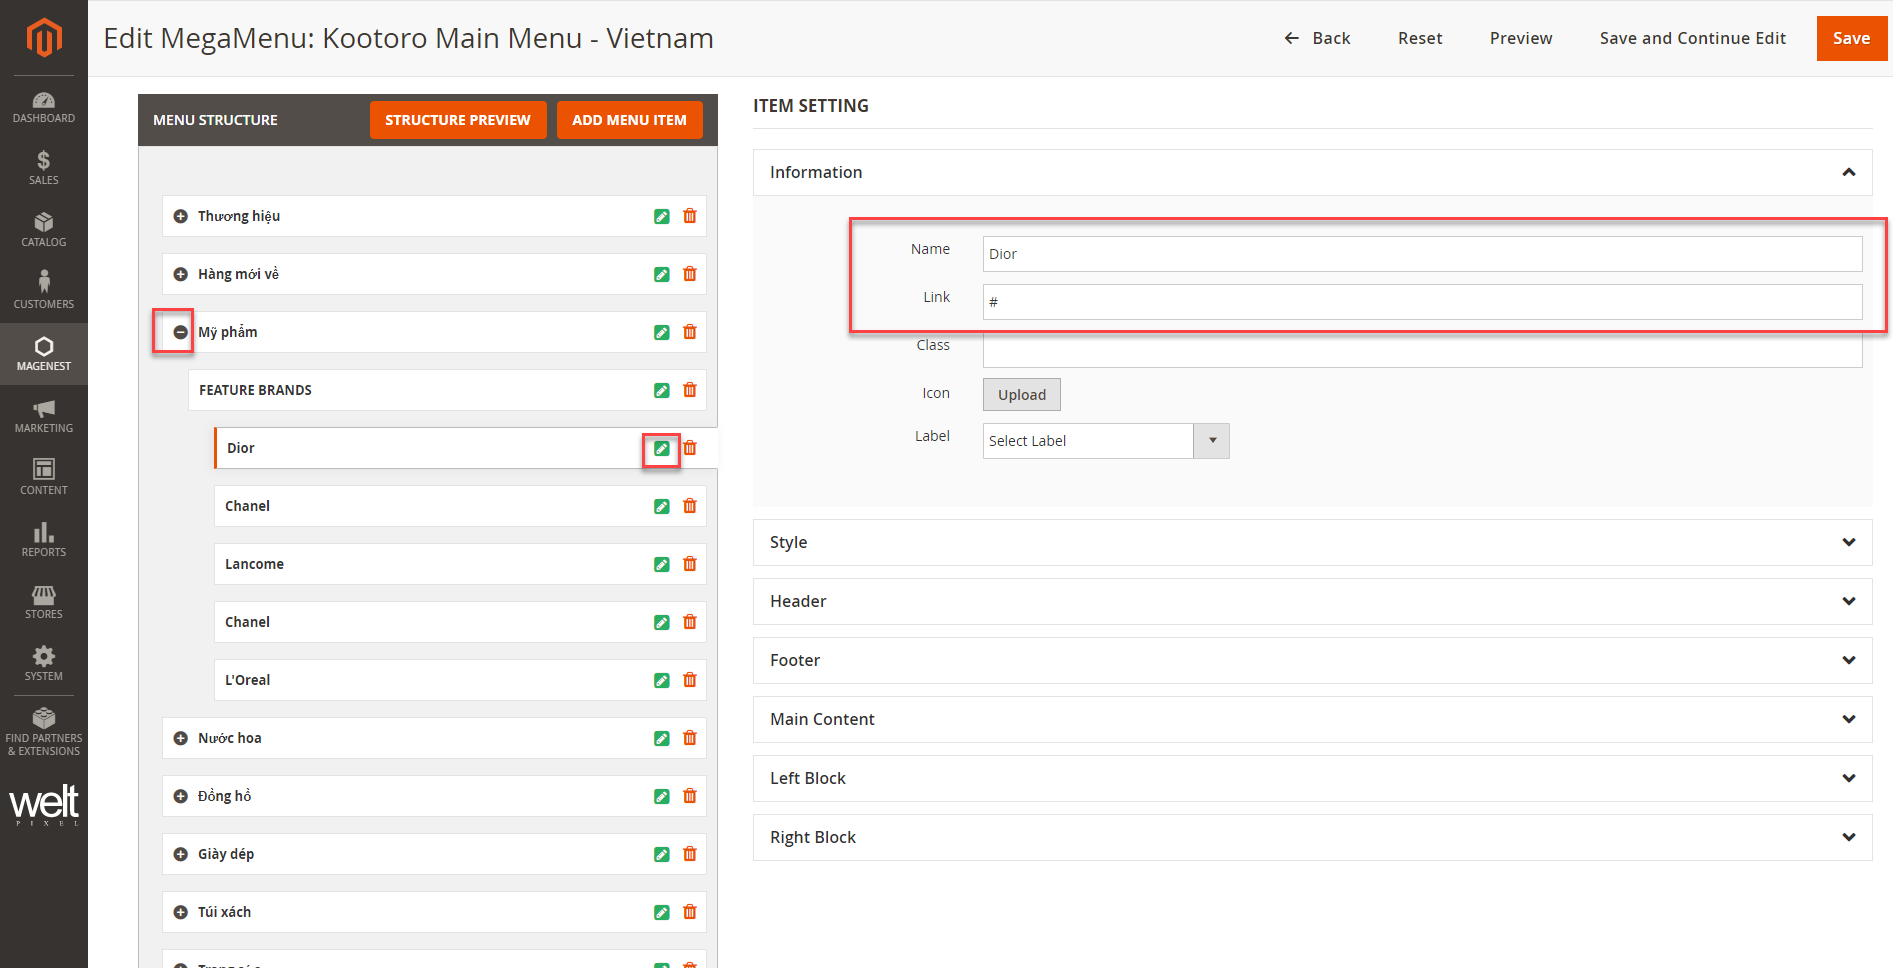
Edit menu items
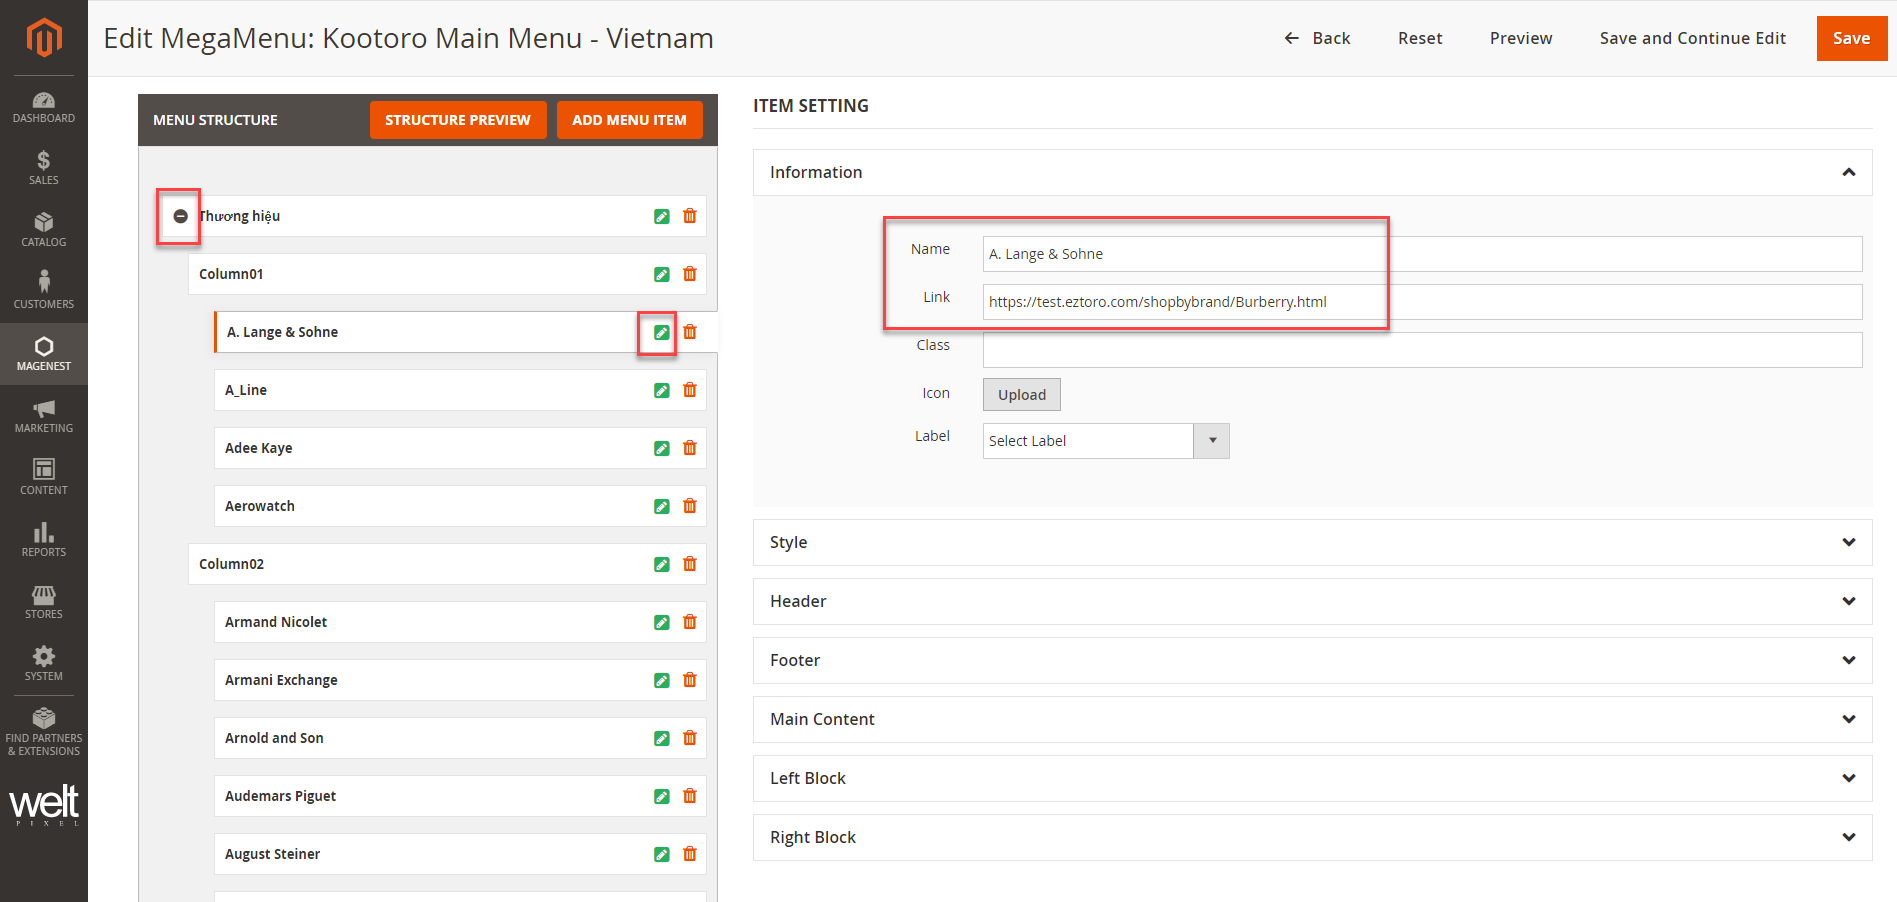
- Click on
 to show the menu items.
 - To edit an item, click on Edit icon.
- Admin can edit display name and insert link for the text menu item.
![]() After finish, click Save to save the changes.
After finish, click Save to save the changes.
Edit category menu
![]() Edit Featured Brand section
Edit Featured Brand section
- Click on to show the menu items.
- To edit an item, click on Edit icon.
- Admin can edit display name and insert link for the text menu item.
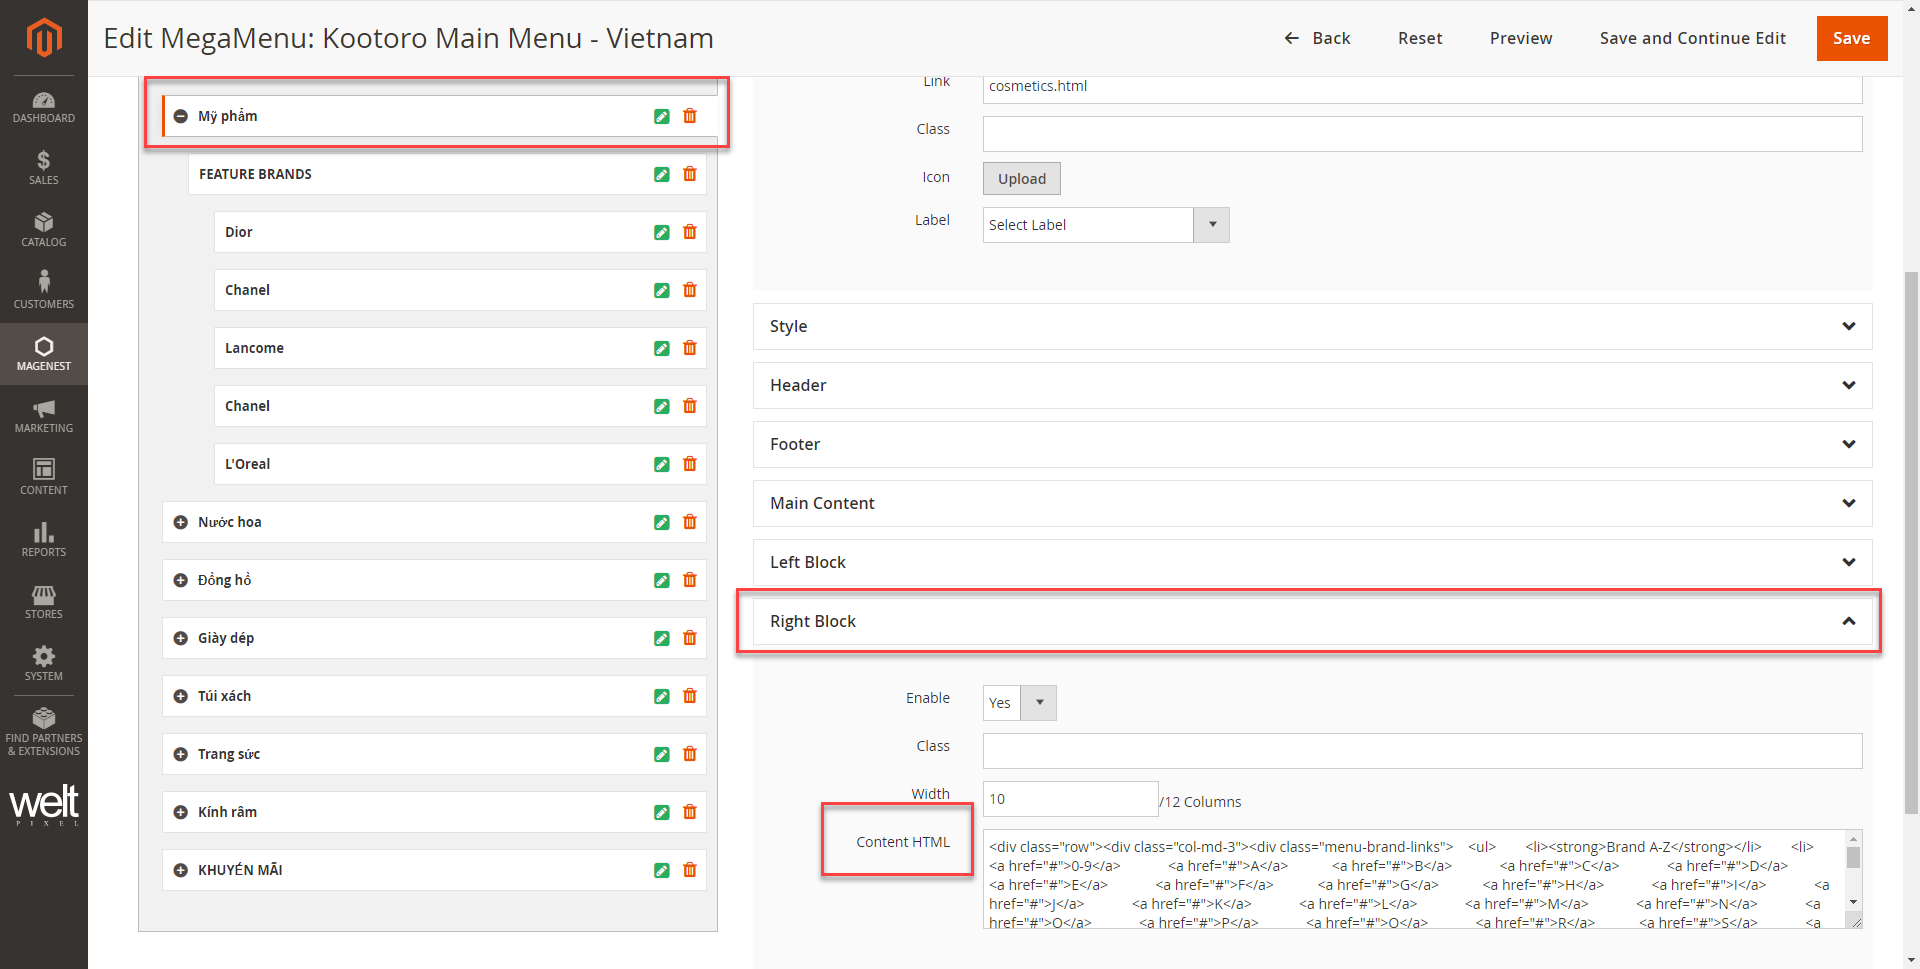
![]() Edit image items
Edit image items
- On the menu section setting, open Right Block tab.
- Right Block: double click on this content to open editing pop-up.
- Click Show/Hide Editor to show the content in code to edit. This is to remain the designed layout.
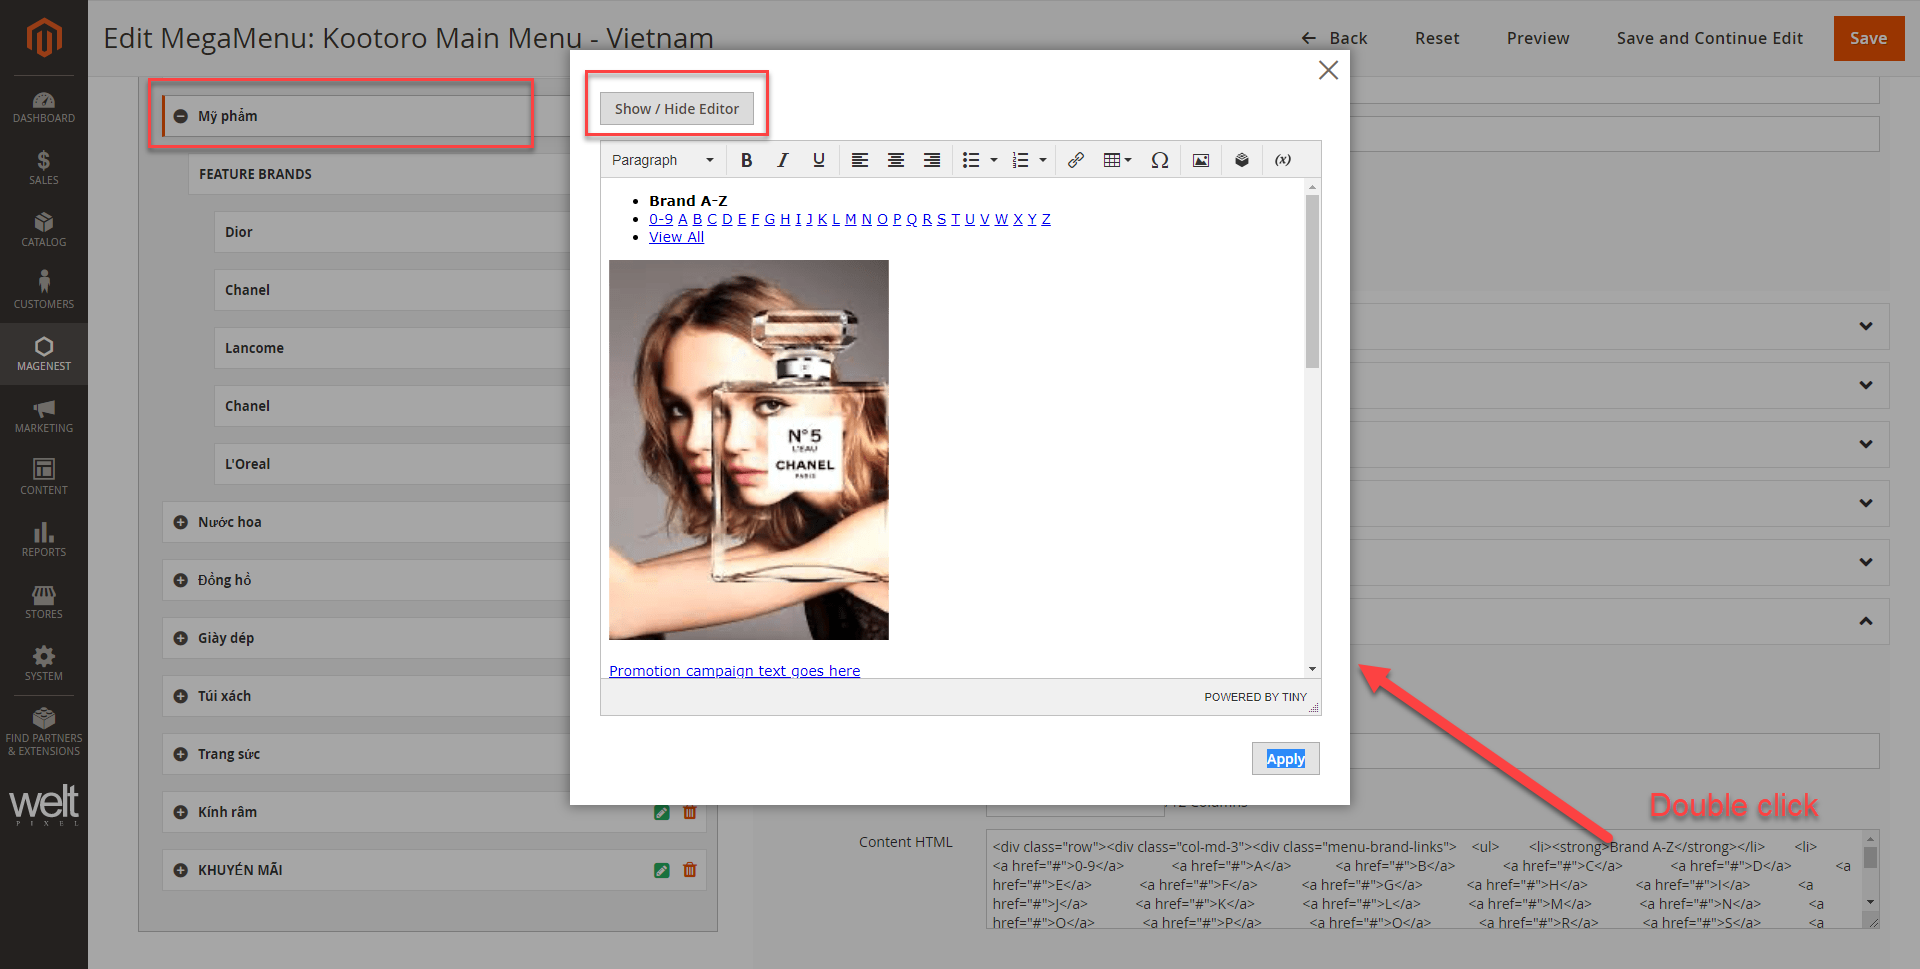
- Find the image need replacing, delete the image html as instruction, then click on Insert Image to add another image to that position.

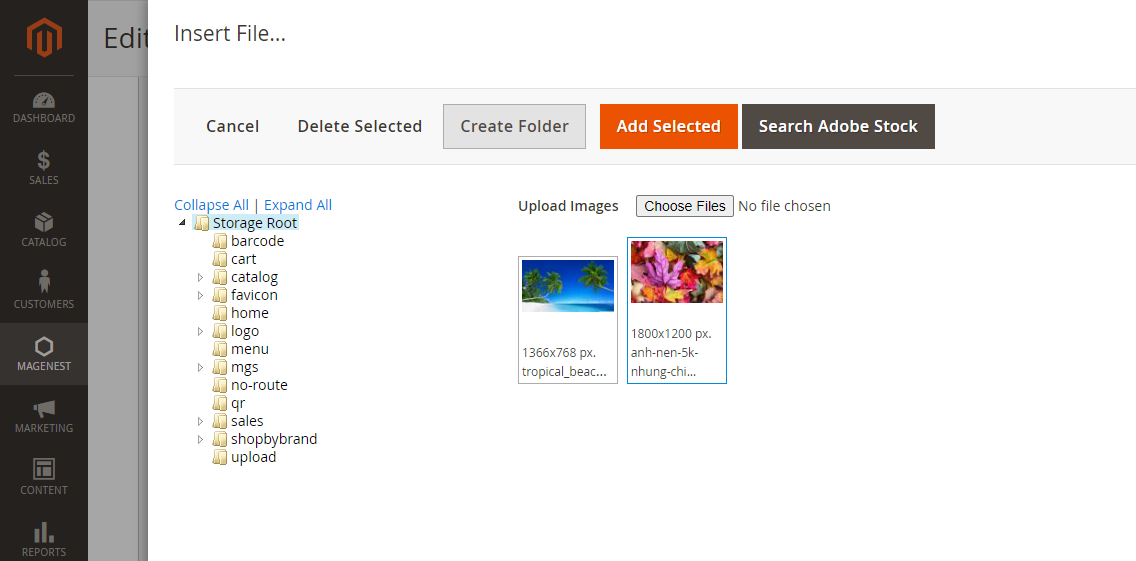
![]() After finish, click Save to save the changes.
After finish, click Save to save the changes.
Create new menu item
![]() On the menu setting page, click on Add Menu Item button.
On the menu setting page, click on Add Menu Item button.
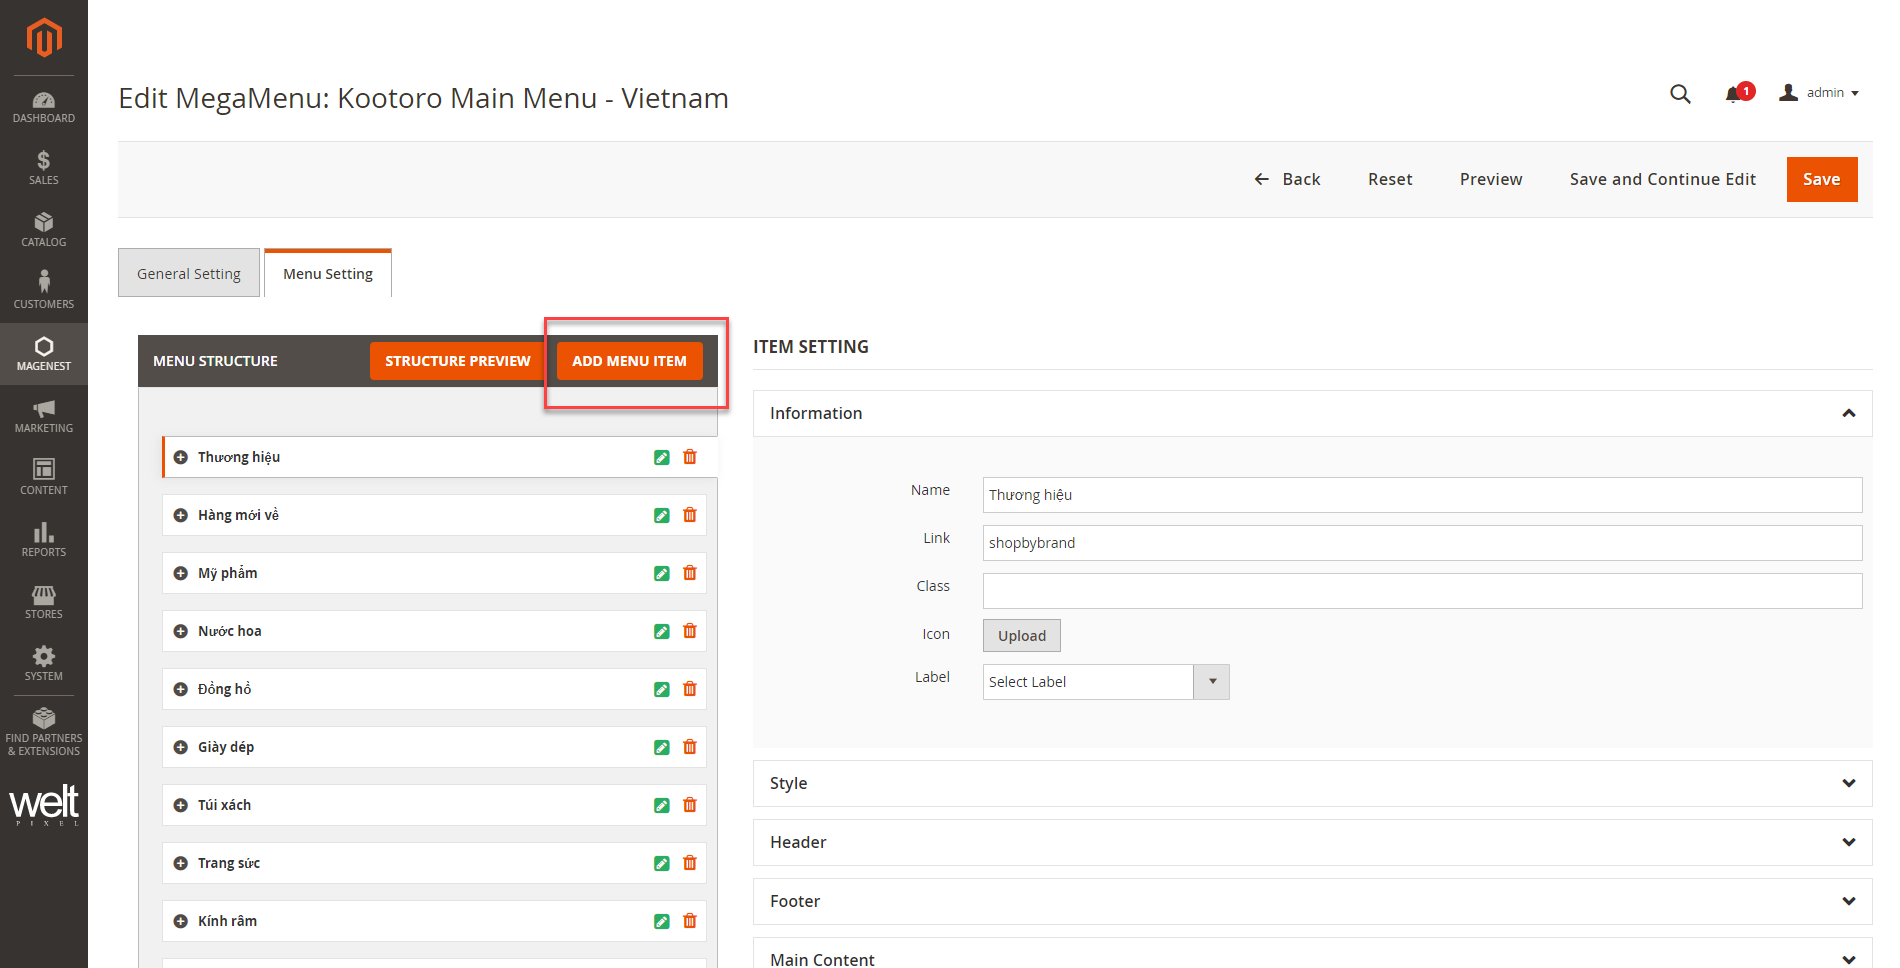
![]() Menu item settings:
Menu item settings:
...
- Flexible Mega Menu configurations
- Create multi-level menu using drag & drop or hyperlink
- Add pages, categories or custom item(s) to the menu
- Generate menu according to existing categories automatically
- Create label(s) for the menu
- Assign label to each menu item
1. Configuration

1.1 General configuration
- Enable Mega Menu: to enable/disable the module
- Select Mega Menu: Set up the menu to be used for the site here. You can create the menu in Mega Menu > Manage Menus
- Effect: The effect to show menu and submenu on the store front
1.2 Default Menu Configuration
- In this settings, you can customize the default menu text color, hover text color, hover button background color and drop-down background color.
- Note that the default menu will only be used if there is no mega menu selected.
2. Create a label

- Go to Mega Menu > Manage Labels, you can manage all the available labels in the grid table.
- You can edit or delete the label by clicking on the Select in Action column.
- Or you can create a label by clicking on the Add New Label button.
...
- Title: The label name displayed in the back end
- Text: The content of the label
- Position: Set the position of the label on the item name (Top, Left, Right, Top Left, Top Right)
- You can change the font size of the text, the label width and height, the text alignment and text color.
- You can also add a border to the label with 5 types of border styles: Dashed, Dotted, Double, Solid or No style/None.
- Border radius: The rounded corners of the label
- You can add the arrow to point the label to the menu item. With the arrow, you can edit the width and color.
3. Create a new menu
Go to Magento 2 backend > Mega Menu > Manage Menus
- You can click on the Generate Sample Menu button to generate menus according to your categories with Grid type and default colors.
- Or click on Add New Menu to create a custom menu.
On add new menu page:
3.1 General Settings

- Menu Name: The menu name will be displayed in Magento 2 backend for management.
- Menu Template: You can select the menu direction as horizontal or vertical left.
- Custom Css: You can customize/style the menu using CSS.
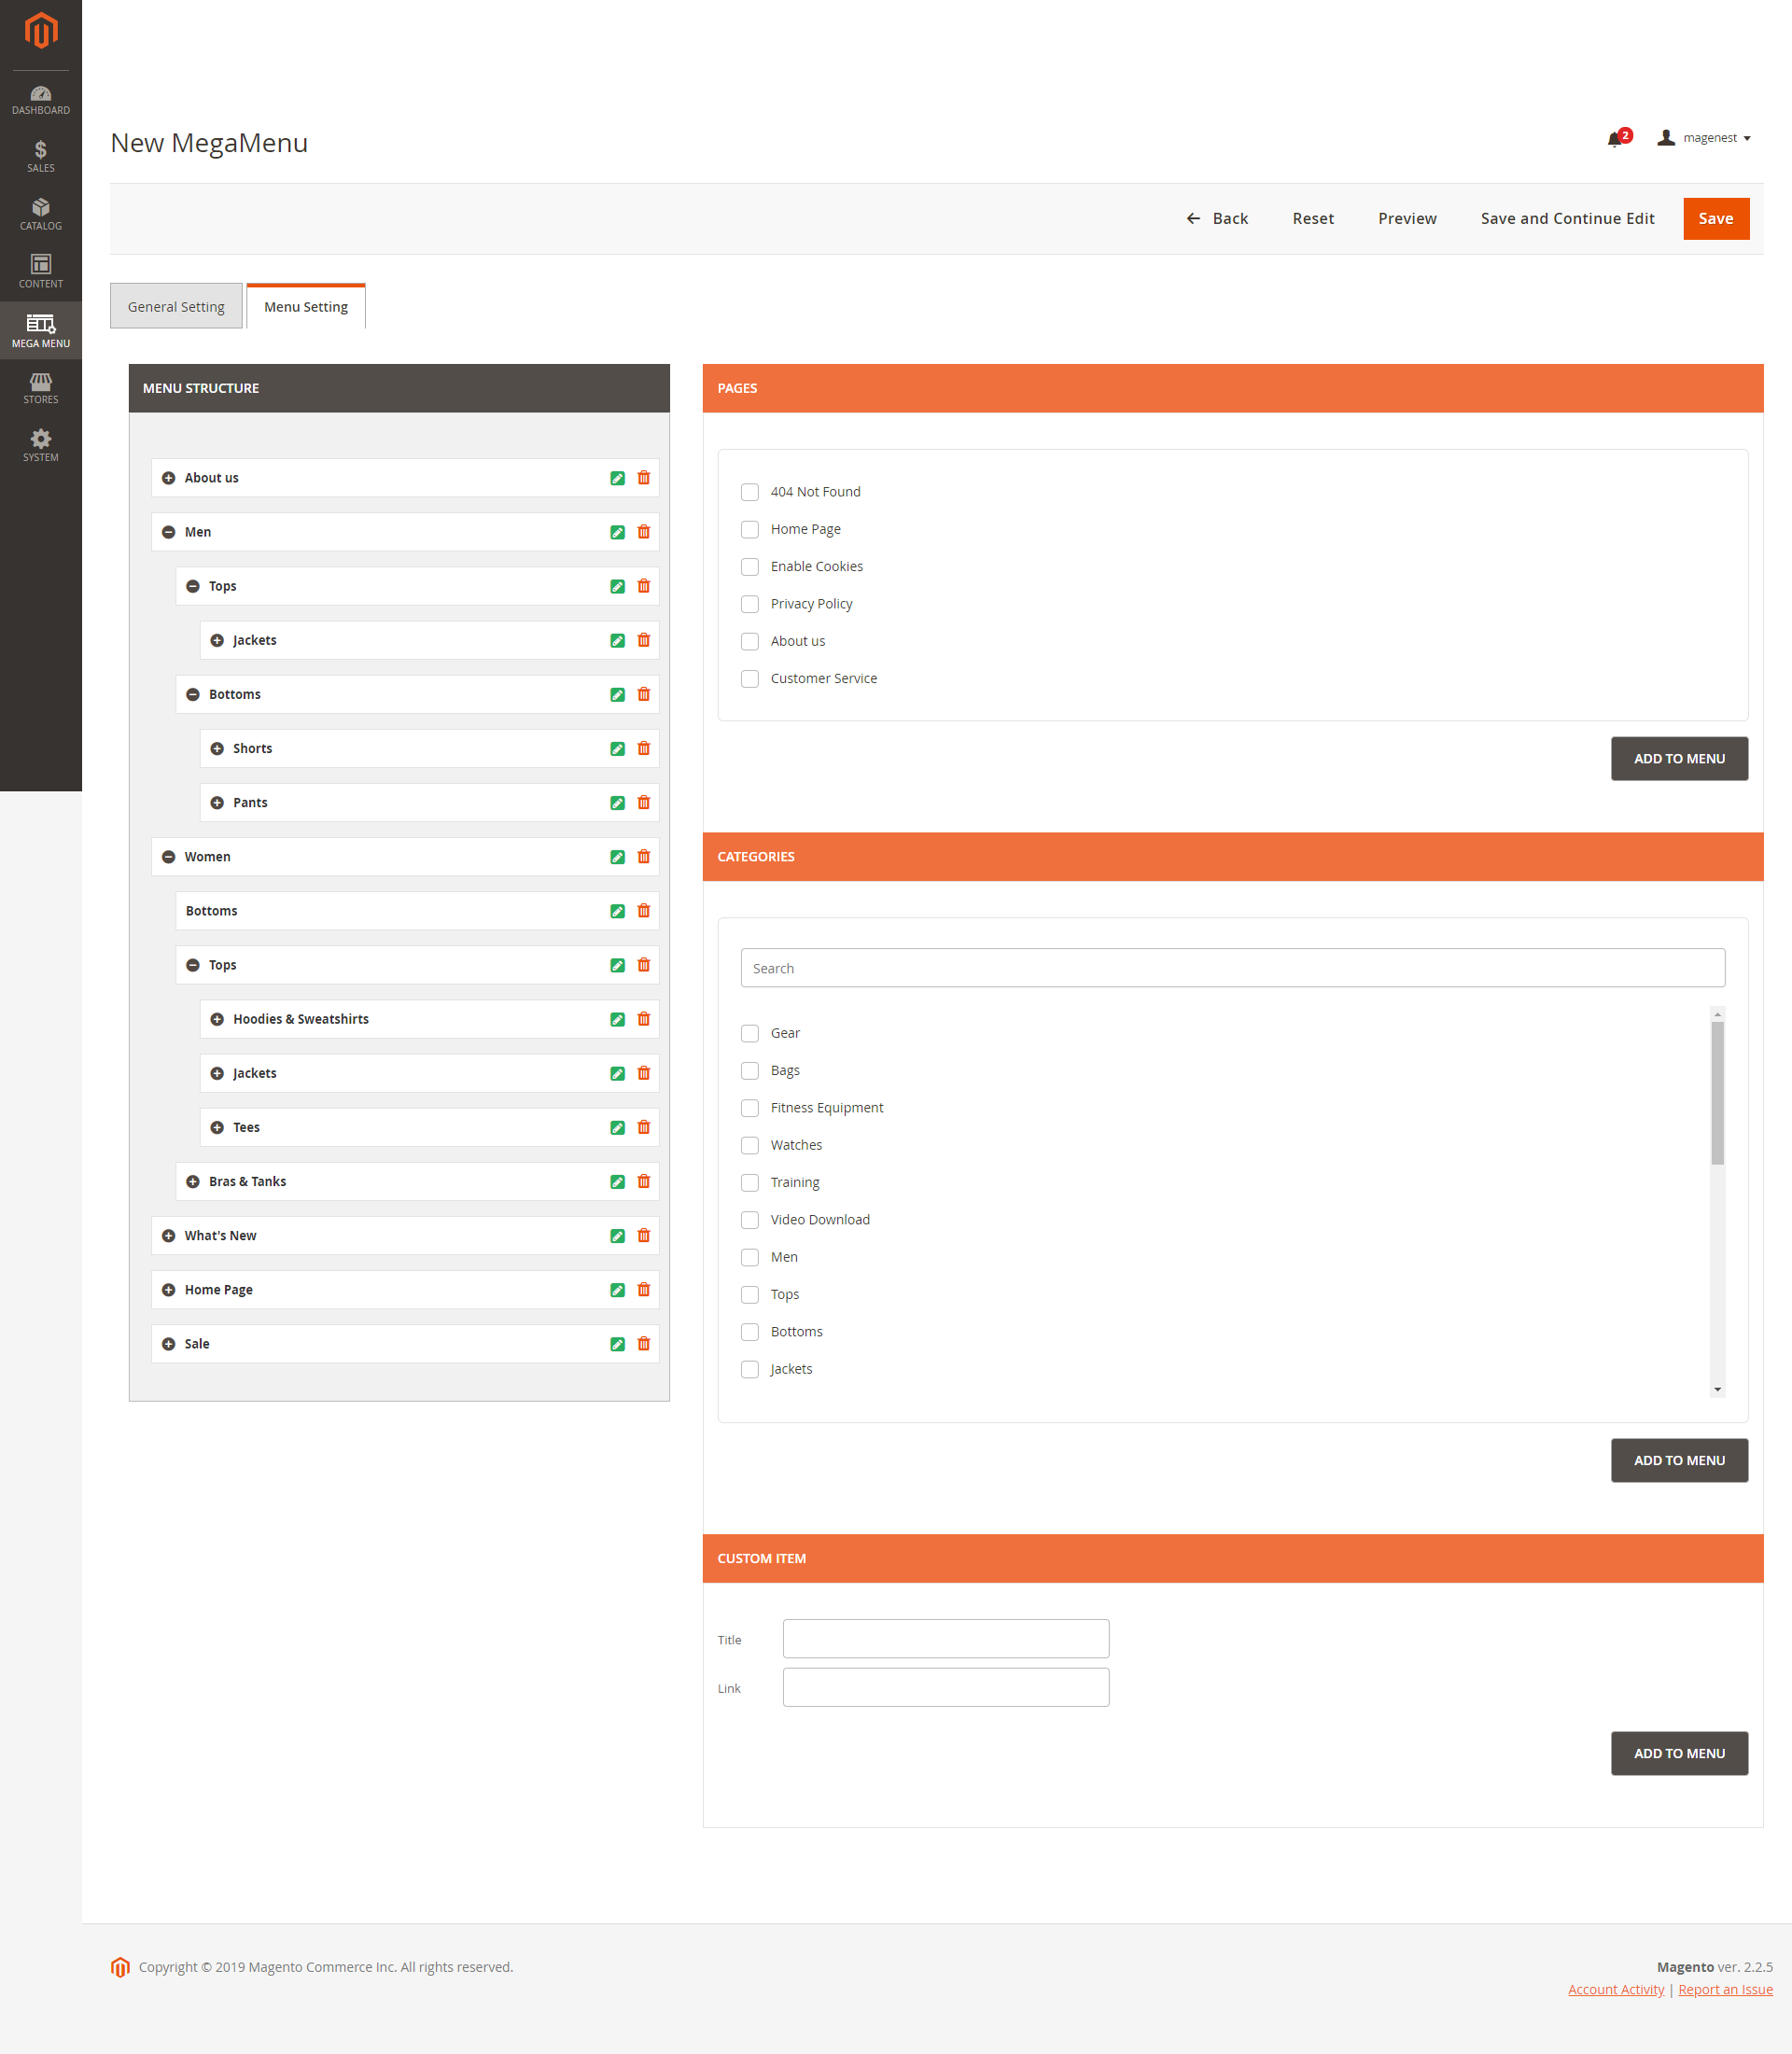
3.2 Menu Settings:

...
On the right column, there are 3 tabs: Pages, Categories, Custom
...
. Select the position for the new item then click on
...
Add
...
To Menu.
![]() Customize menu item
Customize menu item
...
3.3 Customize menu item
Information:
- Name: The menu name that will be displayed on front end.
- Link: The menu url or url key.
- Class: You can add a class to customize the item with CSS.
- Icon: You can upload the icon for each item. It will be displayed on the left of the item on the main menu bar.
- Label: You can create the label in Mega Menu > Manage Labels.
![]() Style:
Style:
- Admin
- You can :Choose
- choose the Text Color, Hover Text Color, Hover Button Background Color from RGB color picker. Add
- You can add the content in Header, Footer, Left Block and/or Right Block. Enable
- You can enable/disable each one and edit with HTML and CSS .You can preview the mega menu before saving by clicking on the Preview button
- .
- Main Content: You can use content
- wysiwyg editor or use different types of content: default list, grid or tab.
...
- You can preview the mega menu before saving by clicking on Preview button.
![]() After finish, click Save to save the changes.
After finish, click Save to save the changes.
...