| Table of Contents |
|---|
Product attribute properties determine how an attribute can be used in the catalog, its appearance and behavior in the store, and the data included in data transfer operations. The properties and labels associated with each attribute determine how it can be used and its presentation in the store.
1. Create new product attribute
- Navigate to menu panel in Admin portal, choose Store -> Attributes then choose Product -> Add new attribute
 You will see three tab in edit page to fill data and properties:
- Properties — The Properties section includes both basic and advanced attribute properties.
- Labels — The label identifies an attribute in the Admin and also in the storefront of each store view. If your store is available in multiple languages, you can enter a different translated label for each language.
- Storefront Properties — The Storefront Properties determine how an attribute can be used in your store, its appearance, and behavior. You can specify if attributes are available for search, layered navigation, product comparisons, price rules, and sorting. For text attributes, you can enable the WYSIWYG editor and determine if HTML tags can be used to format the values.
We will go through each basic data:
- Ghi vào một tên thuộc tính tại Default Label để xác định thuộc tính sản phẩm
- Chọn một danh mục đầu vào cho sản phẩm tại Catalog Input Type for Store Owner
...
- Cài đặt phạm vi thuộc tính đươc sử dụng thuộc tính: Scope
- Cài đặt xác thực dữ liệu đầu vào của thuộc tính: Input Validation for Store Owner
- Kích hoạt thuộc tính tại Column Option
- Sử dụng trong tùy chọn bộ lọc Use in Filter Options
...
You can create attributes while working on a product or from the Product Attributes page. The following steps show how to create attributes from the Stores menu.
Step 1: Describe the basic properties
On the Admin sidebar, go to Stores > Attributes > Product.
Click Add New Attribute.
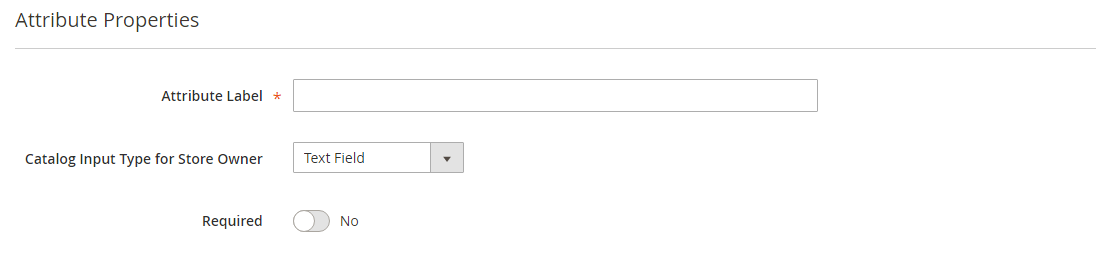
Under Attribute Properties, enter a Default Label to identify the attribute.
Set Catalog Input Type for Store Owner to the type in input control to be used for data entry.
If you want to require an option selection before the customer can purchase the product, set Values Required to
Yes.For Dropdown and Multiple Select input types, do the following:
Under Manage Options, click Add Option.
Enter the first value that you want to appear in the list.
You can enter one value for the Admin, and a translation of the value for each store view. If you have only one store view, you can enter only the Admin value and it will be used for the storefront as well.
Click Add Option and repeat the previous step for each option that you want to include in the list.
Select Is Default to use the option as the default value.
Step 2: Describe the advanced properties (if needed)
Enter a unique Attribute Code in lowercase characters and without spaces.
Set Scope to indicate where in your store hierarchy the attribute can be used.
If you want to prevent duplicate values from being entered, set Unique Value to
Yes.To run a validity test of any data entered into a text field, set Input Validation for Store Owner to the type of data that the field should contain.
This field is not available for input types with values that are selected. The test can validate any of the following:
- Decimal Number
- Integer Number
- URL
- Letters
- Letters (a-z, A-Z) or Numbers (0-9)
To add this attribute to the product grid, set the following options to
Yes.Add to Column Options Includes the attribute as a column in the Products grid. Use in Filter Options Adds a filter control to the column header in the Products grid.
Step 3: Enter the field label
Expand
 the Manage titles section.
Enter a Title to be used as a label for the field.
If your store is available in different languages, you can enter a translated title for each view.
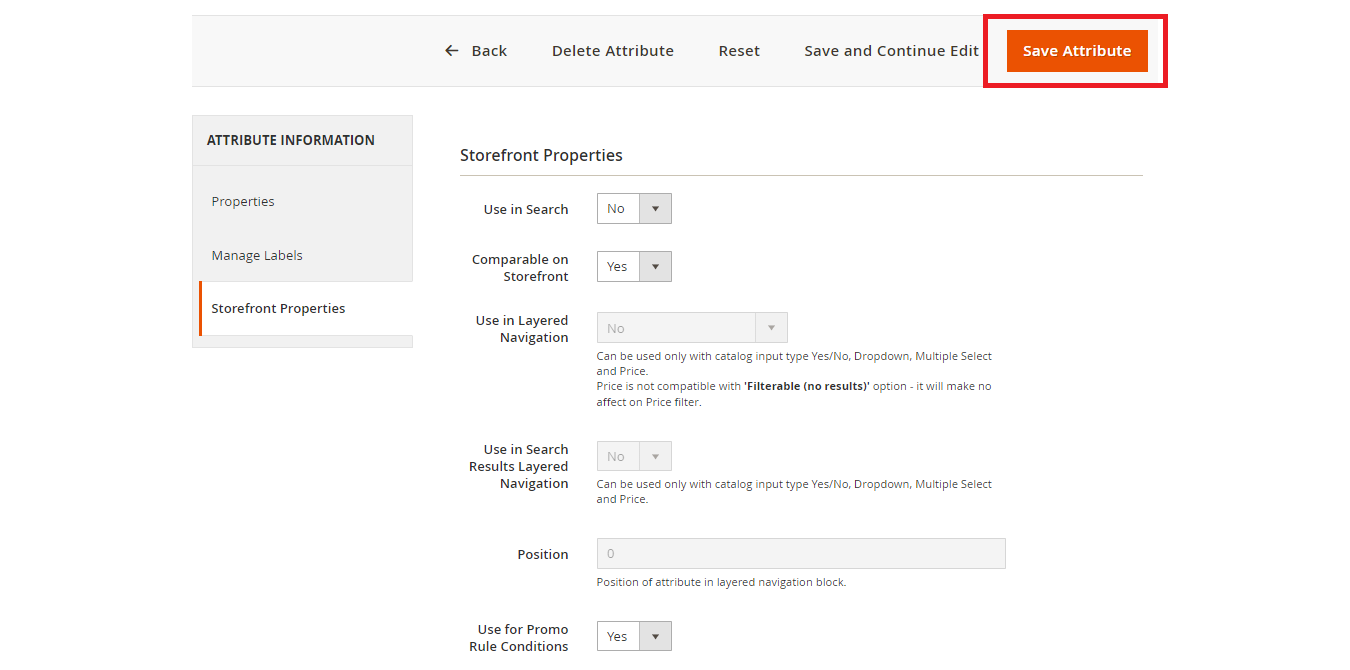
Step 4: Describe the storefront properties
In the left side panel, choose Storefront Properties.
If the attribute is to be available for search, set Use in Search to
Yes.To include the attribute in Product Compare, set Comparable on Storefront to
Yes.For dropdown, multiple select, and price fields, do the following:
To use the attribute as a filter in layered navigation, set Use in Layered Navigation to
Yes.To use the attribute in layered navigation on search results pages, set Use in Search Results Layered Navigation to
Yes.In the Position field, enter a number to indicate the relative position of the attribute in the layered navigation block.
To use the attribute in price rules, set Use for Promo Rule Conditions to
Yes.To allow the text to be formatted with HTML, set Allow HTML Tags on Frontend to
Yes.This setting makes the WYSIWYG editor available for the field.
To include the attribute on the product page, set Visible on Catalog Pages on Storefront to
Yes.Complete the following settings if supported by your theme:
To include the attribute in product listings, set Used in Product Listing to
Yes.To use attribute as a sort parameter for product listings, set Used for Sorting in Product Listing to
Yes.
When complete, click Save Attribute.
Attributes for configurable products
Any attribute that is used as a drop-down list of options for a configurable product must have the following properties:
PROPERTY VALUE Catalog Input Type for Store Owner Dropdown Scope Global


...
2. Edit/Delete product attribute
- Trên thanh công cụ Admin chọn Store -> Dưới Attributes chọn Product
- Click vào thuộc tính cần xóa/sửa
- Để chỉnh sửa thuộc tính:
- Chọn và sửa thông tin trên thuộc tính tại:
- Properties: Chứa các thuộc tính cơ bản và nâng cao.
- Manage Label's: Xác định một thuộc tính trong Admin và cả ở front-end của mỗi cửa hàng. Nếu cửa hàng của bạn có sẵn bằng nhiều ngôn ngữ, bạn có thể nhập nhãn dịch khác nhau cho mỗi ngôn ngữ.
- Storefront Properties: Để xác định thuộc tính có thể sử dụng trong cửa hàng của bạn. Nó giúp cho bạn có thể chỉ định nếu các thuộc tính có sẵn cho tìm kiếm, điều hướng lớp, so sánh sản phẩm, quy tắc giá và sắp xếp.
- Sau đó chọn Save Attribute để lưu chỉnh sửa.
Để xóa thuộc tính:- Ta chỉ cần click vào Delete Attribute trên thanh công cụ.
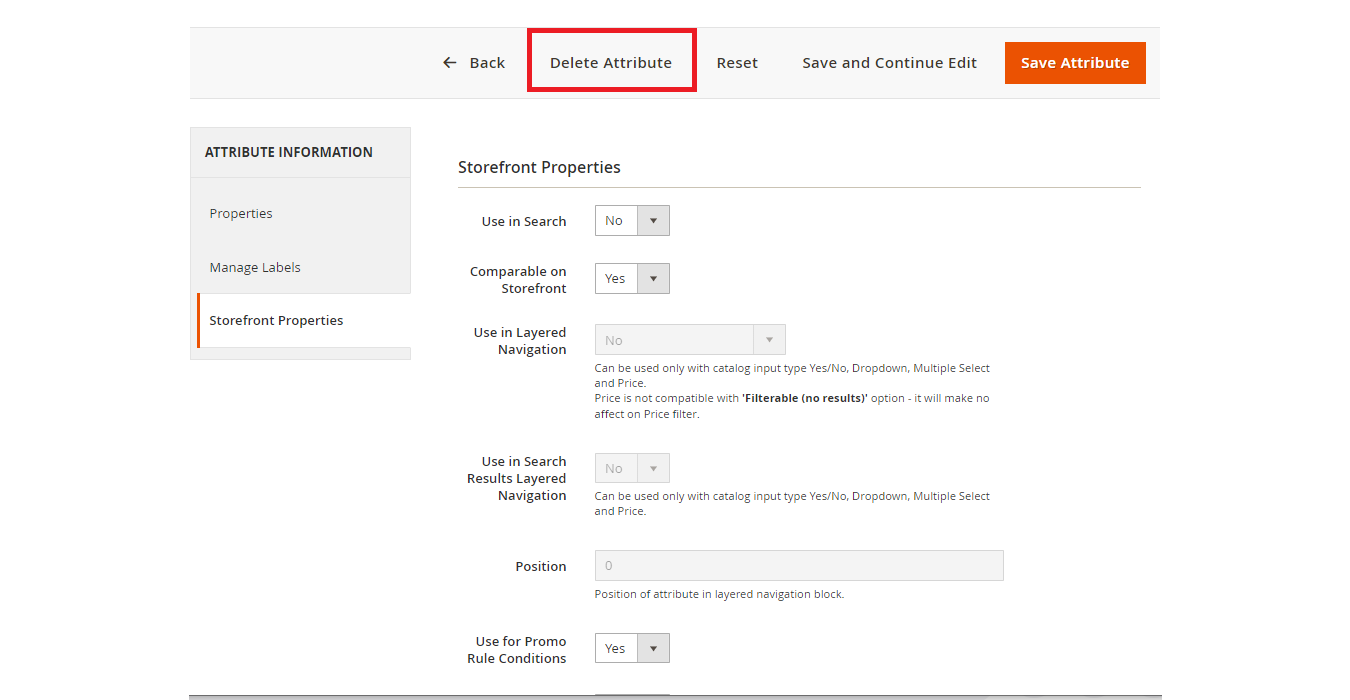
- Chọn và sửa thông tin trên thuộc tính tại: