...
Set up Xero Account Informations
Go to Store > Configuration or Xero Integration > Configuration:
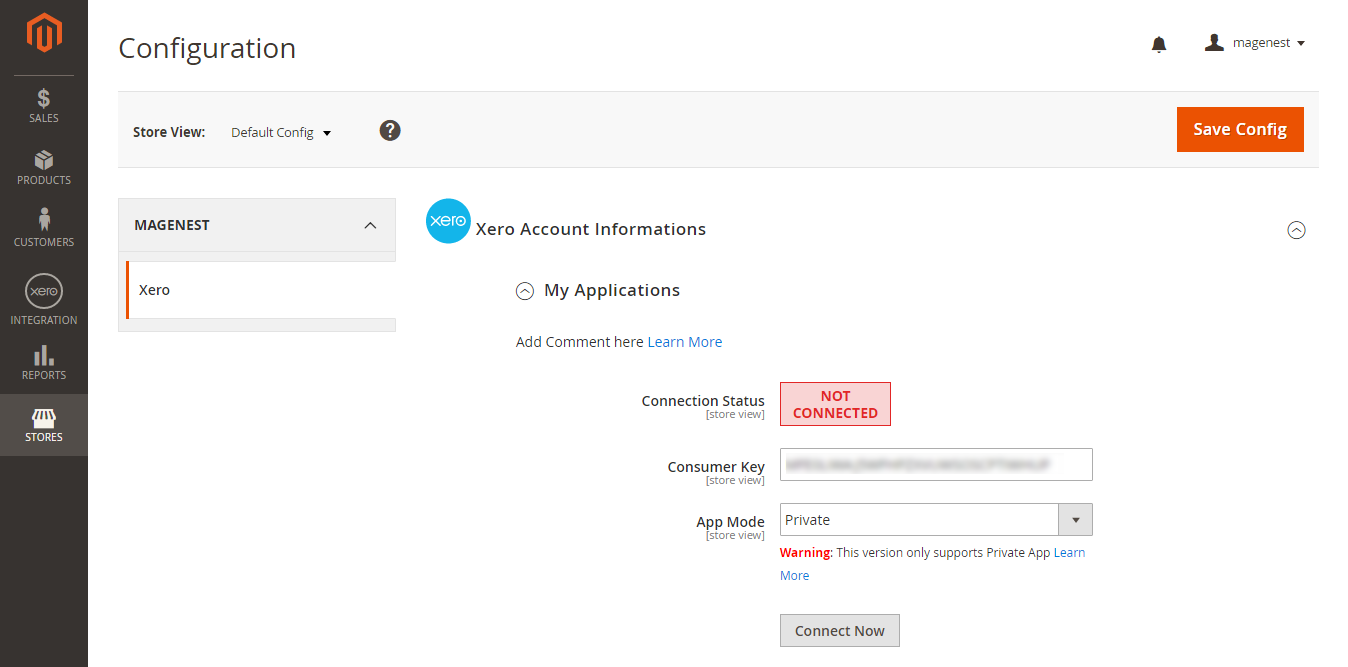
At My Applications tab
Taking Consumer Key that you have just created and paste into Magento 2 backend configuration. Then, click on Connect Now button.
Connection Status will be transferred from not connected to connected with all the information like the picture below.
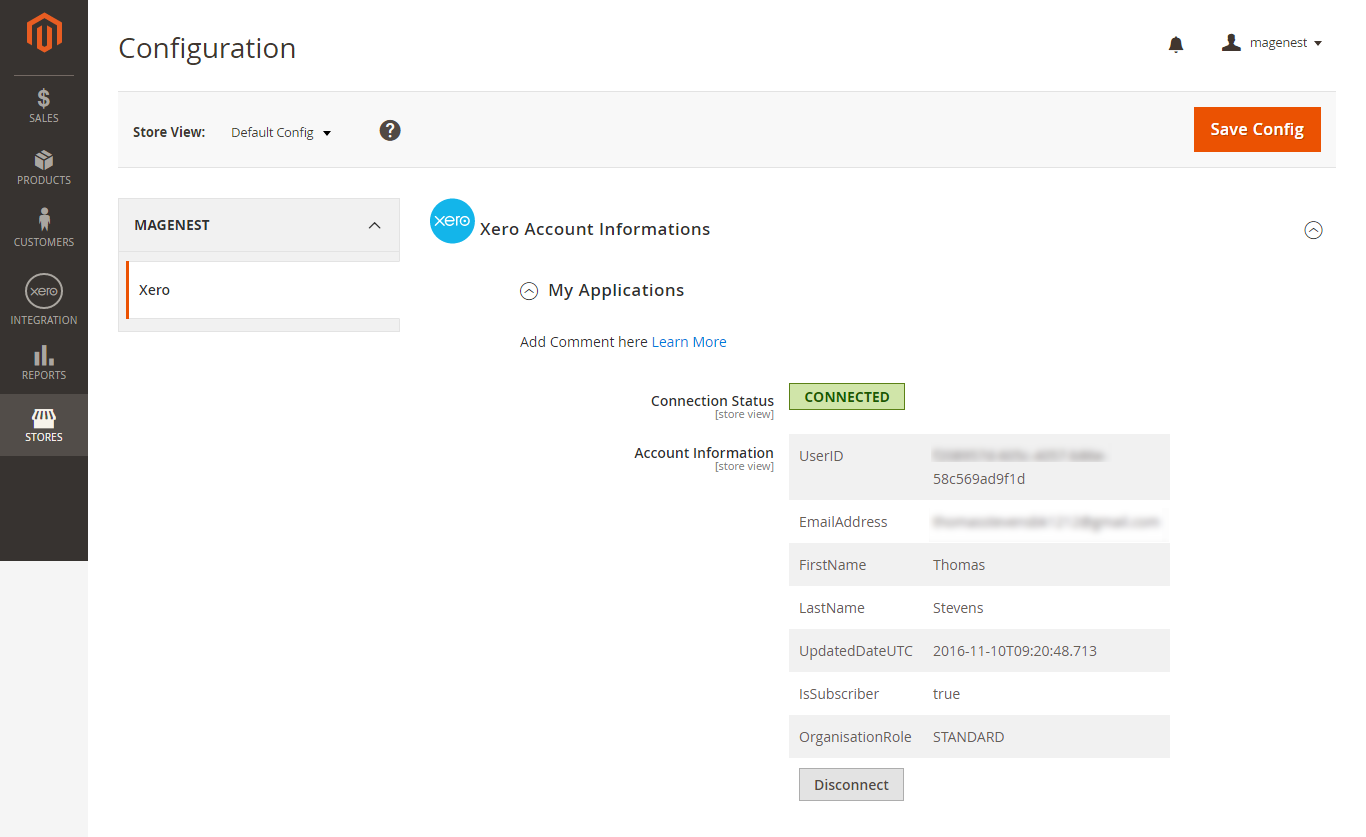
Press Press Save Config after after you've done (refresh the cache if needed).
At Configure the Accounts Types in Xero tab
Admins are able to synchronize four account types: Bank account, Sale account, Inventory account, Cost and Good Sold account from Magento 2 to Xero.
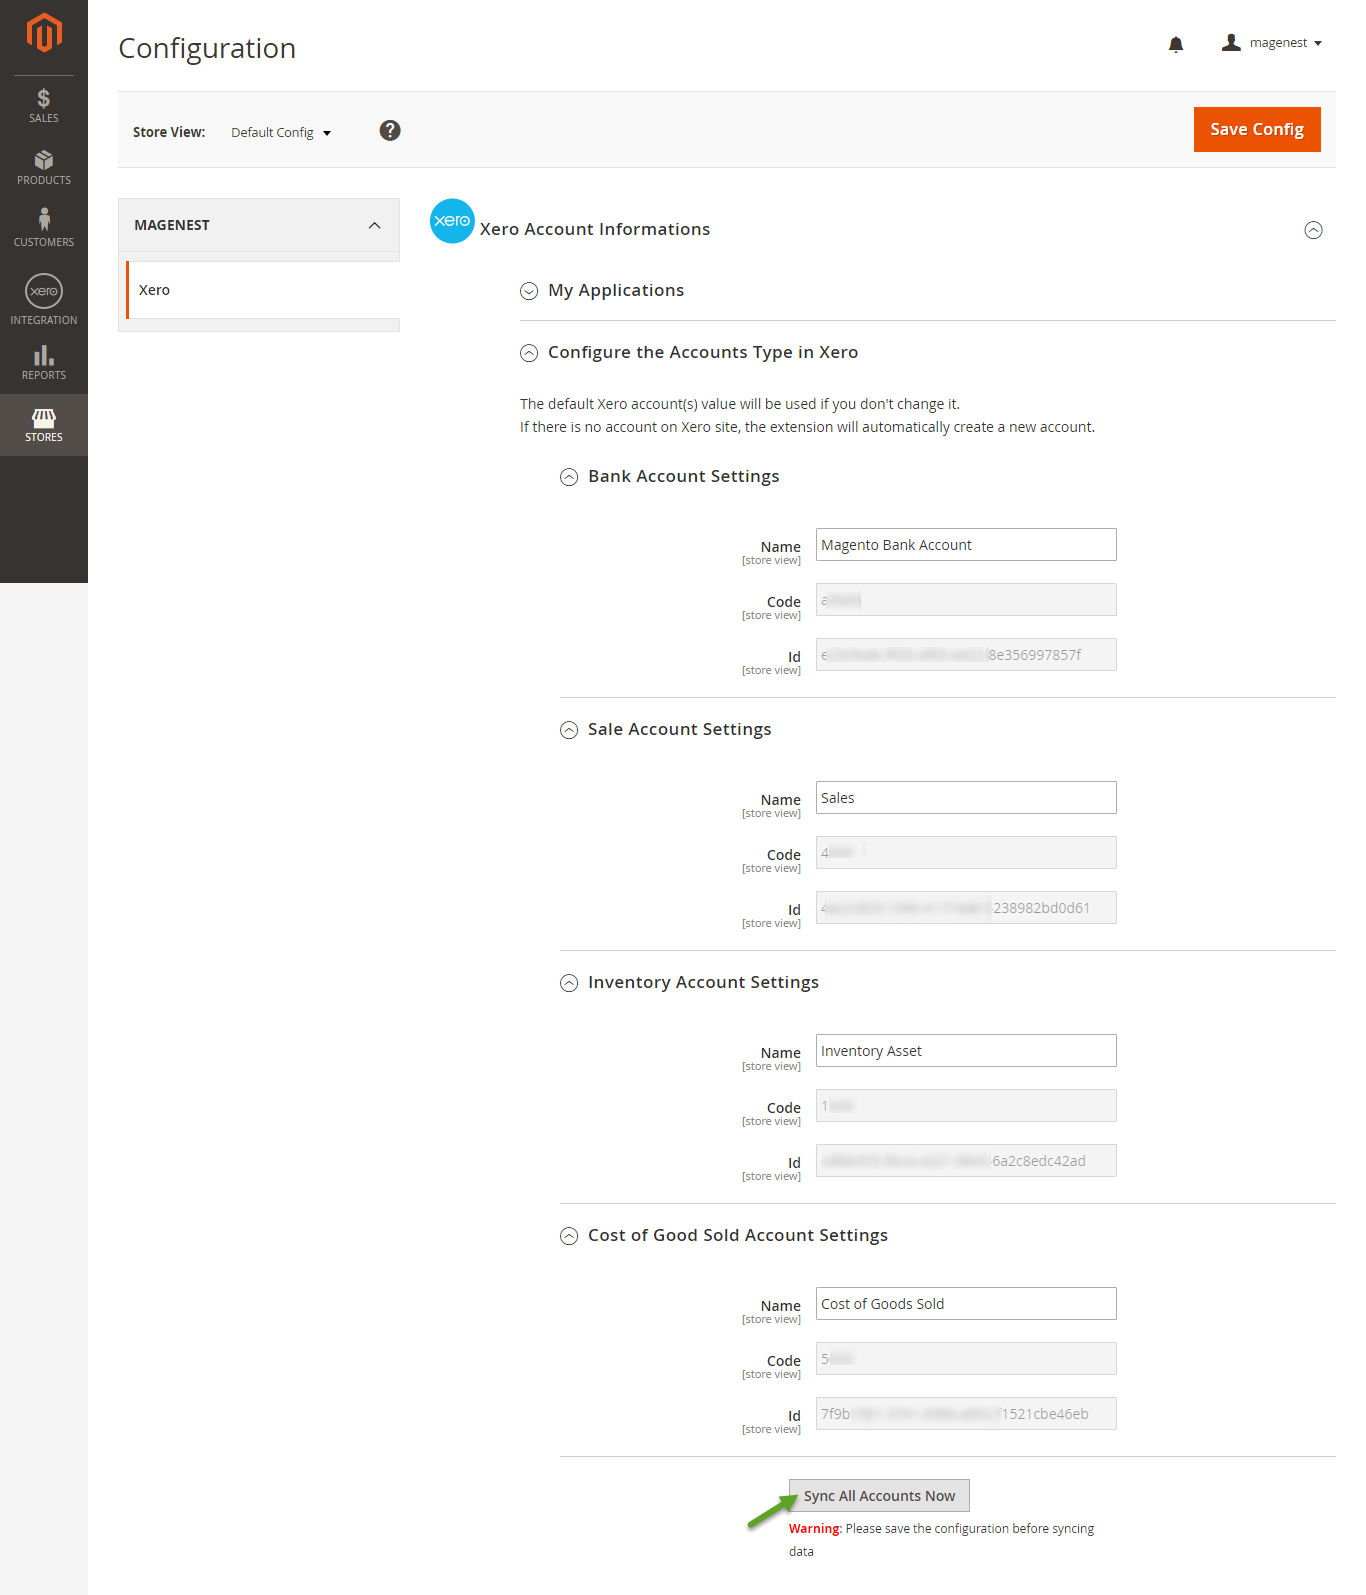
Enter name for each account then click on Sync All Accounts Now button. The default Xero account value will be used if you do not change it. If there is no account on Xero site, the extension will automatically create a new one.
...
Admins are able to decide whether to synchronize add any fields to Queue in Synchronization Settings tab: Customers, Products(Items in Xero), Orders, Invoices, Credit Memos. In addition, admins can choose the way to synchronize data between Immediately mode and Cron Job mode.
...
At the end of Configuration, admins can click on "Add All Data To Queue" button to add all data to Queue within a click.
...
If the App mode is Cron Job, this is place which the created, updated data is stored in and are waiting to be synced. If you wish to sync data right away, you can press Sync Now button.
Note that synchronizing will take some time, the length of time depends on the size of database.
...