Worldpay Payment and Subcriptions extension for Magento 2 by Magenest is a smart extension that helps customers to make payments online without wasting time.
It is wonderful when you are just at home but that you can purchase everywhere in the world only by clicking. Our product provides great utilities like.
Extension's page: Worldpay Payment and Subcriptions
Hightlight Features
Your store should be running on Magento 2 Community Edition version 2.0.x or 2.1.x.
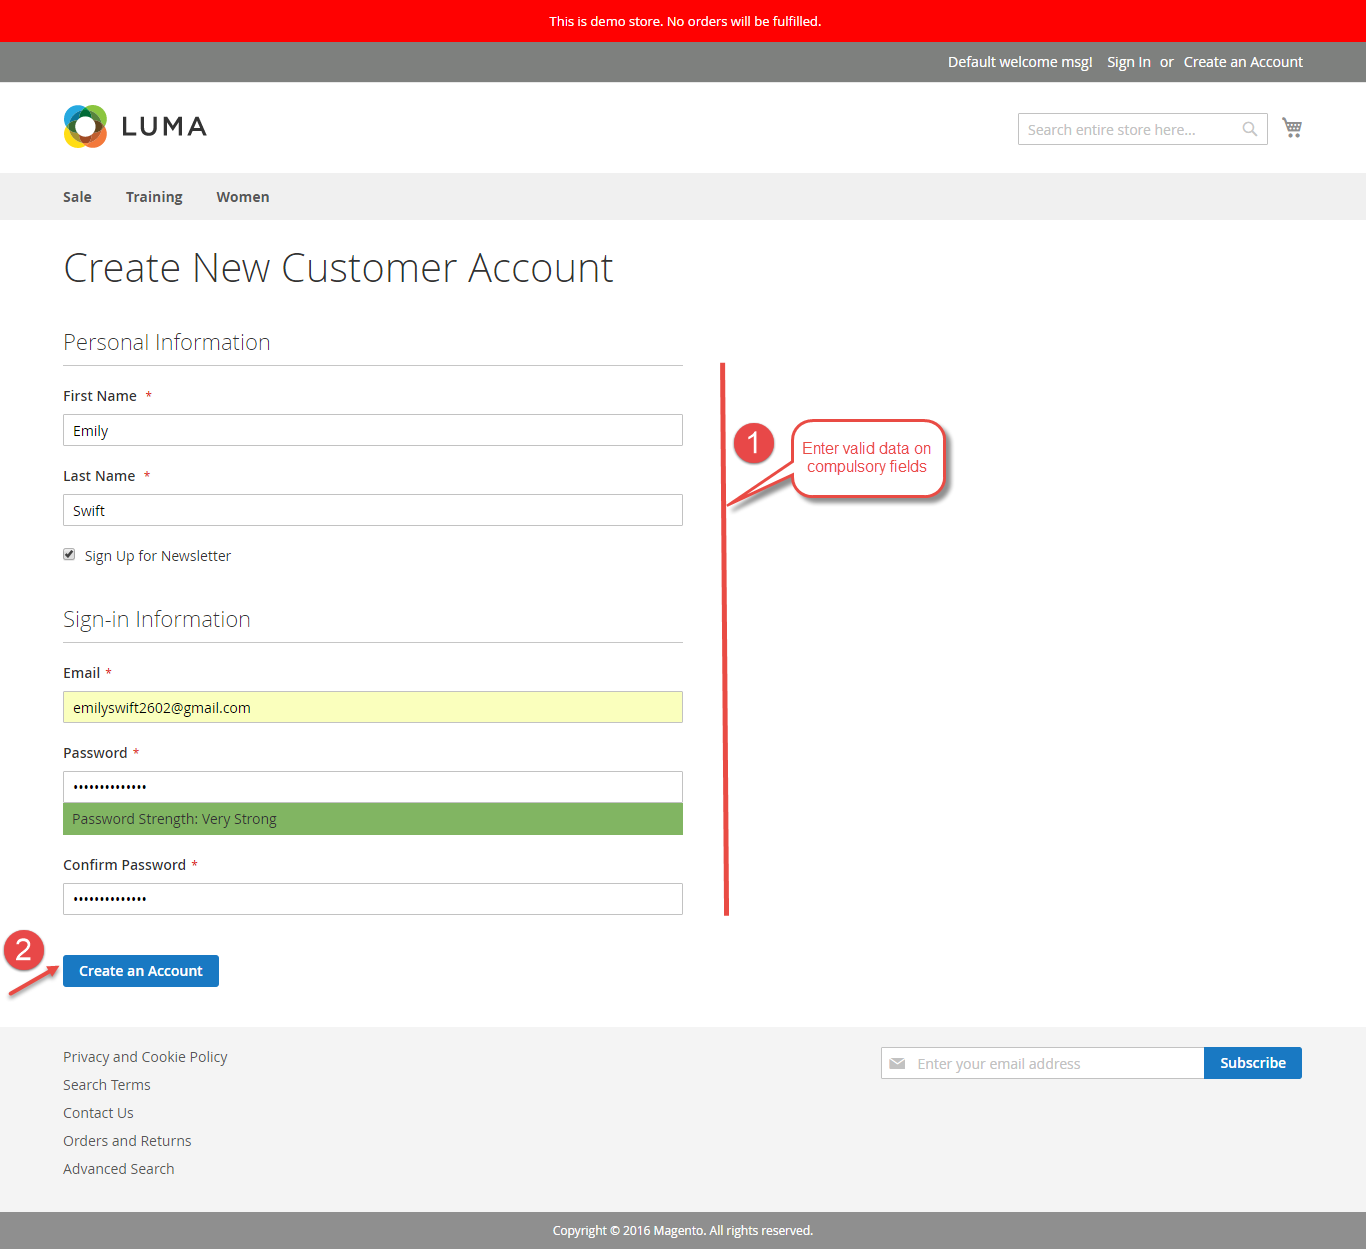
It is necessary to create a new customer account for connection between Magento 2 and WorldPay.
First of all, go to https://worldpay-payment-and-subcriptions.com and register an WorldPay accounts (click on "Create an account"). If you already have an account, you can skip this step.
Fill in the form the information of your Organization and press "Create an Account". If everything is right, WorldPay will inform you to check your email and activate your account.

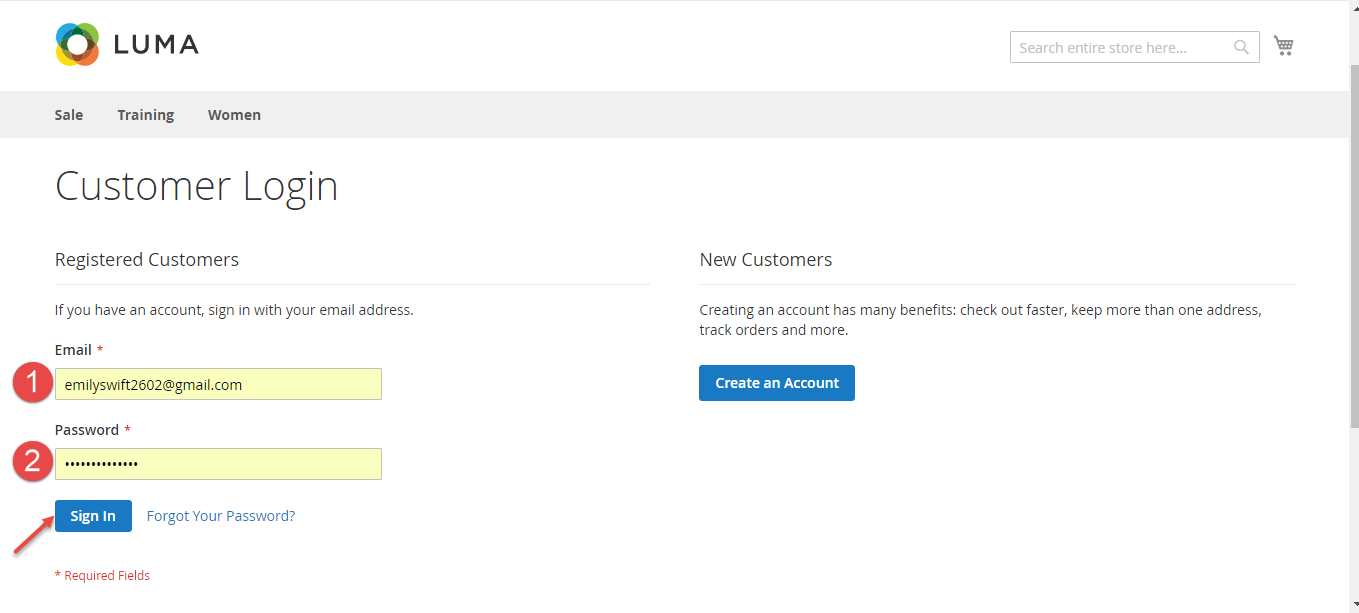
When your account is activated, you can login on the page https://worldpay-payment-and-subcriptions.com
.
.
Go to Worldpay Payment Gateway > Settings > Configuration:

In Configuaration, we click on Payment Methods to install payment. On Merchant Location, we choose Merchant Country where the vendors are
On WorldpayOnline Payments, choose Live Mode and Enter Live Service Key and Live Client Key and then follow the instruction from step from step 1 to step 12 and click on Save Config button to
save install configuaration.
How to distinguish between Immediately mode and Cron Job mode.
Some application mode like private mode only allows 1000 requests a day. Choosing Cron Job will guarantee all data will be synced. We recommend you should use Cron Job mode to make sure that you don't run out of request per day.
At the end of Configuration, admins can use "Add All Data To Queue" button to add all existed data to Queue, including Customers, Products, Orders, Invoices, Credit Memos.
If the App mode is Cron Job, Queue page is the place which the created, updated data is stored in and are waiting to be synced. If you wish to sync data right away, you can press Sync Now button.
Note that synchronizing will take some time, the length of time depends on the size of database.
When the process is done, go to Xero Integration > View Log check what is synced in the grid.
Moreover, admin can easily check the synchronization with View Request Daily button and View On Xero button.
Navigate to Xero Integration > Request Daily Report, admins can easily follow their sychronization status.
Or you can click on Sync Now button of each customer to synchronize a specific customer data manually.
Admins can synchronize a specific order by manually, click on Sync Now button on each order.
For each product, this extension created Xero Integration tab that allows admins to synchronize a specific product to Xero.
Synchronizing a specific data is the same with Invoice.
Once again, thank you for purchasing our extension. If you have any questions relating to this extension, please do not hesitate to contact us for support.