Thank you for purchasing our extension. If you have any questions that are beyond the scope of this document, do not hesitate to leave us an email via our email address below.
Created: 05/05/2017 | By: Magenest | Support Portal:http://servicedesk.izysync.com/servicedesk/customer/portal/117
Introduction
PayPlug Payment Gateway of Magenest is a payment processing extension that handles different transactions for a variety of reasons.
From donation campaigns to online merchants, to events, PayPlug is a great platform to start accepting payments online.

Extension's page:
Highlight Features
PayPlug has two payment method: Iframe checkout and Redirect checkout.
- Full refund, partial refund
- Fill card, payment
View order status.
Allowed credit card types.
Enable CVC verification.
System Requirements
Your store should be running on Magento 2 Community Edition version 2.1.x.
How to create PayPlug's account
Sign up the PayPlug account
You must have an existing PayPlug account to use this extension. If you don't have a PayPlug account, you can create one by go to: https://www.payplug.com

Fill valid personal information and click Sign up button to register a new account. Your account is active.
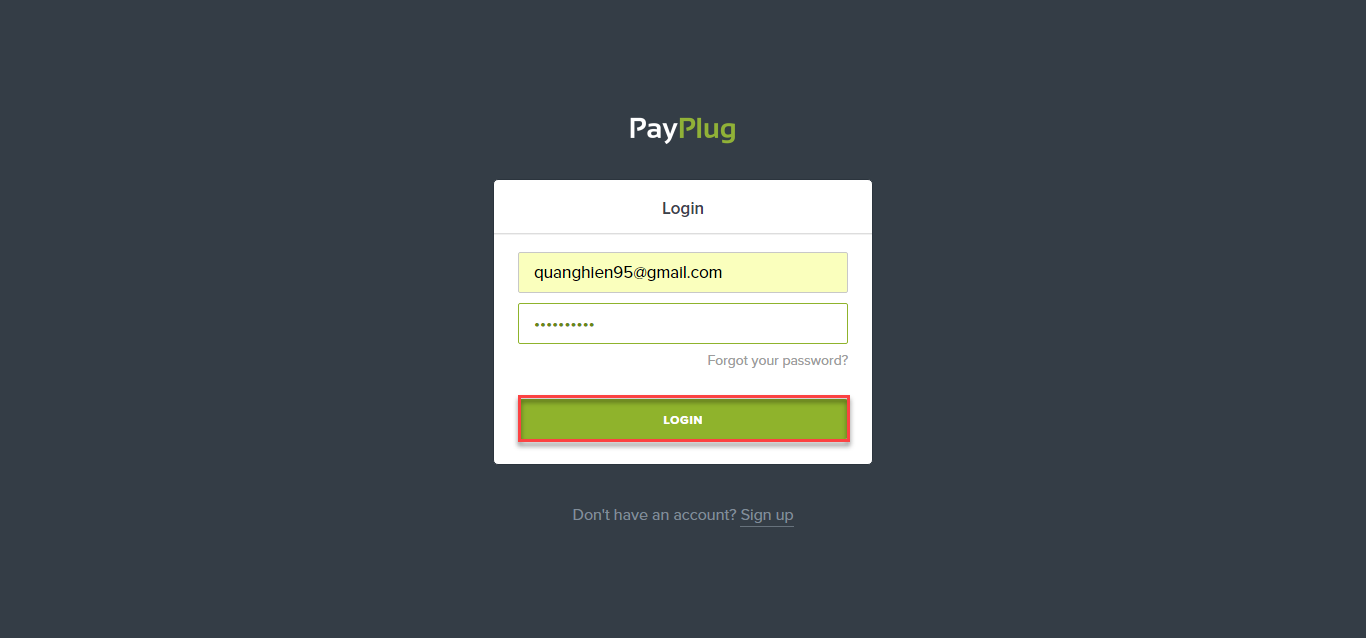
Sign in PayPlug
When you have registered account, you log in PayPlug by clicking link: https://www.payplug.com/portal/login
Backend
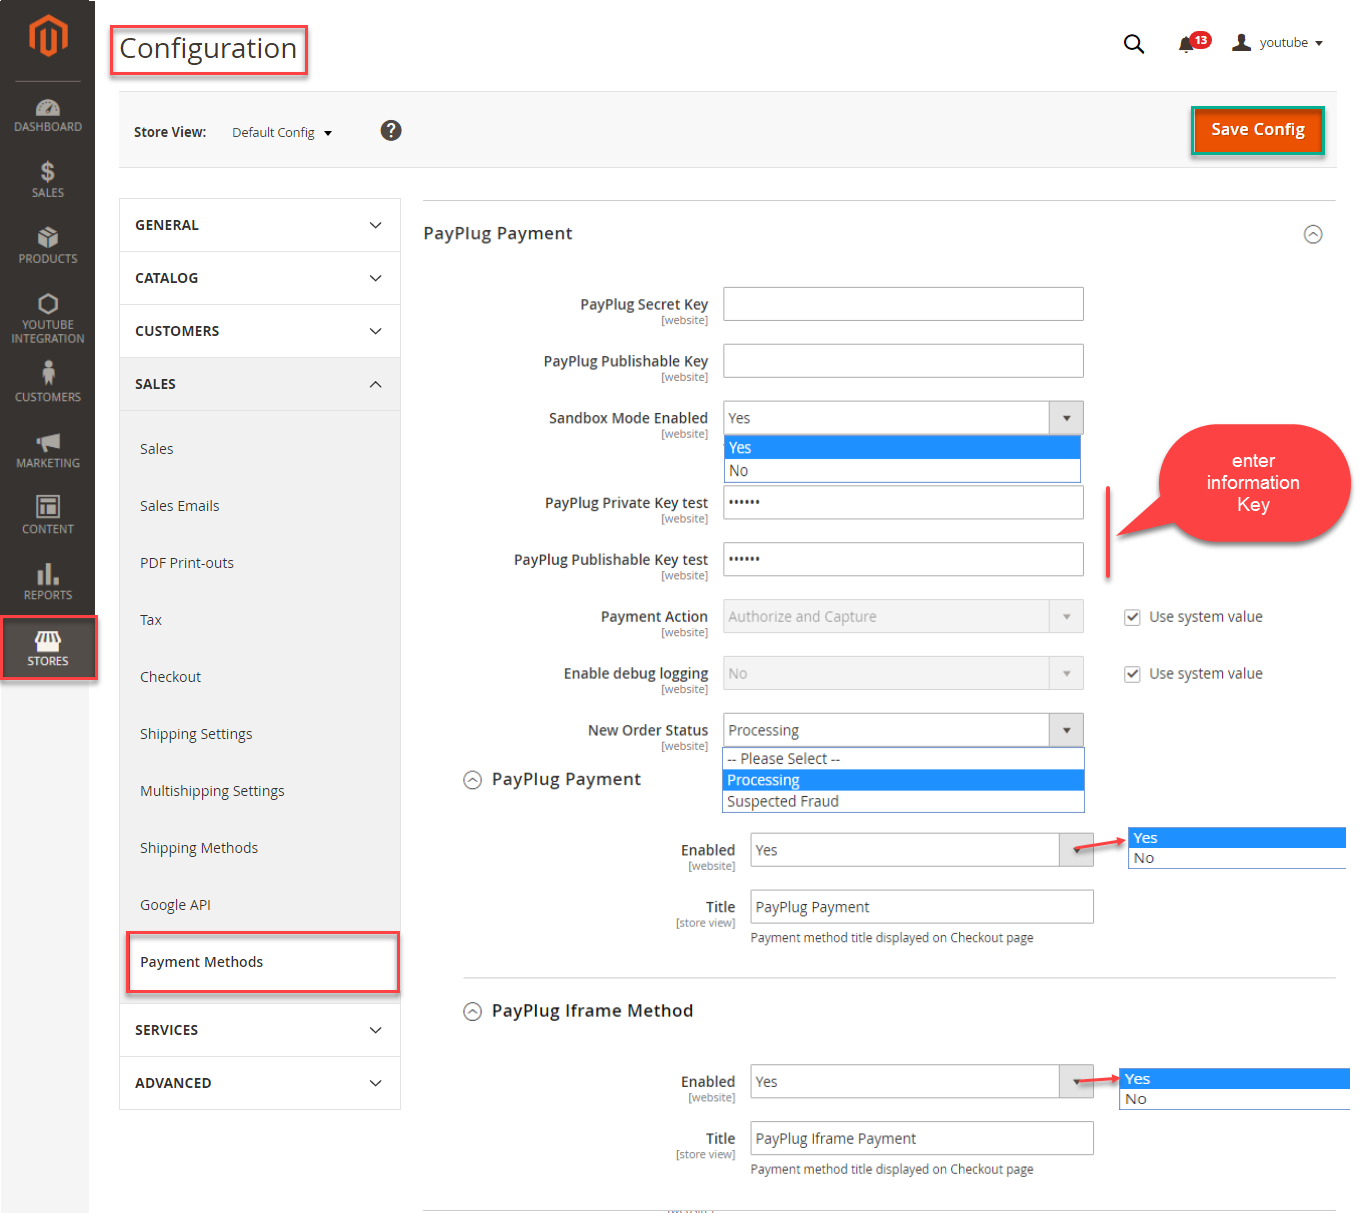
Configuration:
Log in PayPlug and choose API Credentials to take information about Private key and Publishable key to config your account in the backend.

Frontend Usage
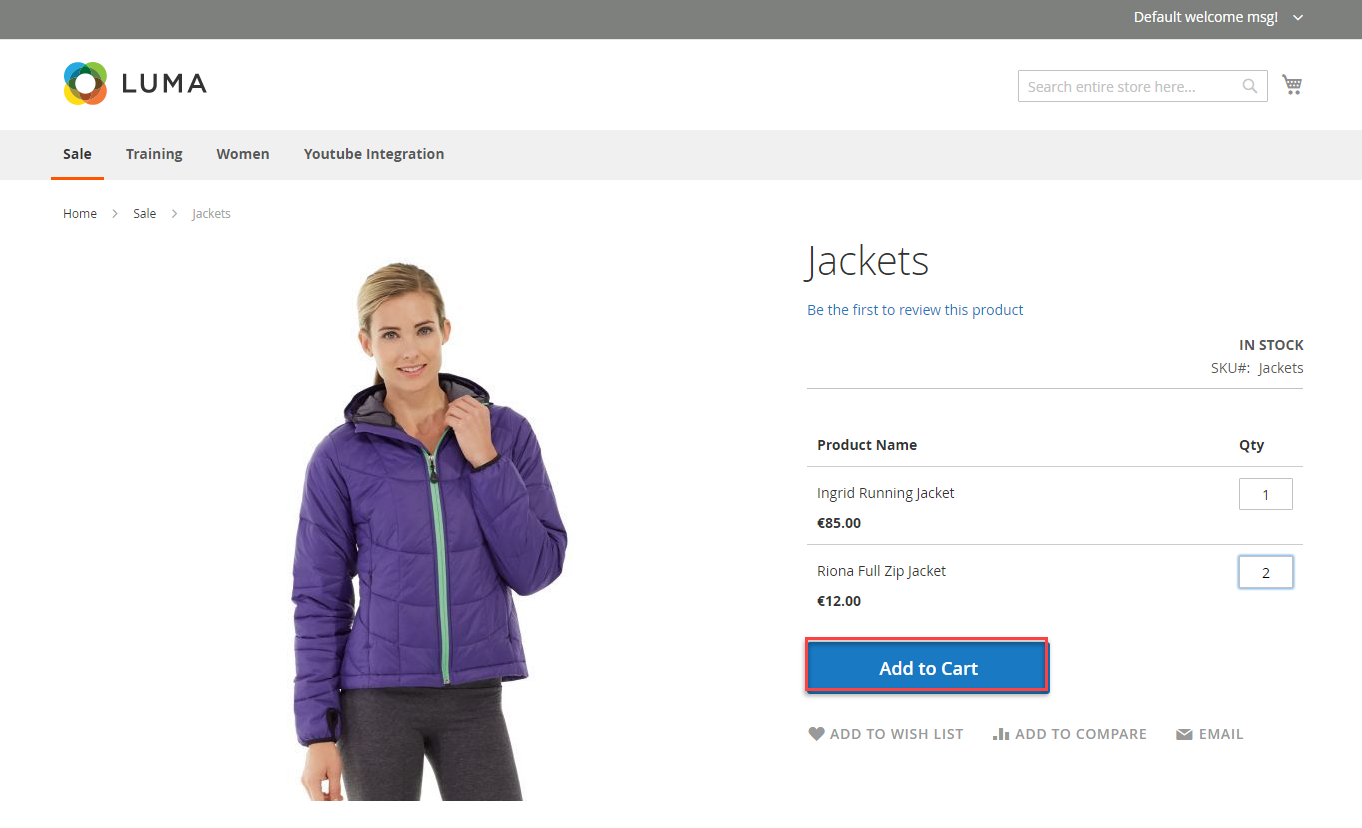
When you buy the product. Please remember to choose it and add the product to cart.
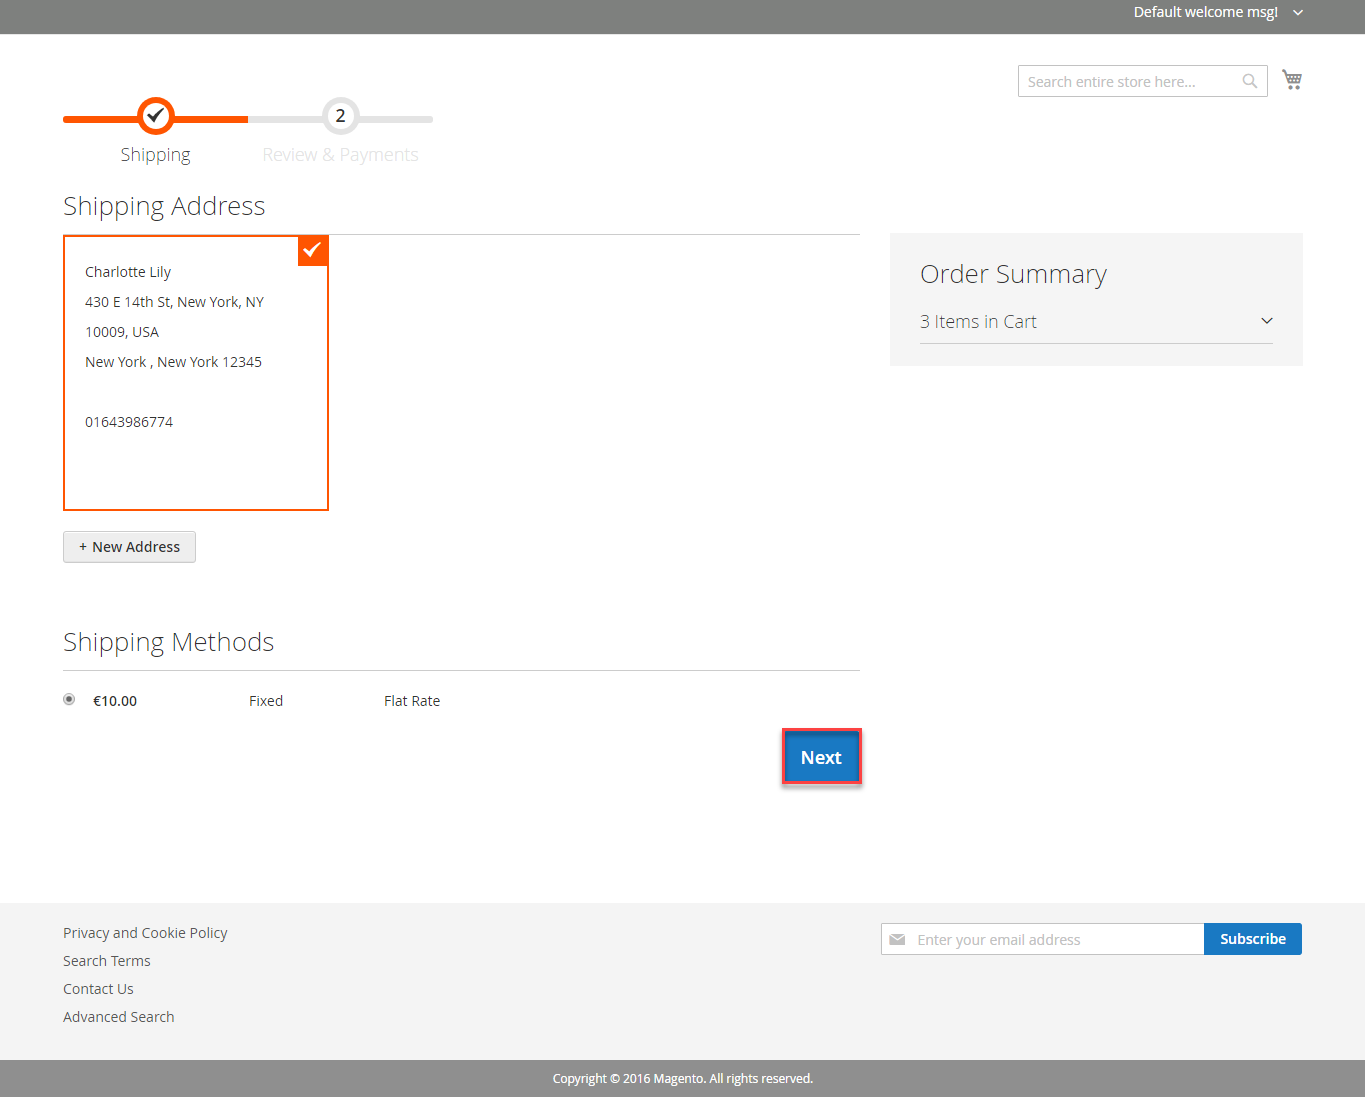
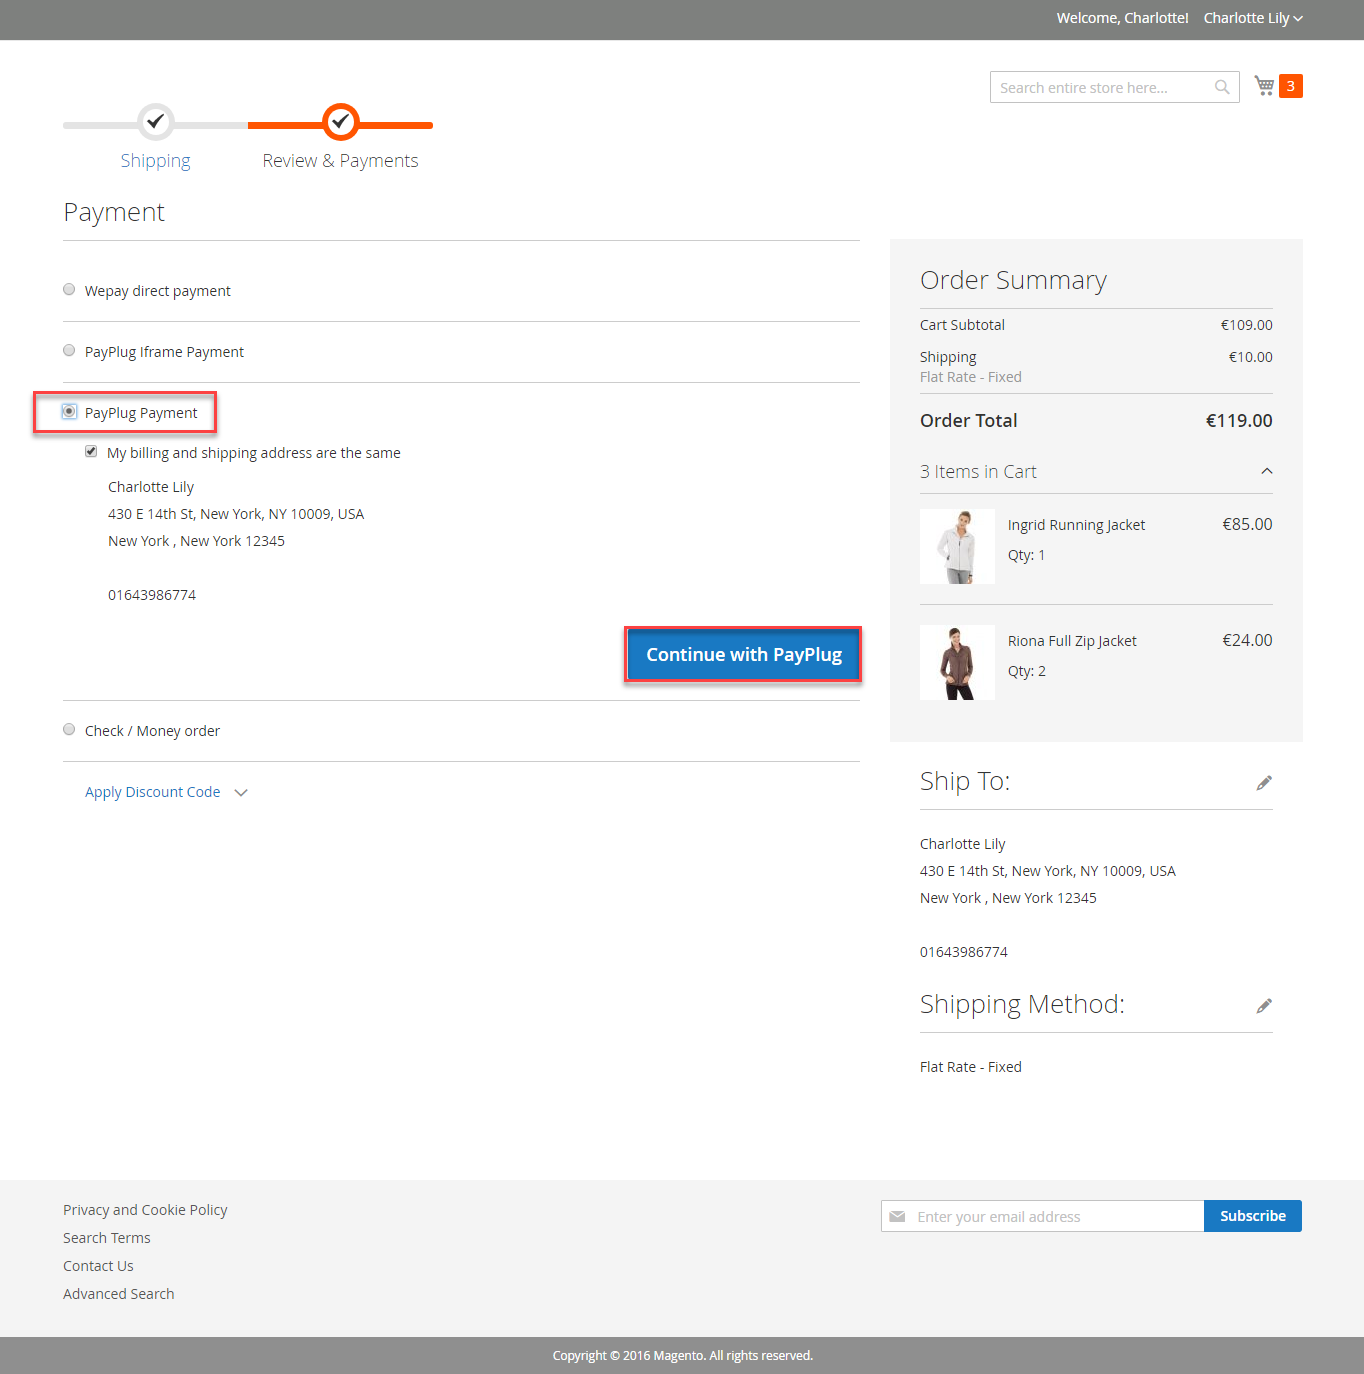
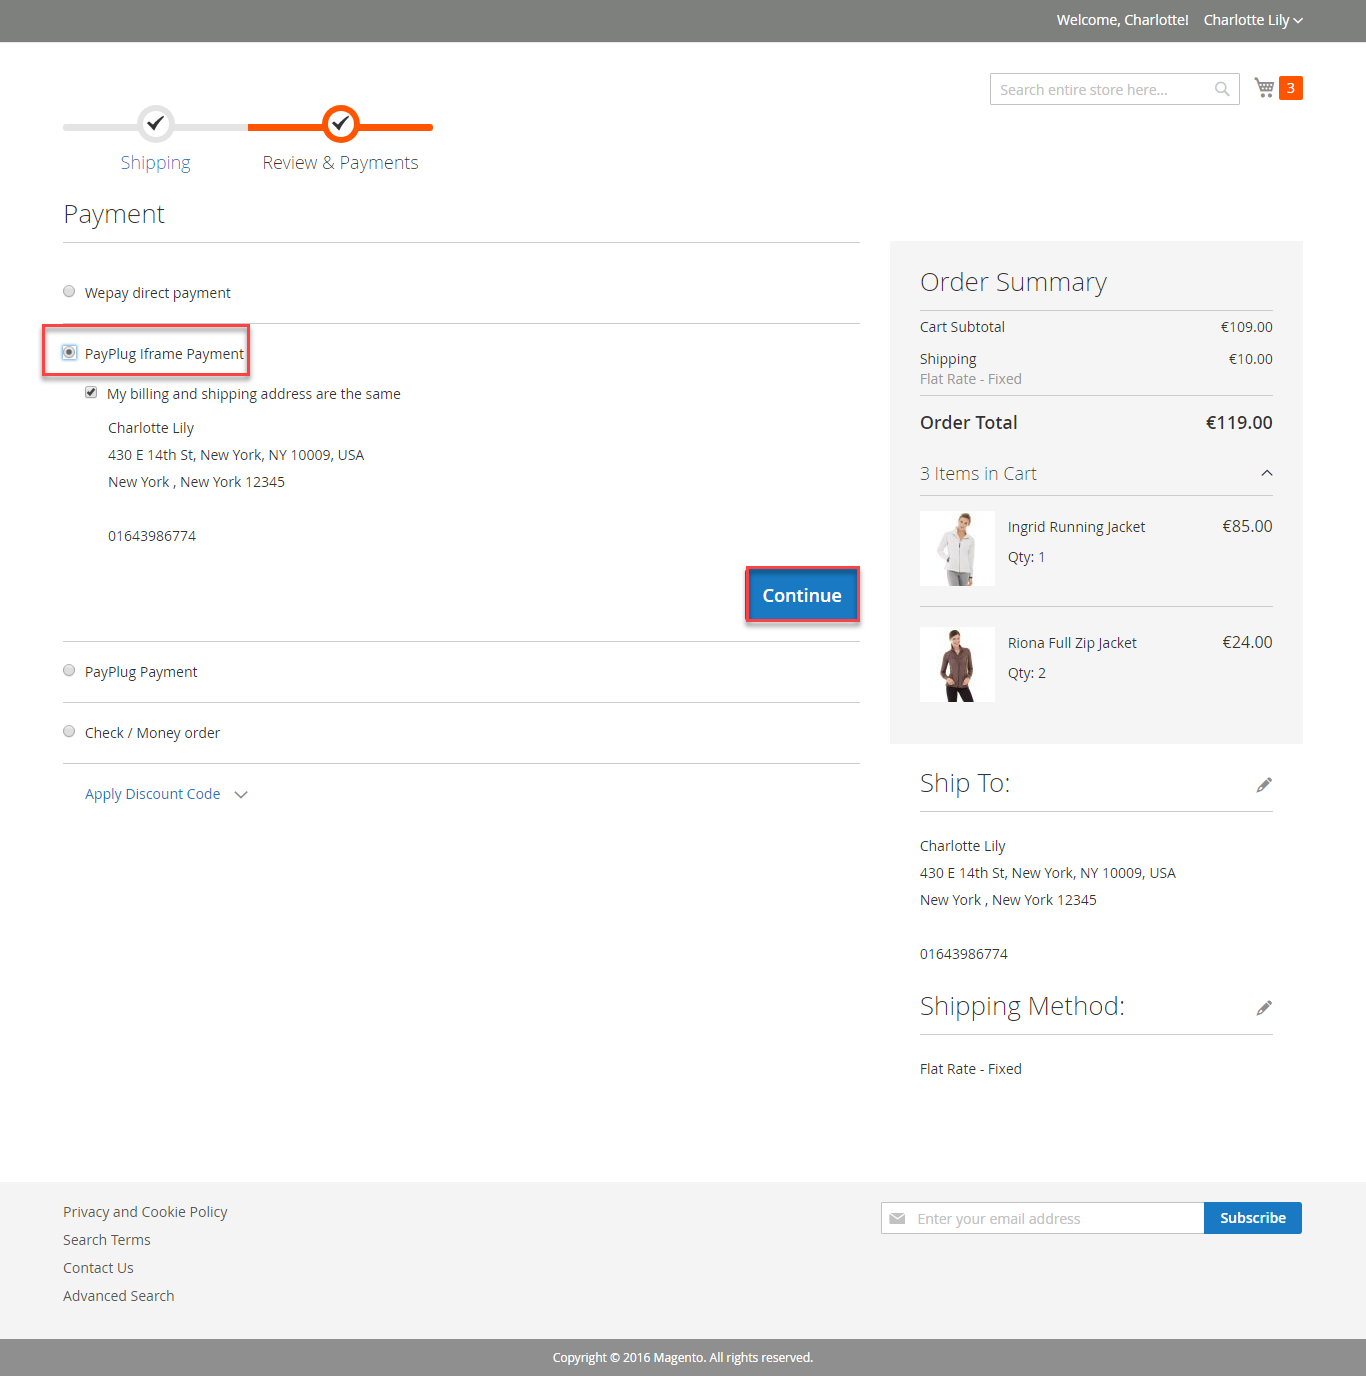
Then, go to checkout and select PayPlug Iframe payment or PayPlug payment.
![]() PayPlug payment
PayPlug payment
Customer click Continue with Payplug button.
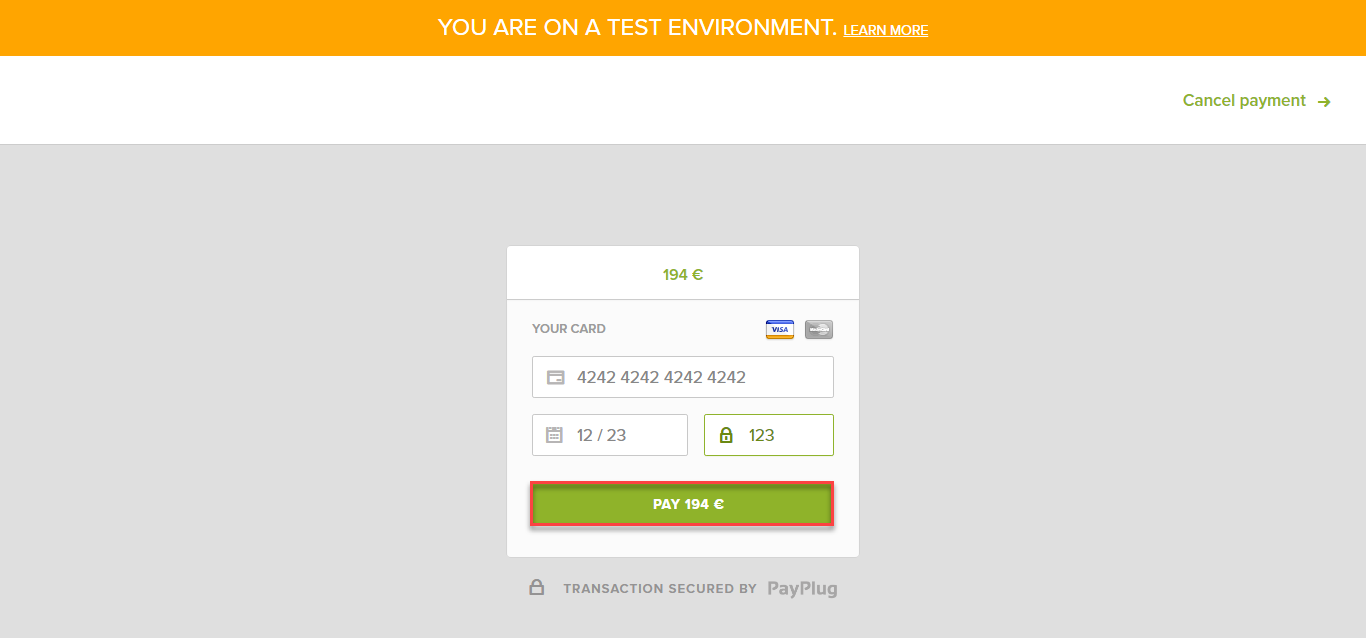
Then enter card number, expiration Data, CVC and click Pay button.
![]() PayPlug Iframe
PayPlug Iframe
Customer click Continue button.
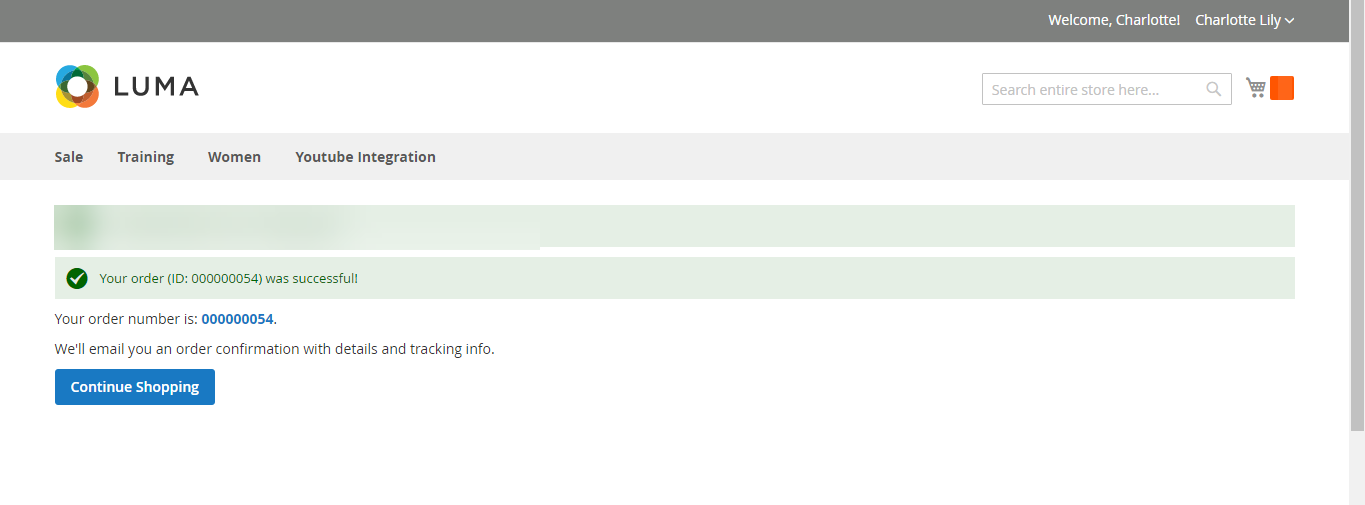
Then enter card number, expiration Data, CVC and click Pay button

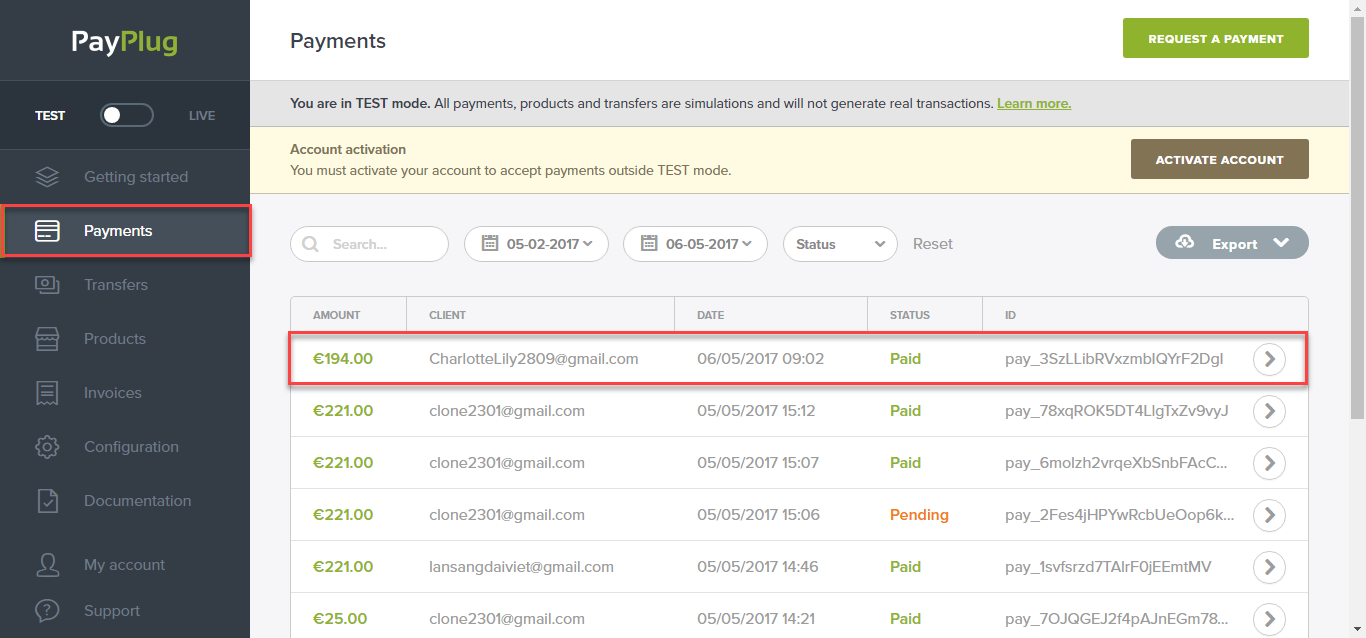
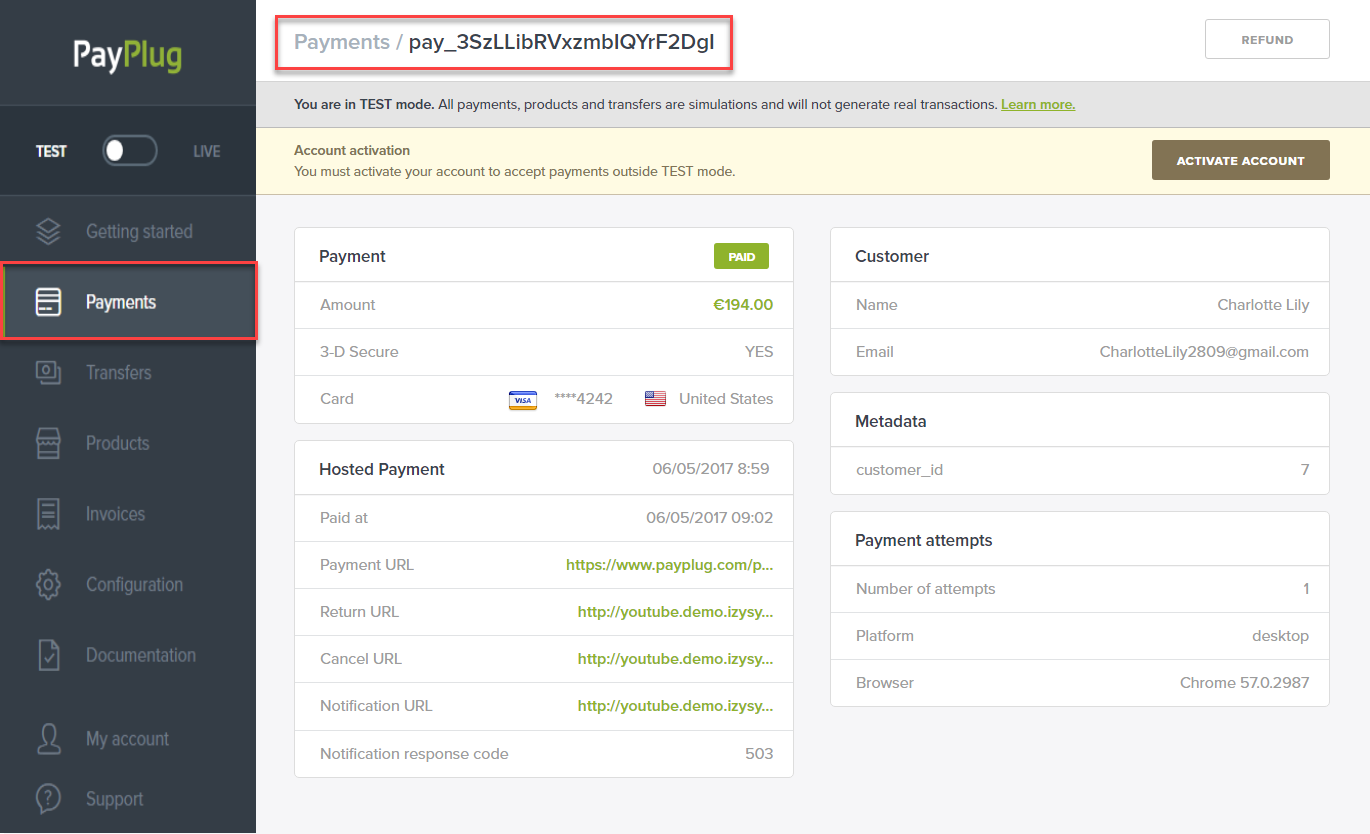
To view your order, you log in https://www.payplug.com and choose Data.
Or On the Dashboard of backend, click Sales->Orders-> View

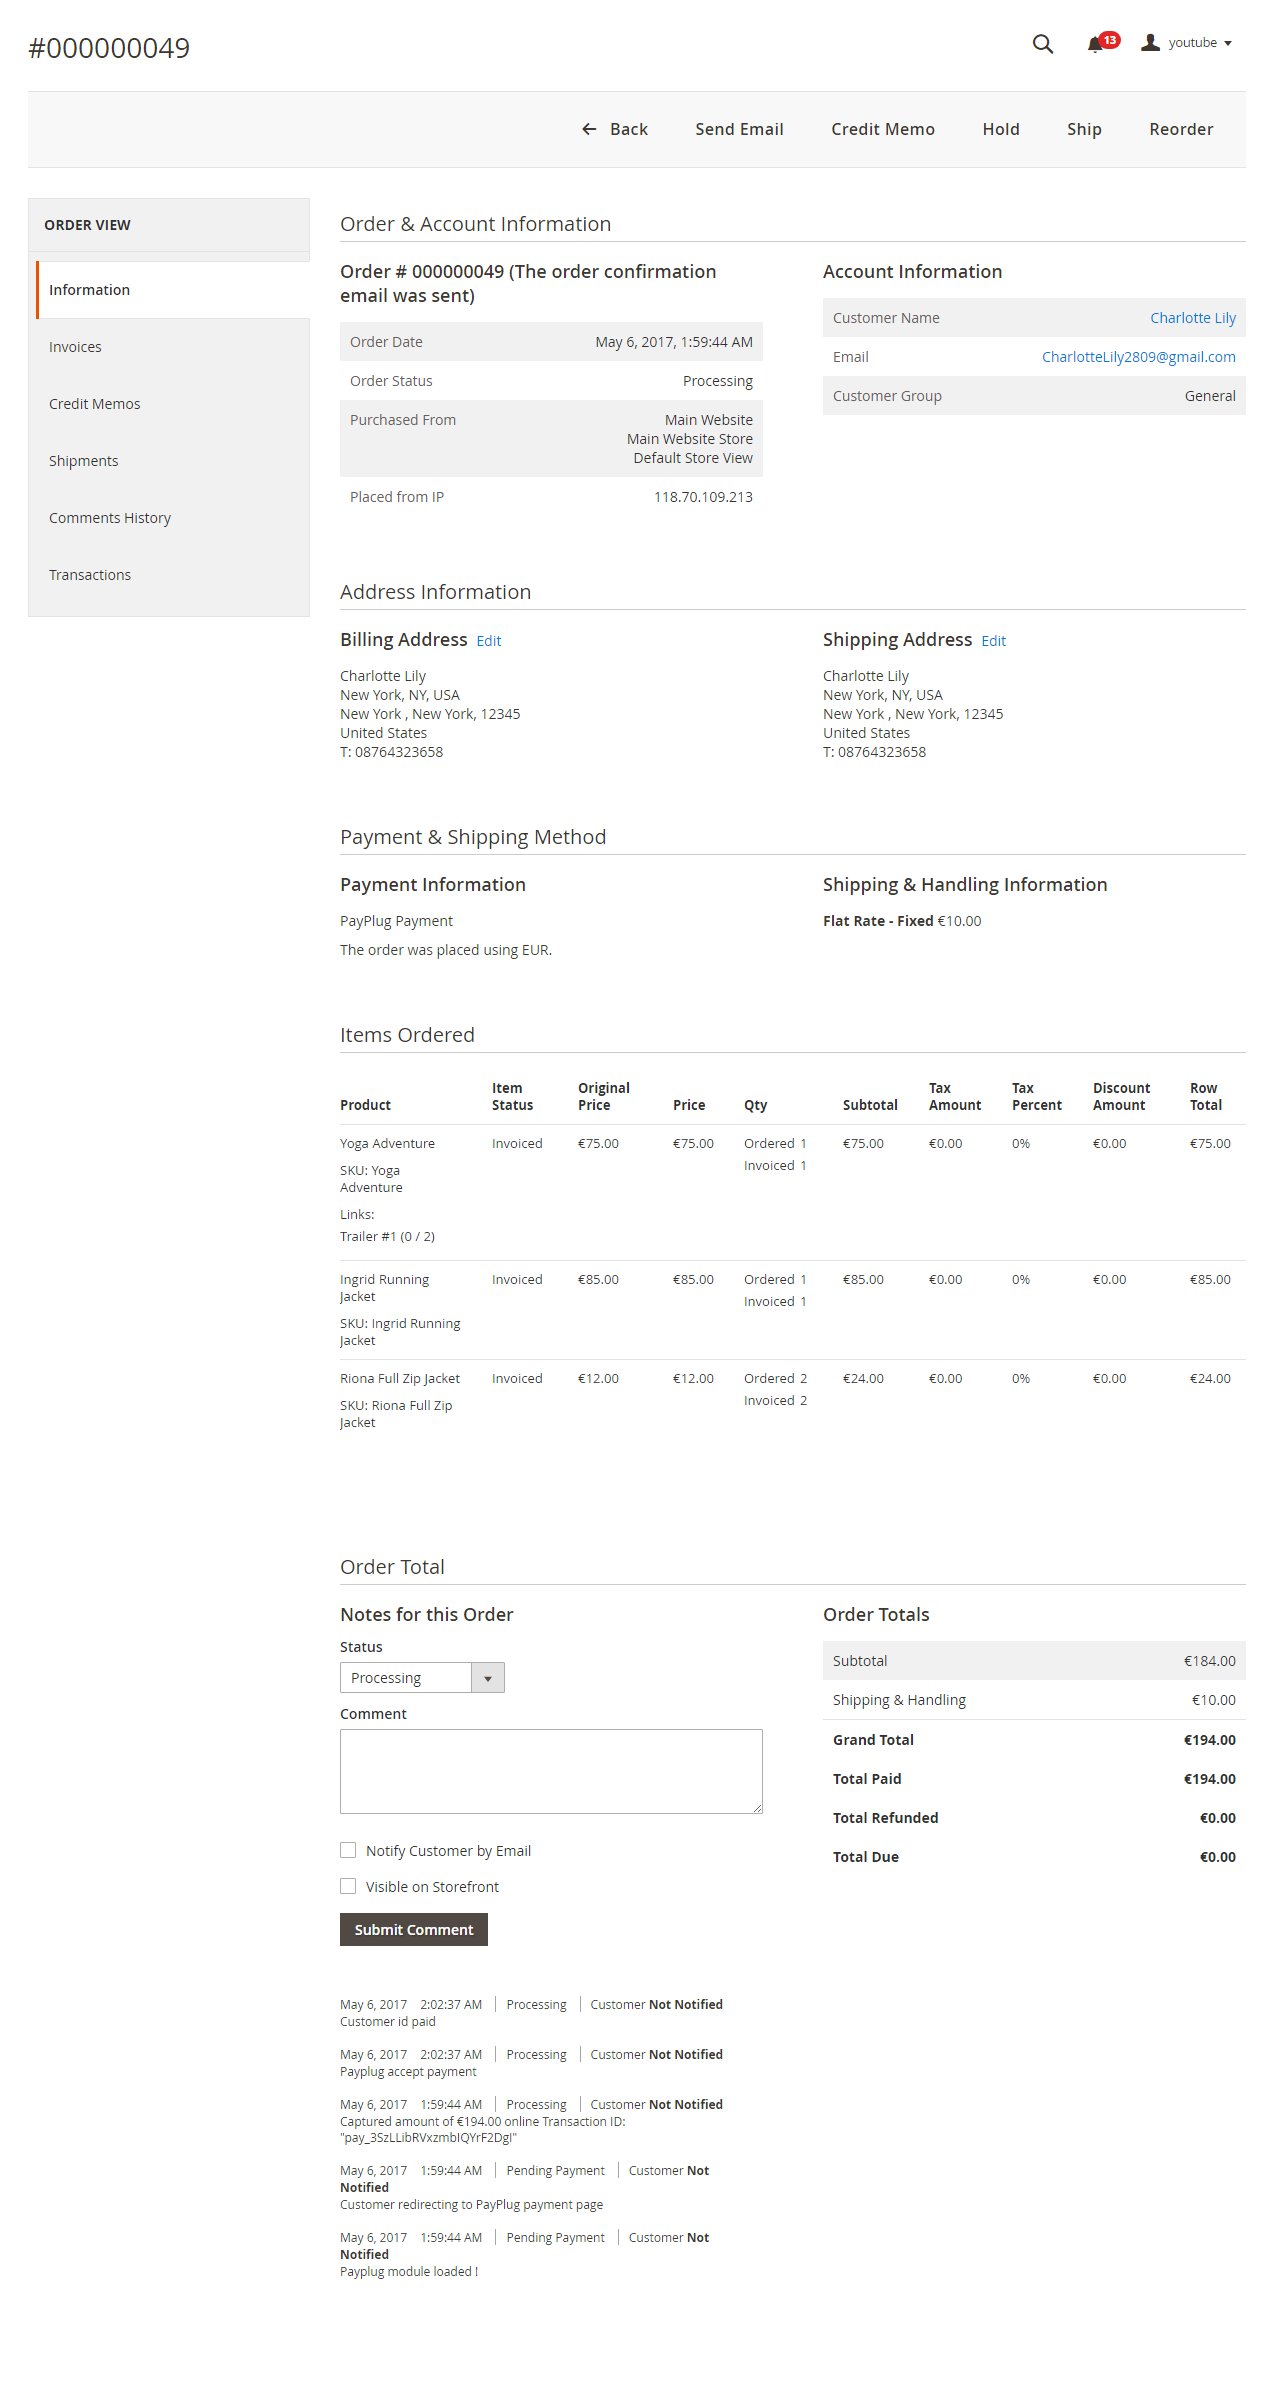
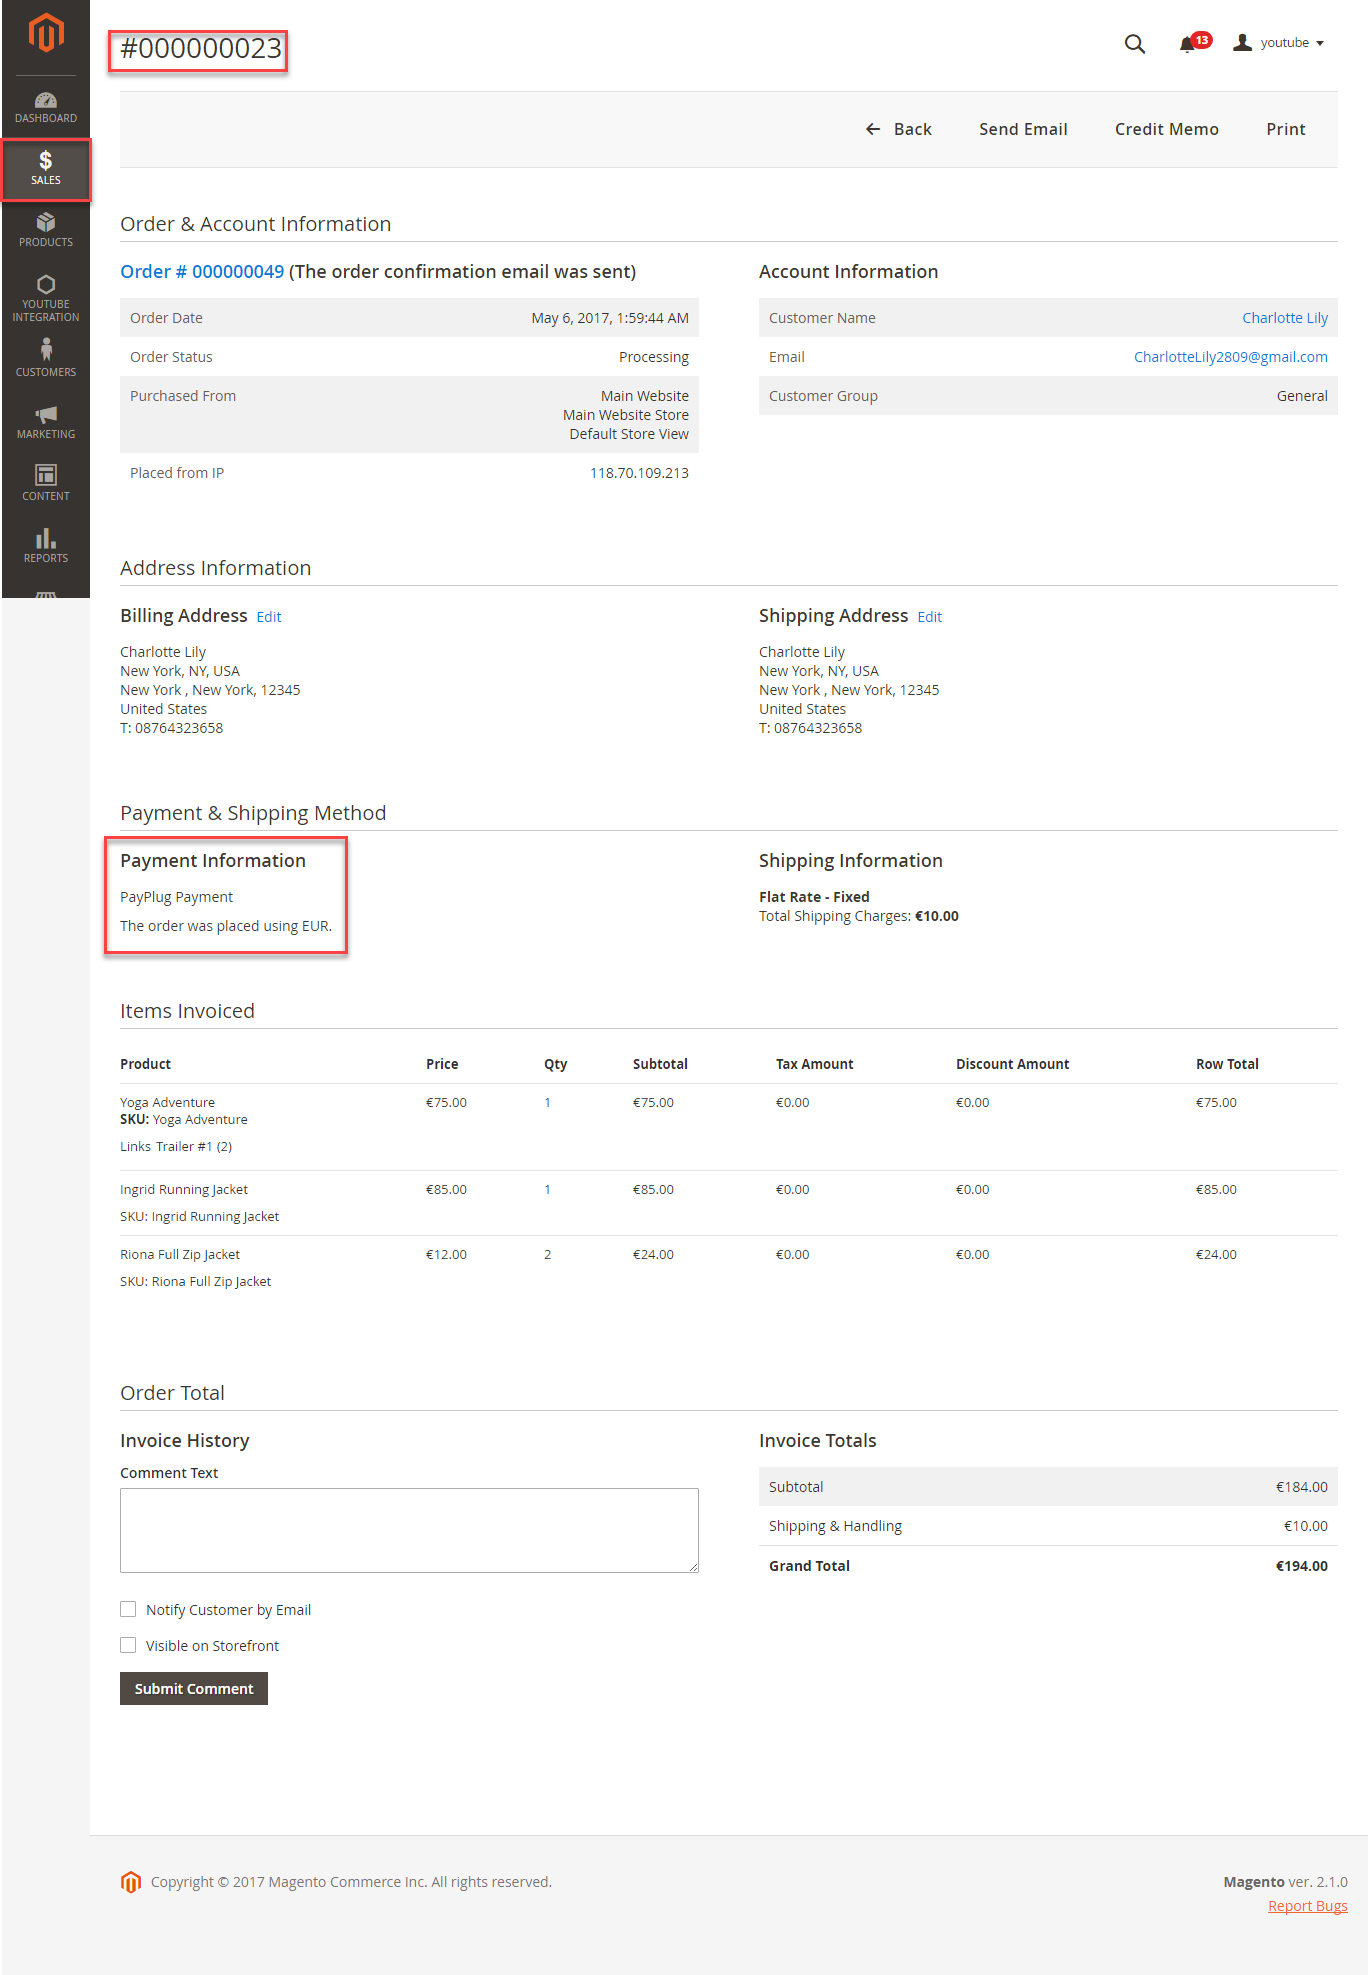
When payment action is Authorize and Capture: admin only view Invoice and click Credit Memo->Refund.
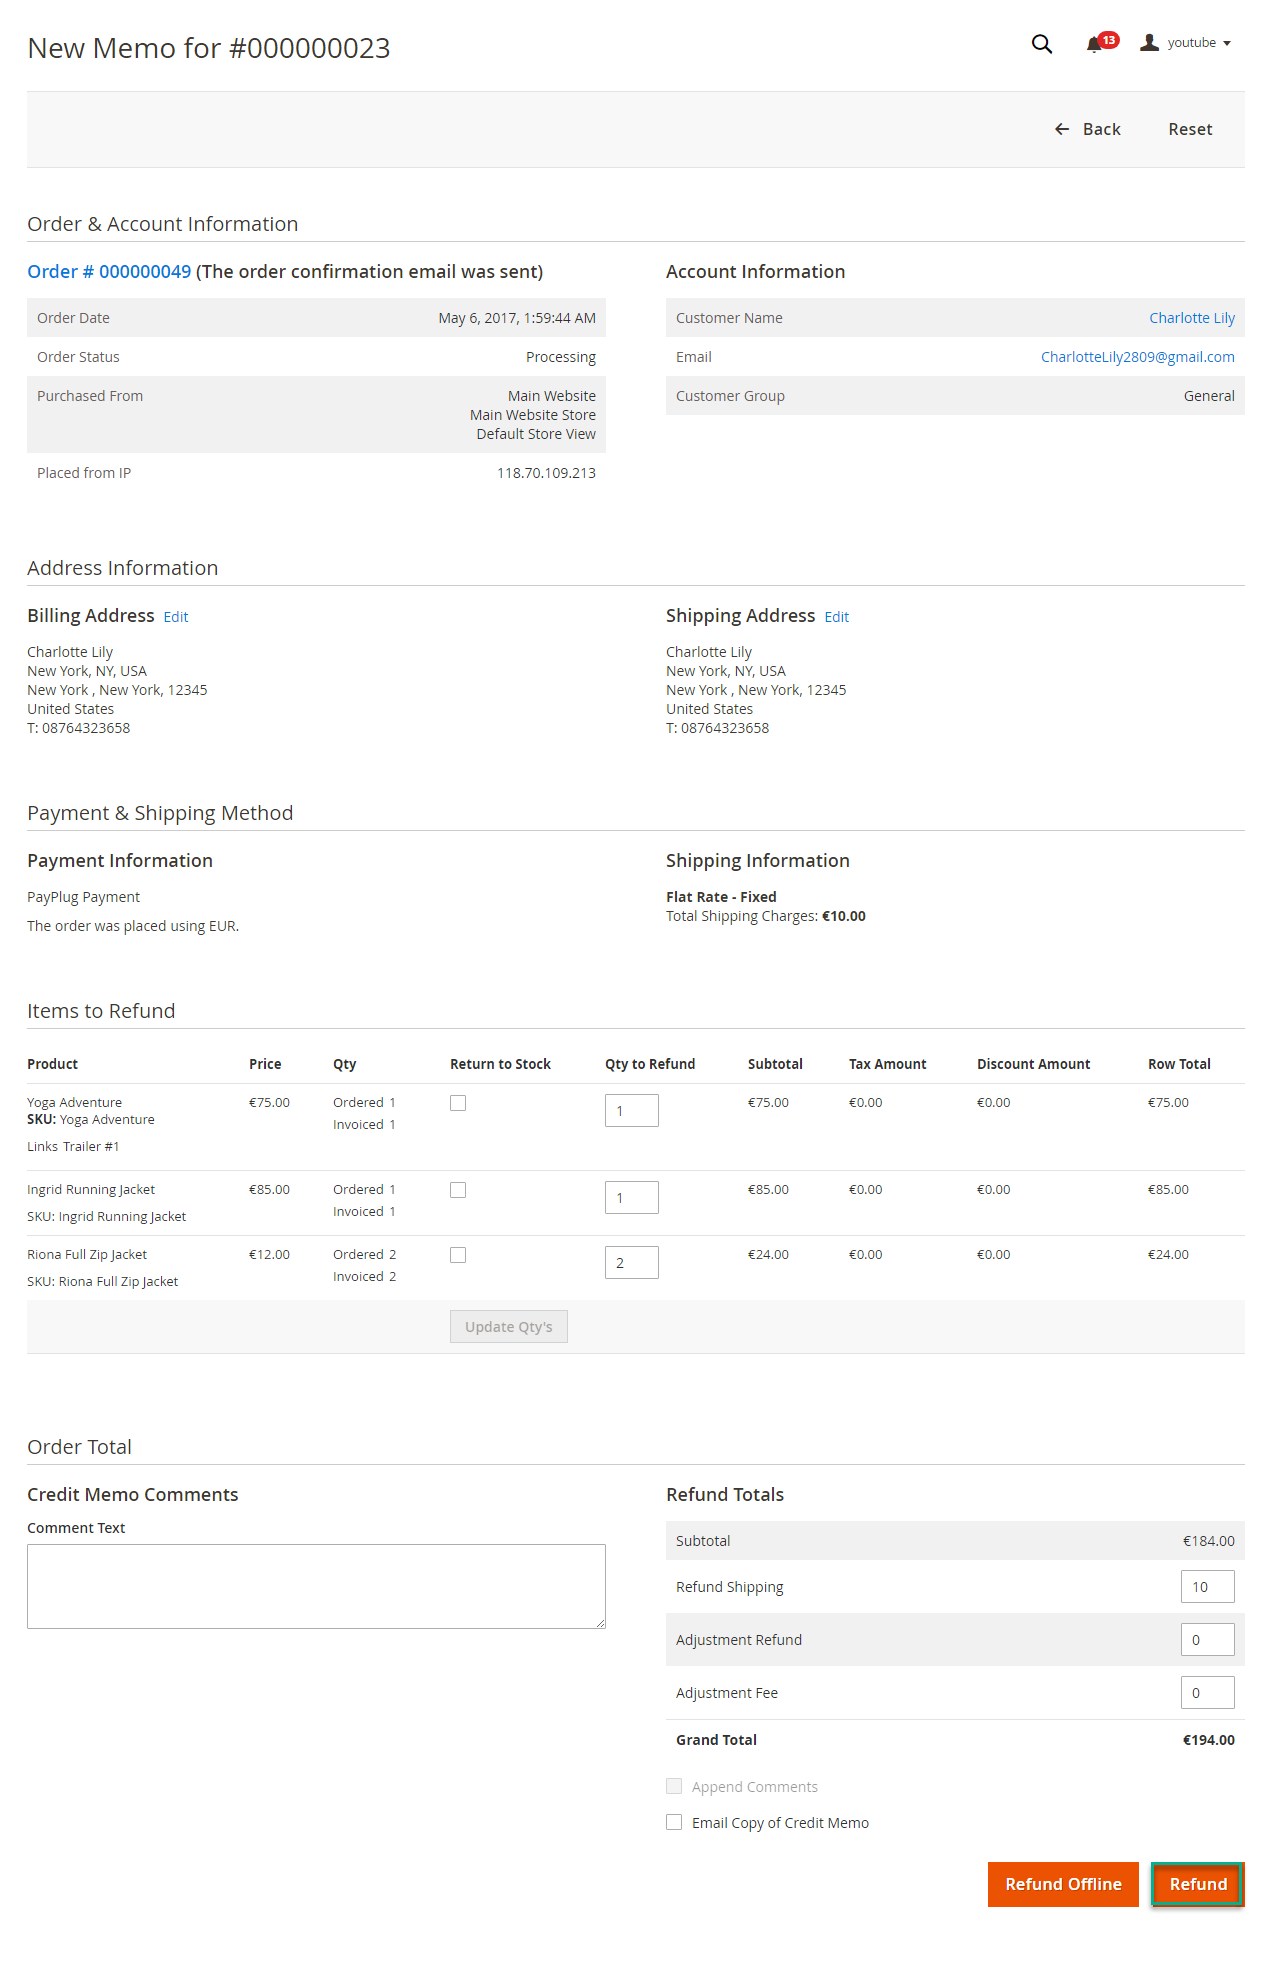
In PayPlug, there are two methods: total refund and partial refund
If the admin wants to refund all products in order, admin click on the Refund
If admin wants to refund partially, admin follow the below picture:
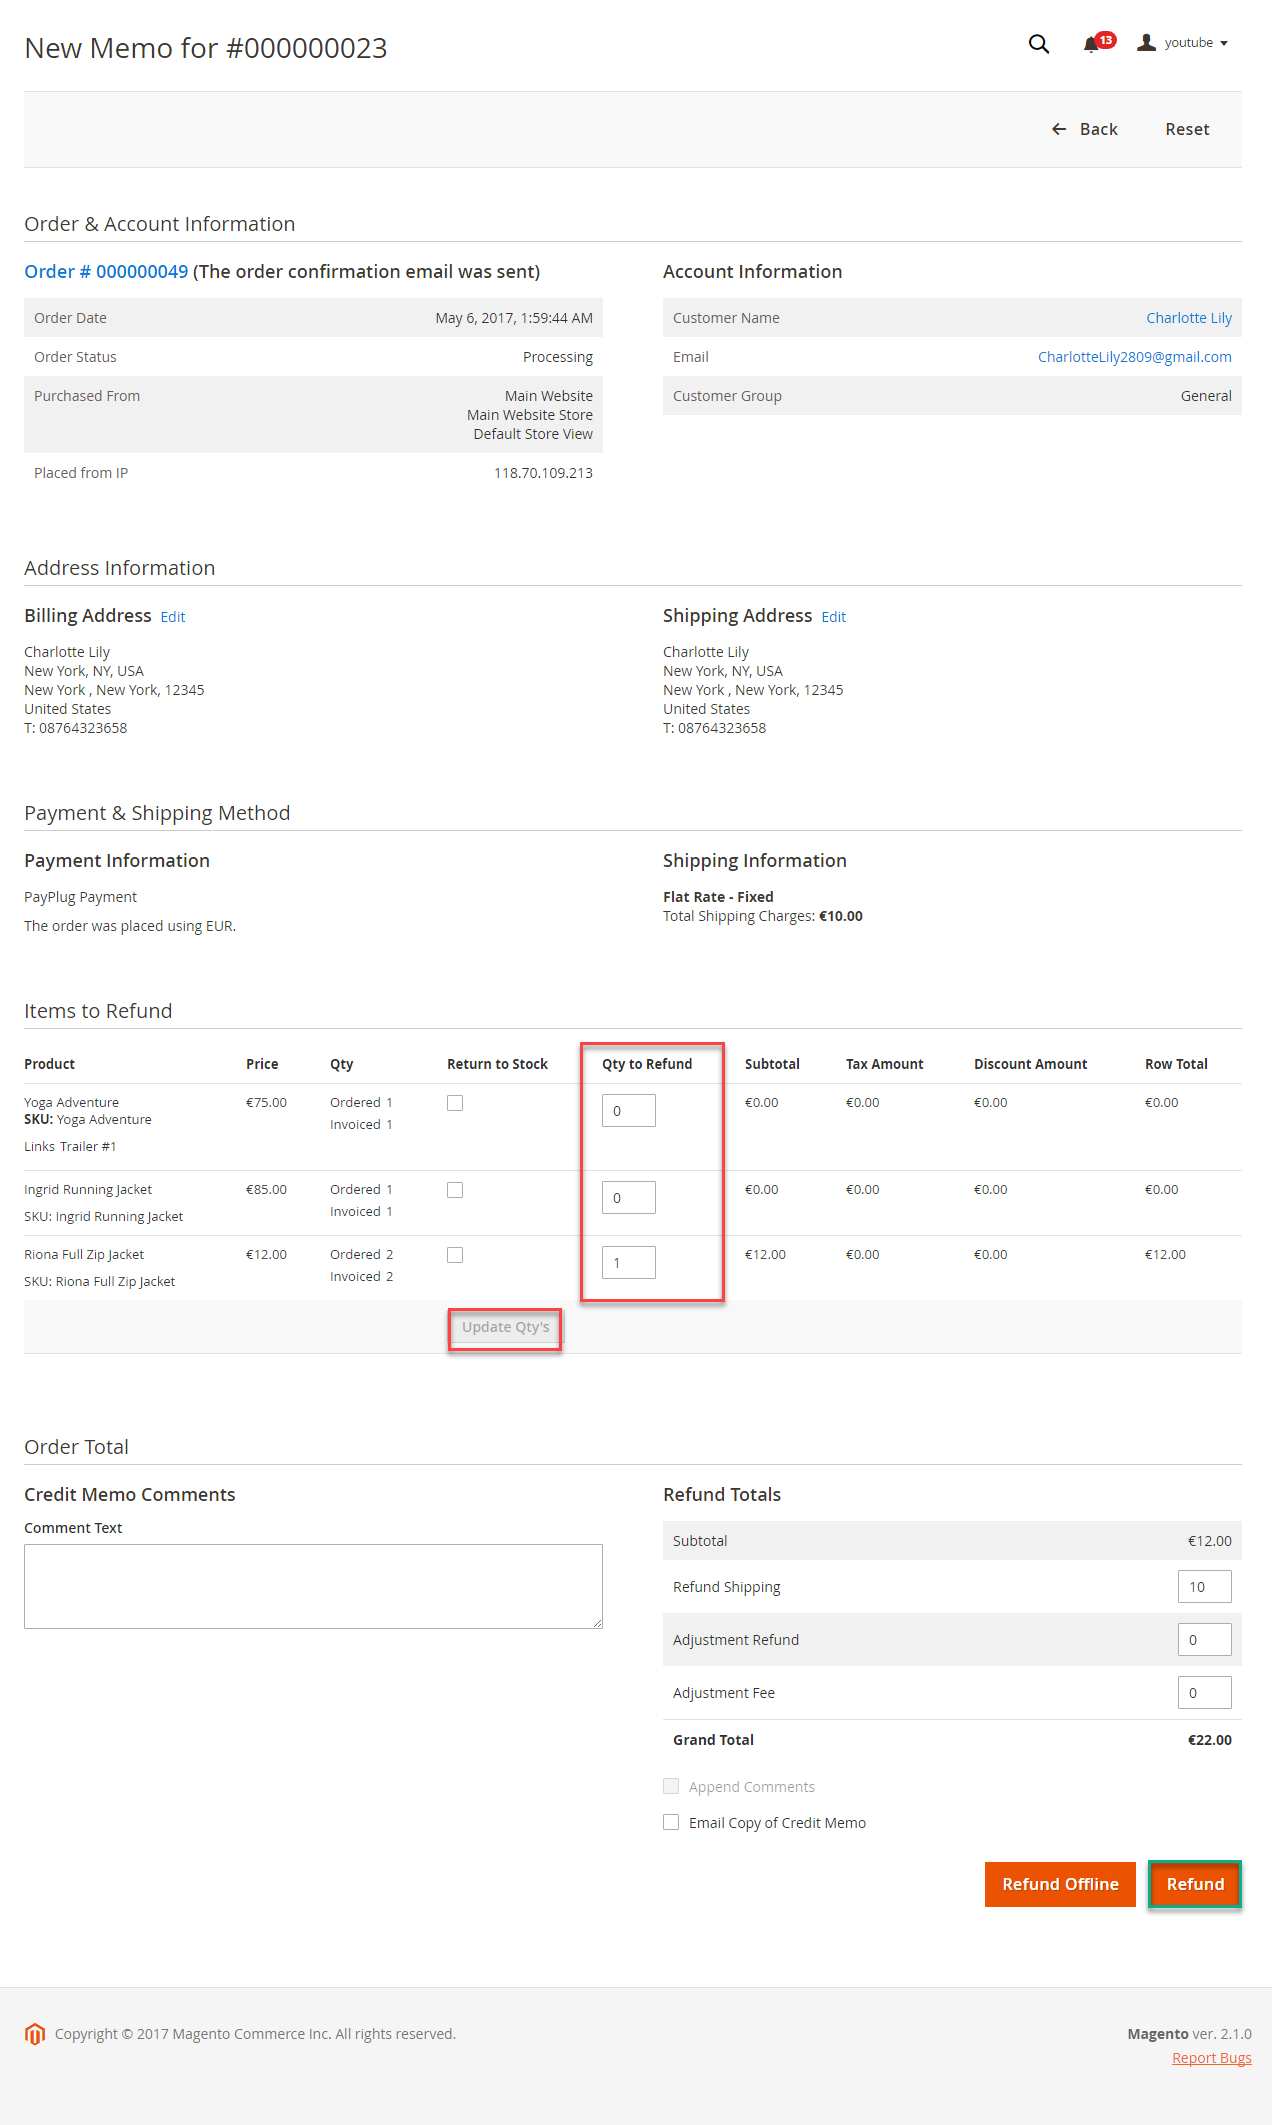
Customer will edit Quatity to refund and choose Update Qty's after clicking Refund. In partial refund, customer can refund each part until products in orders are run out . Then customer can log in PayPlug page to view .
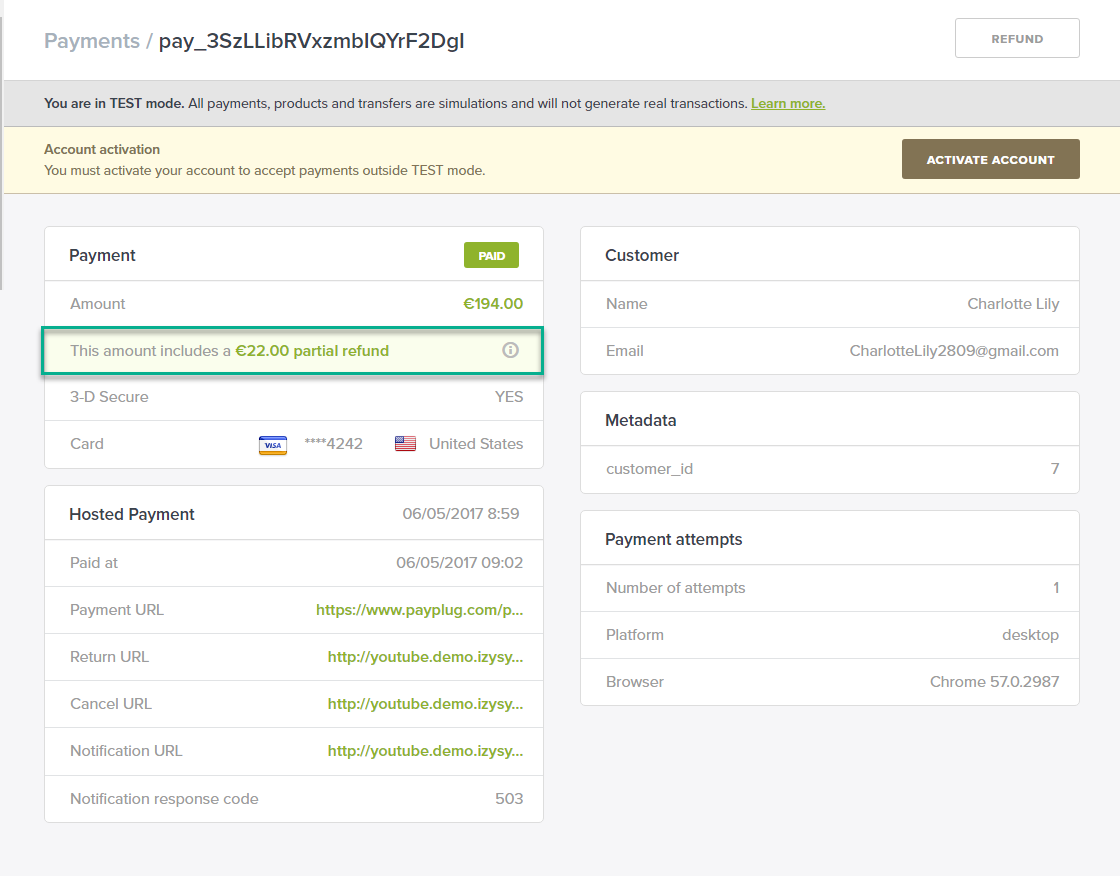
Refund successfully!
Update
- When a new update is available, we will provide you with a new package containing our updated extension.
- You will have to delete the module directory and repeat the installing steps above.
- Flush the config cache. Your store and newly installed module should be working as expected.
Support
- We will reply to support requests after 2 business days.
- We will offer lifetime free update and 6 months free support for all of our paid products. Support includes answering questions related to our products, bug/error fixing to make sure our products fit well in your site exactly like our demo.
- Support DOES NOT include other series such as customizing our products, installation and uninstallation service.
Once again, thank you for purchasing our extension. If you have any questions relating to this extension, please do not hesitate to contact us for support.